RV Renovation for Beginners: Where to Start
A bare aluminum shell offers limitless creative potential, though the metal box demands considerable elbow grease. A fully gutted recreational vehicle presents fewer structural unknowns, but the RV’s cost will feel the difference. New owners choose between personalizing an empty metal box and saving time with a partially completed interior. The choice shapes the entire project, determining early hours spent on dirty demolition or jumping straight to exciting tile work. The guide outlines various starting points for your RV renovation project. Each option balances effort with expense, helping you decide where to begin.
1. Simple Interior Refresh Strategy
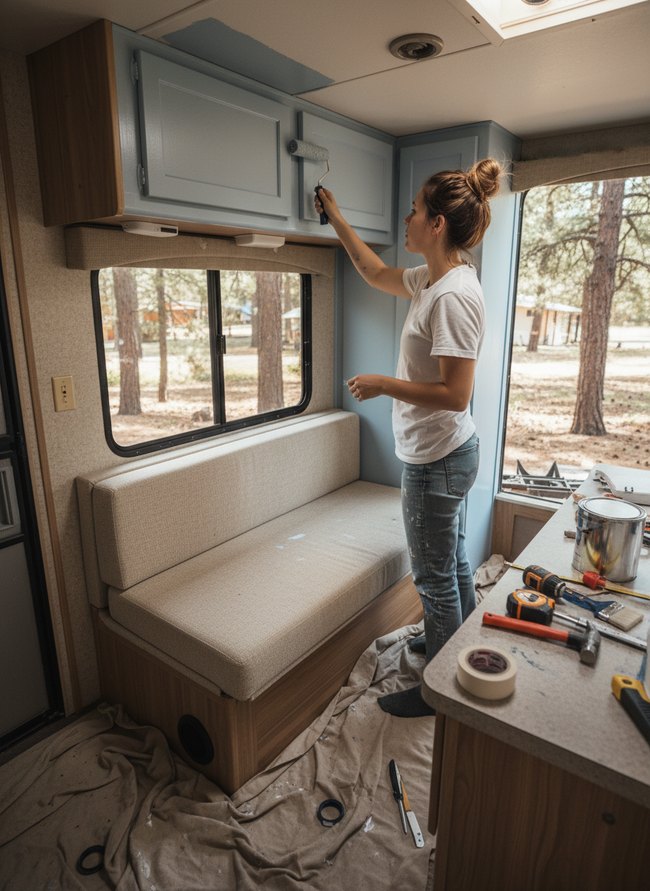
The woman applies light blue paint to the overhead wooden cabinets with a small foam roller. RV renovations for beginners often choose a fresh color scheme, trading old brown tones for bright, airy hues. A new paint coat offers a significant visual uplift without heavy construction.
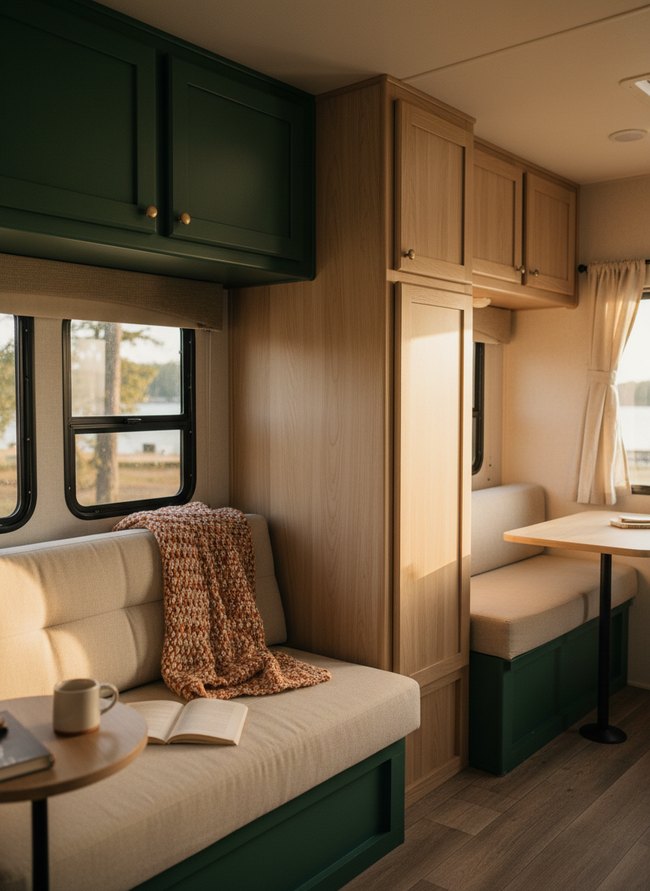
2. Smart Storage Solutions Starter
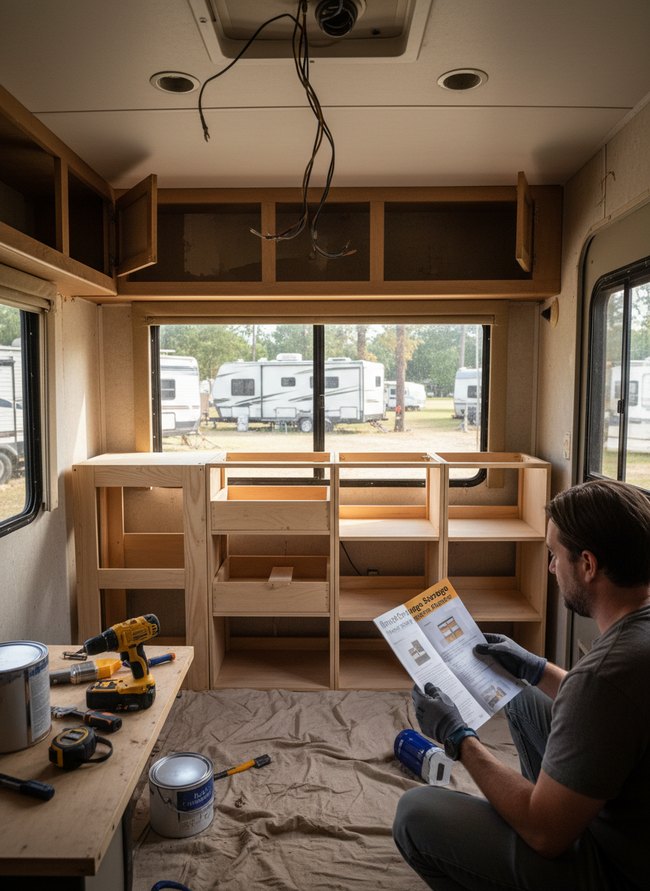
Bare wooden cabinets line the upper and lower walls, ready for a new finish. A person studies a glossy magazine, choosing between open shelving or enclosed storage for their RV renovation. Your selection of cabinet doors or cubbies defines the visual flow of the compact space.
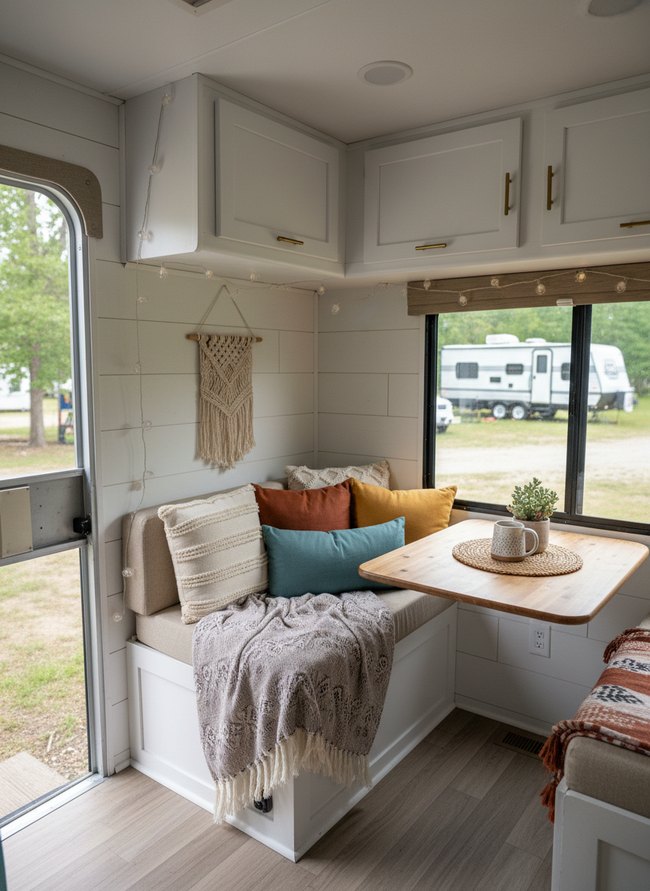
3. Budget-Friendly Decor Overhaul
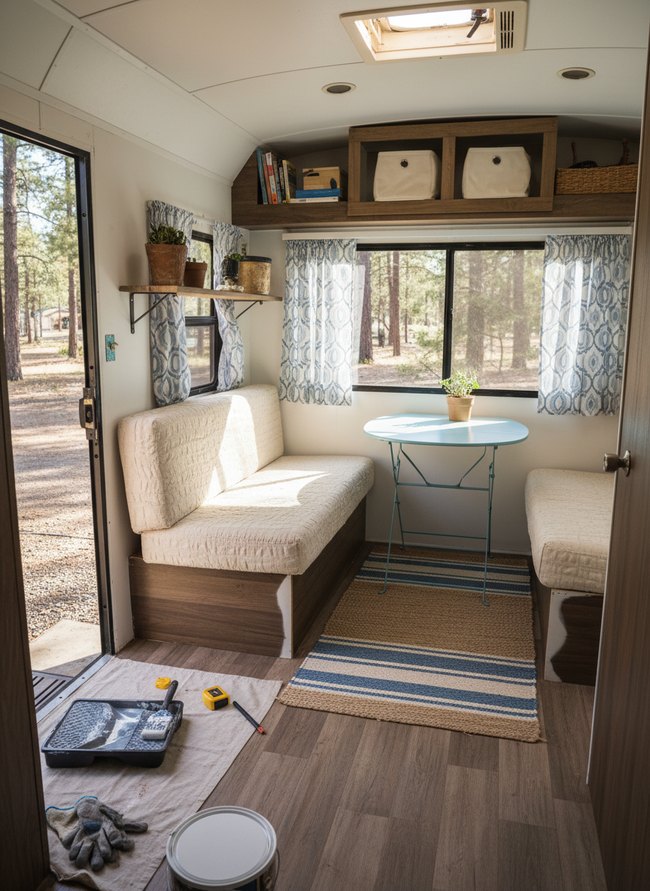
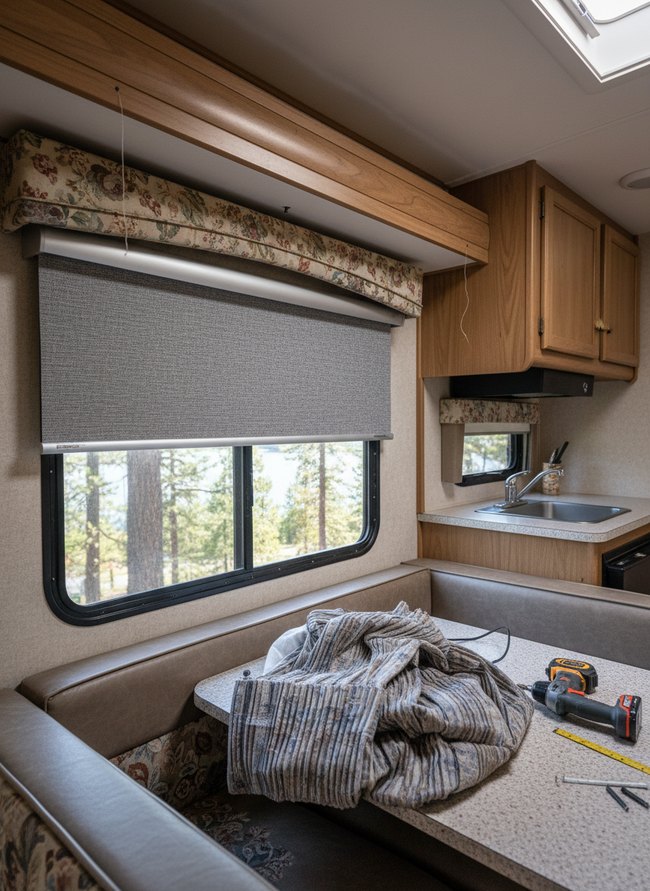
Blue patterned curtains frame the wide window, letting in bright forest light. A small, round, aqua table offers a compact dining surface, trading expansive counter space for a flexible footprint. White walls and light wooden flooring keep the small RV interior airy and open.
4. Basic Cabinetry Update Plan
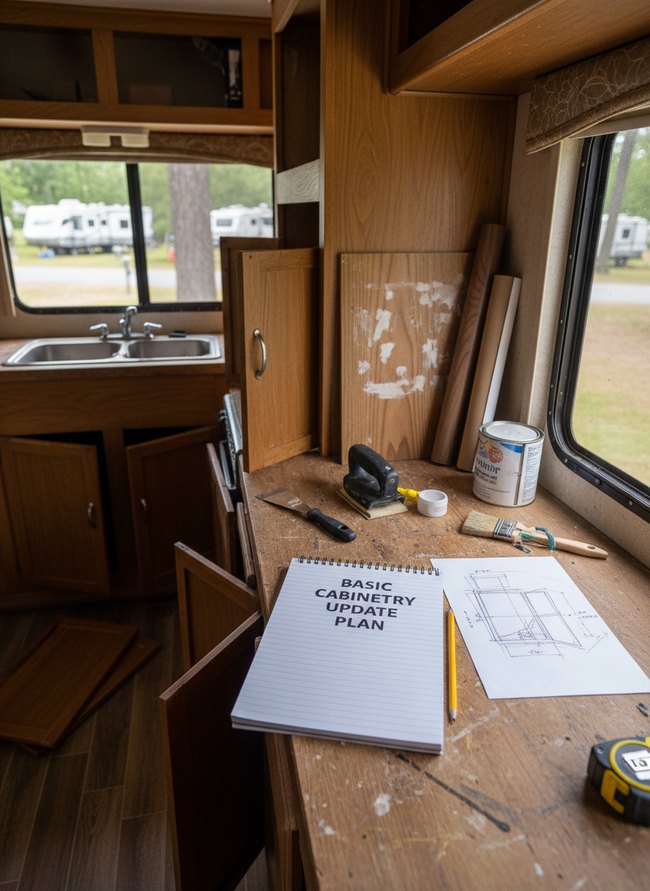
The spiral-bound notebook on the weathered wood counter offers a simple “Basic Cabinetry Update Plan.” Homeowners can refresh existing cabinets, trading a full replacement for a quicker facelift. Paint cans and a sanding block sit ready, suggesting a hands-on approach to the RV renovation.
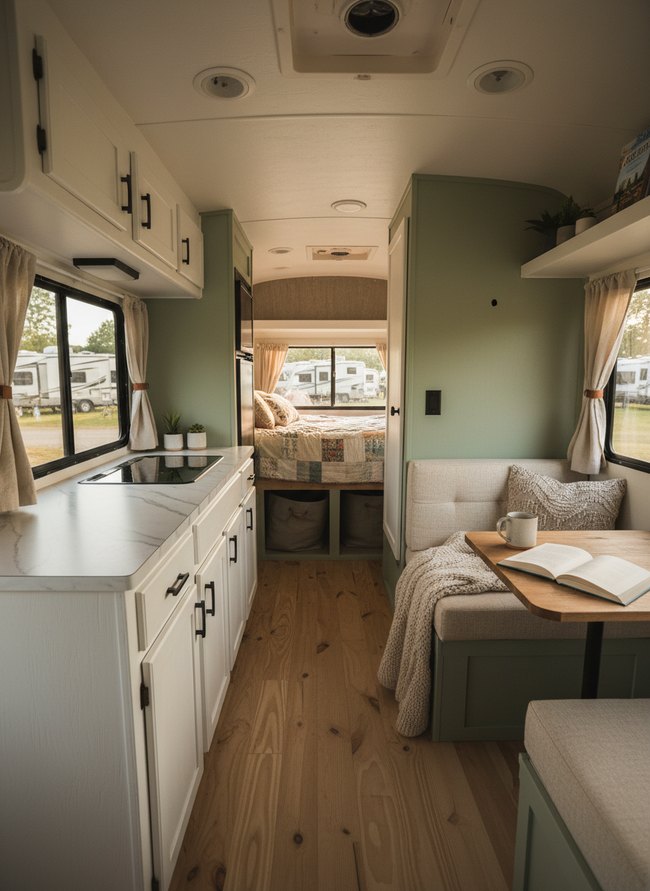
5. Flooring Replacement Fundamentals
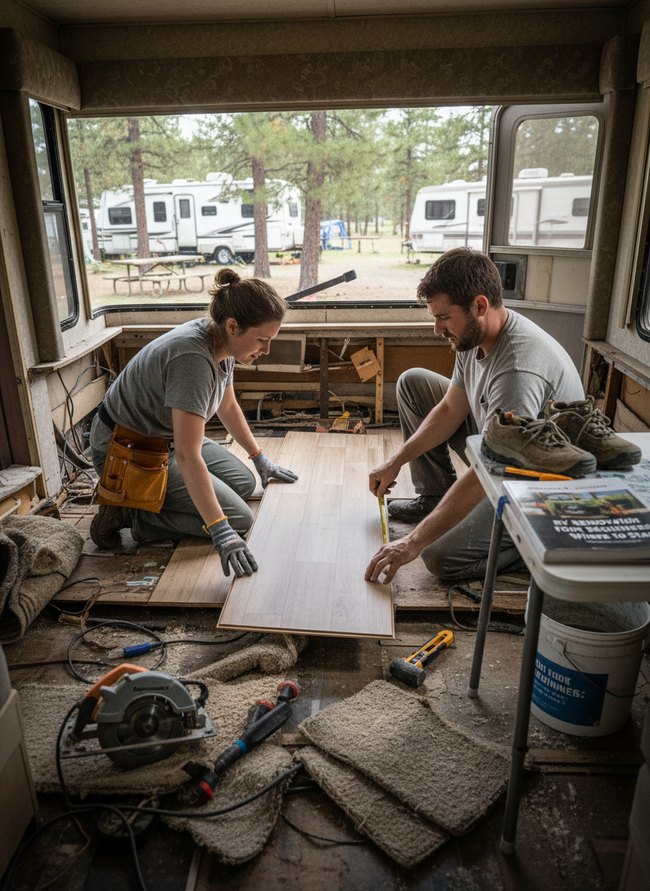
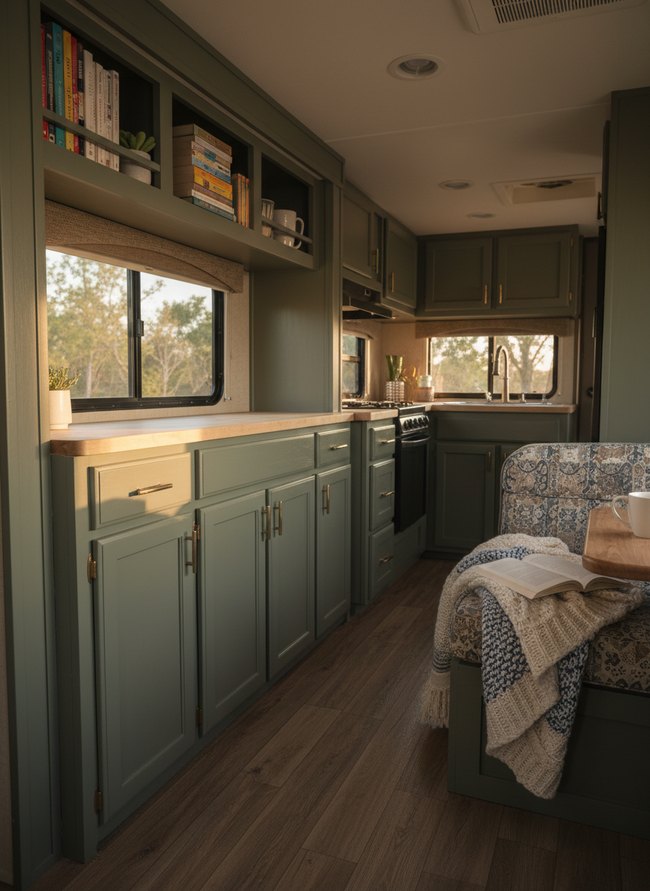
Light wood plank flooring offers a clean, neutral base. A simple laminate panel provides easy installation, trading complex patterns for straightforward application. The pale flooring delivers a fresh, wide-open feel to your mobile living space.
6. Paint Color Selection Guide
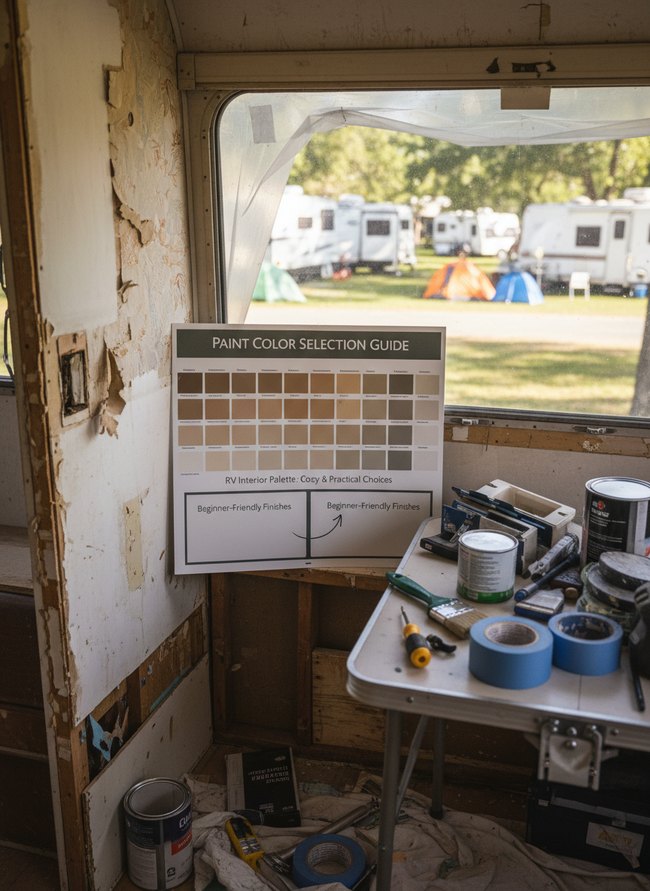
A brown paint color selection guide stands upright, showcasing many earthy tones. Choosing a pre-selected palette simplifies the initial design work for your RV renovation for beginners project, trading deep customization for ease of decision-making. Loose blue painter’s tape and a green-handled paintbrush rest on a small metal table nearby, ready for your hand.
7. Easy Electrical Fixture Swap
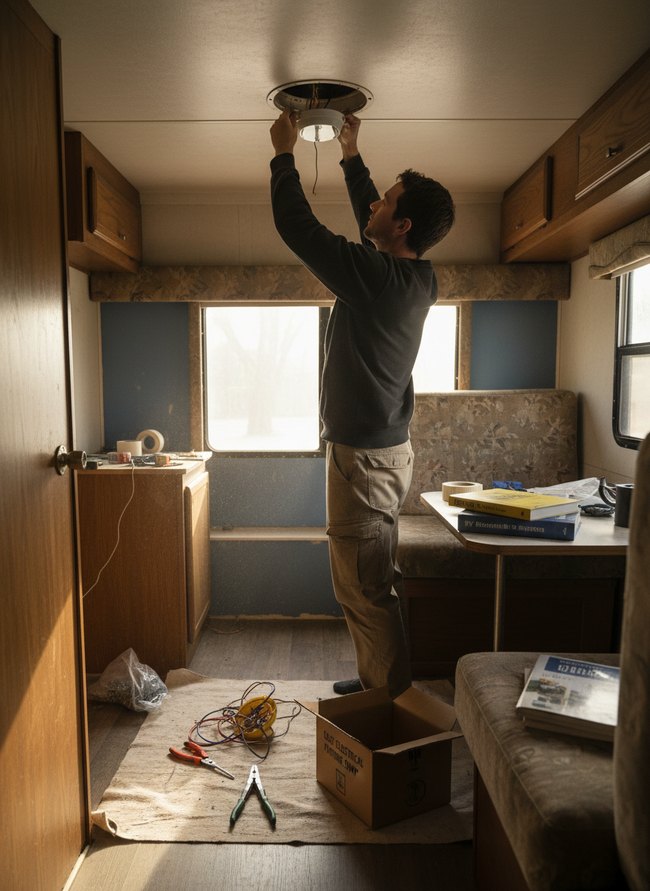
The circular ceiling fixture receives a new white light element from the standing man. Old brown wood cabinets line the narrow room, giving up modern style for straightforward utility. Swapping light fixtures brings fresh light to your RV renovation for beginners project while keeping the original ceiling structure.
8. Plumbing System Quick Fix
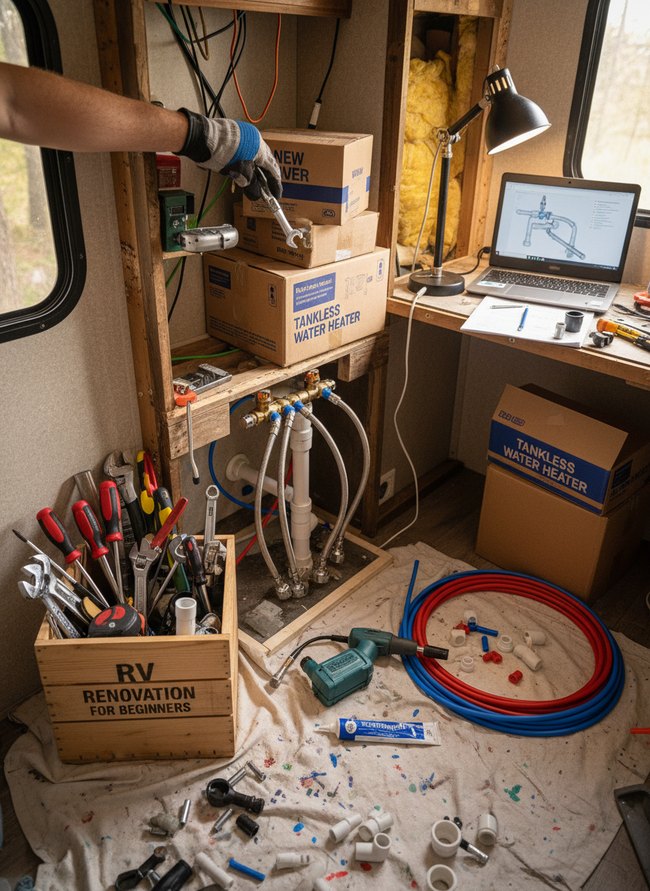
A gloved hand adjusts brass fittings on white PVC pipes, securing a new plumbing connection. Homeowners can choose a simple upgrade for better water flow, trading complex installation for quicker enjoyment. A wooden box filled with silver tools sits nearby, ready for your next RV renovation project.
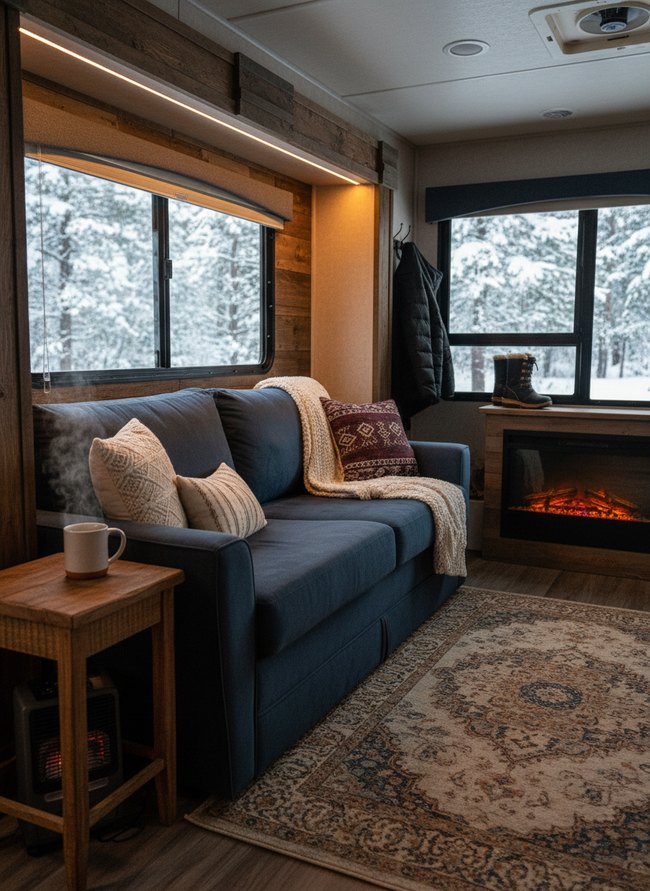
9. Fabric Upholstery Transformation
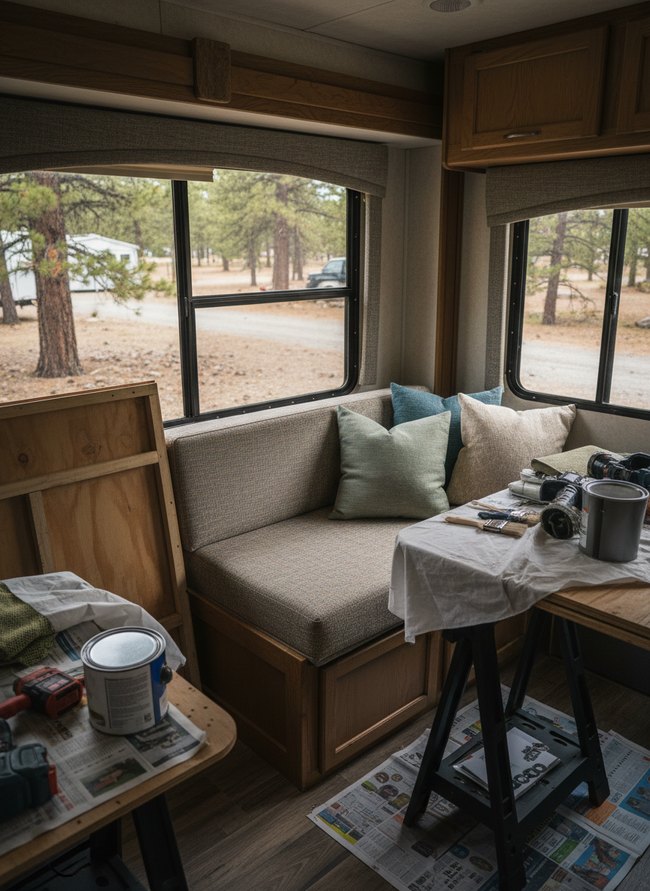
The beige upholstered bench provides a cozy seating area in the corner. Homeowners can choose new fabric for a fresh look, trading away existing patterns for modern textures. Teal and cream throw pillows add soft color against the updated cushions, creating a welcoming spot in the compact renovation.
10. Kitchenette Revamp Essentials
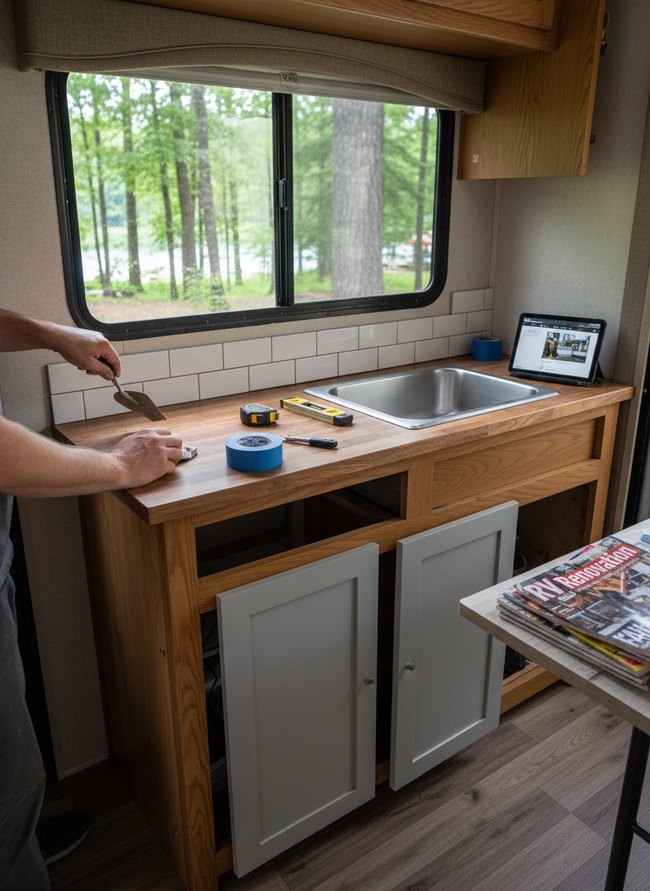
The light oak countertop offers a warm, natural surface, trading immediate durability for a softer, more inviting feel. White subway tiles climb the wall above the counter, providing a clean, bright backsplash. The kitchenette creates a fresh, modern space, exchanging intricate patterns for simple, classic lines.
11. Bathroom Space Optimization

The gray subway tile wall gives a modern backdrop to the vessel sink. A compact vanity with clear plastic drawers maximizes storage without sacrificing floor space for your RV renovation. A small, round mirror completes the organized, clean aesthetic.
12. Exterior Detailing Introduction
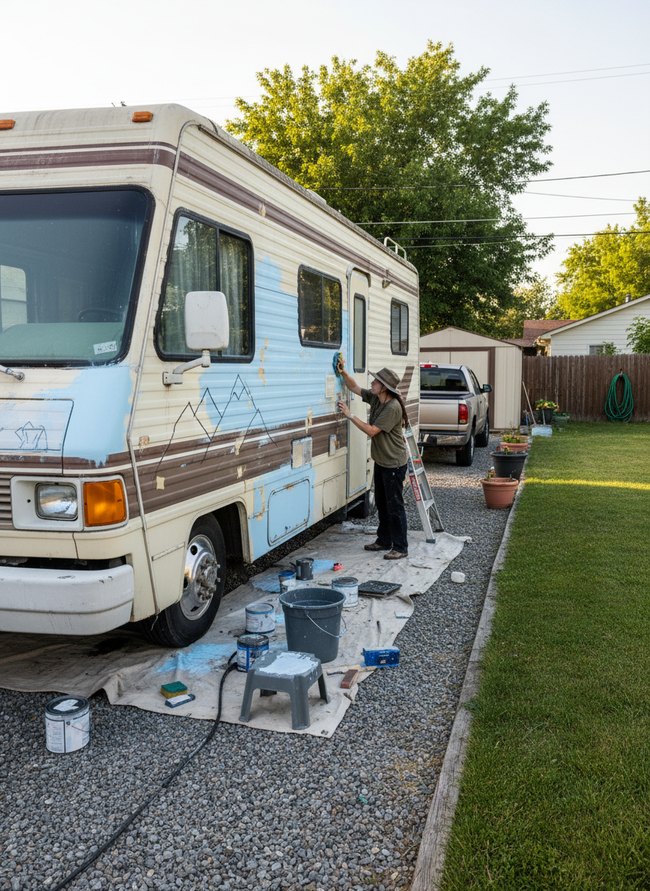
The large white RV side panel shows a light blue painted section. A person applies more light blue paint, creating a fresh, custom finish over the original brown stripe. Several paint cans and a small grey stool sit on a white drop cloth below the renovation project.
Should I tear everything out or work with what’s there?
Old honey-toned cabinets present a significant choice for your RV renovation. You face two distinct paths: a full demolition or a cosmetic refresh. Each approach carries different demands.
A complete gut job involves removing all existing interior structures. This option requires significant physical labor and specialized tools. Your budget needs a larger allocation for new materials like plywood subfloors and lightweight wall panels. Electrical wiring often requires replacement, a task for a licensed professional. You gain total control over the new layout and every design detail, from the compact kitchen to the tiny bathroom. This path suits someone with a substantial budget and ample time for construction.
Keeping the original structures means painting over old surfaces. Fresh paint refreshes tired walls and cabinets with new color. You might install peel-and-stick vinyl flooring over the worn linoleum. Fabric covers can update old cushions. This method saves considerable money and time. Your RV stays usable much sooner. This choice works for renovators with tight budgets and short timelines.
Paint or peel-and-stick for cabinet and wall surfaces?
Cabinets and wall surfaces in your RV present a key decision: paint or peel-and-stick. Paint offers a durable, custom finish for wood cabinet doors. Its application demands thorough prep work, including sanding and priming. Peel-and-stick wallpaper provides a quick, colorful change for flat wall panels. Vinyl films adhere easily to clean, smooth surfaces.
Your budget dictates some choices. Quality paint and supplies for an entire RV renovation cost more upfront. Peel-and-stick materials require less cash initially. Your time commitment also factors in. Painting takes multiple days for proper drying between coats. Applying peel-and-stick patterns finishes faster.
For long-term wear, paint wins. A proper paint job withstands daily bumps and scuffs. Peel-and-stick vinyl can lift at edges over time. For a temporary refresh or rental unit, peel-and-stick shines. Its removal leaves original surfaces intact. Choose paint for a permanent, high-quality update. Select peel-and-stick for quick, reversible styling.
Which Idea Will You Try First?
That’s 12 different takes on rv renovation for beginners. The best ideas above are usually the smallest moves — one material, one layout shift, one piece of furniture in the right place. Pick whichever room feels closest to your space and start there before tackling the rest.
Found an idea worth keeping? Save this post to your Pinterest board so it’s waiting for you when you’re ready to start your own project.