8 RV Renovation Mistakes That Cost You Money
An RV renovation project holds big potential. Many DIY RV flippers encounter common mistakes, turning a small budget into a hefty bill. A new coat of chalky paint sometimes peels right off old cabinets. Water damage often hides behind a wood panel, ready to ruin fresh flooring. Folks frequently forget the actual weight of new furniture, overloading the tiny rig. Unseen electrical problems can short out new wiring. Savvy renovators can avoid these costly hiccups.
1. Overlooked Weight Distribution Trap

A tall wooden shelf unit sits over the back wheels of a white van. The unit holds heavy items like black cast iron pots, large grey rocks, and several clear plastic water bottles. The setup shows a common RV renovation mistake by placing too much weight high up and to the rear. Consider distributing heavy items low and central in your vehicle for better balance.
2. Underestimated Electrical Load
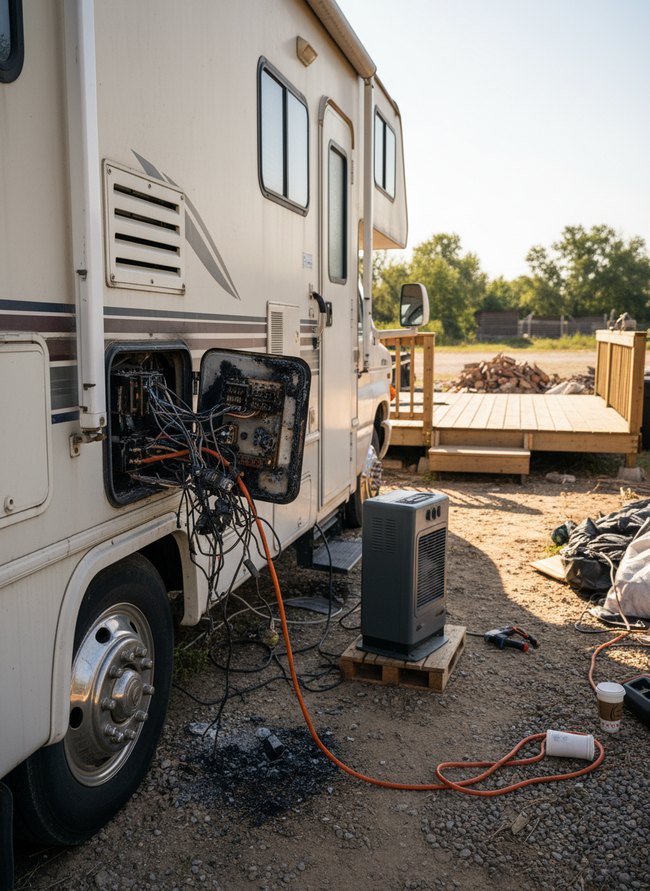
A burnt electrical panel on the white RV’s side shows severe damage from an electrical fire. Many orange and black wires hang loose from the melted plastic housing, showing one costly RV renovation mistake. RV owners should always verify electrical load calculations before using heavy appliances.
3. Ineffective Insulation Choices
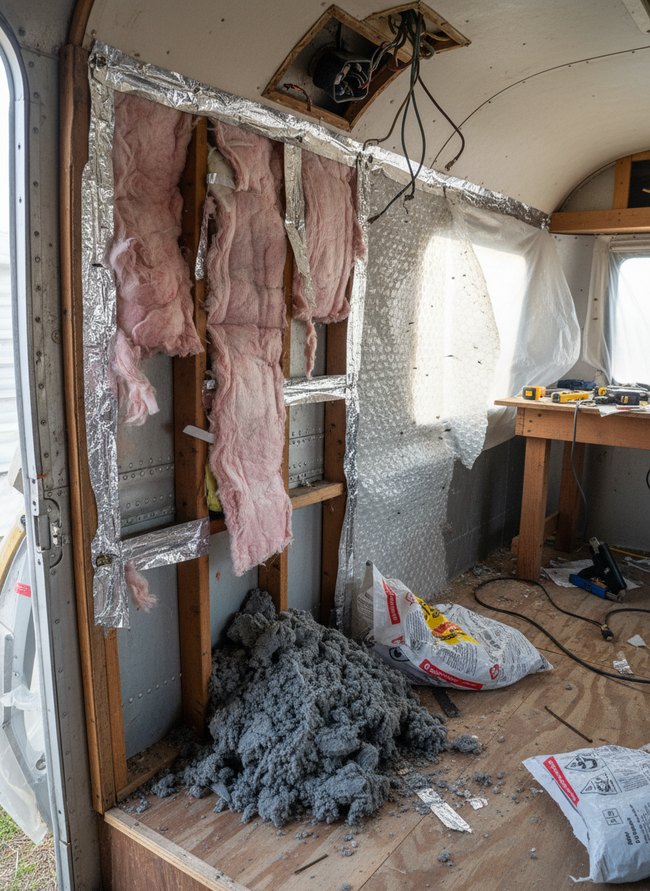
Pink fiberglass insulation hangs loosely from exposed wooden studs inside a partially renovated silver RV. A large pile of grey cellulose insulation sits on the plywood floor, spilling from a white bag. RV owners can avoid costly renovation mistakes by picking the right insulation for their climate.
4. Improper Plumbing Connections
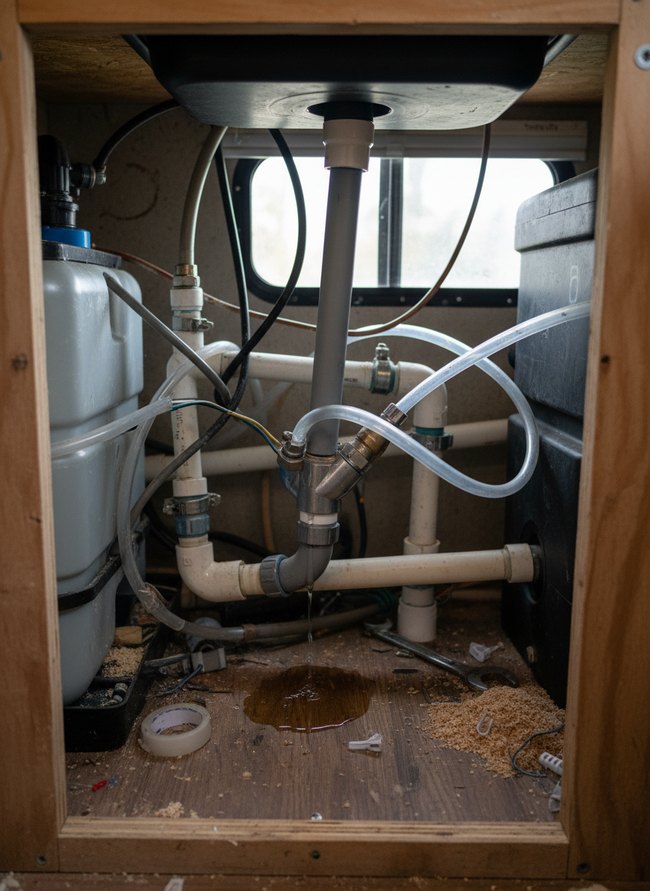
A dark plastic sink basin rests above a network of white and gray PVC pipes. Clear plastic tubing connects various plumbing components, showing a small drip of water on the wooden floor. RV owners can avoid costly renovation mistakes like this water leak by double-checking all plumbing connections.
5. Ignoring Water Damage Signals
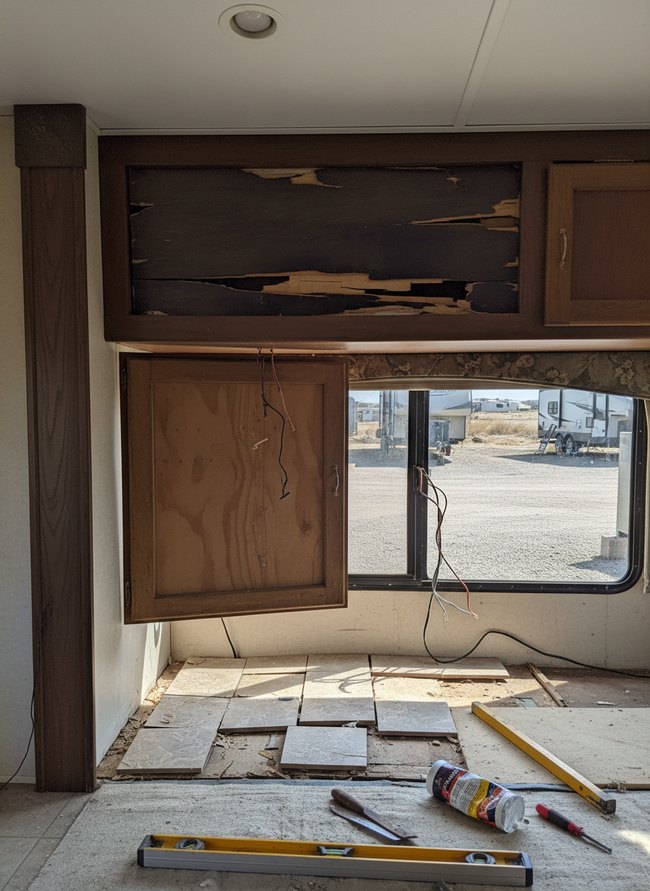
A dark brown wood cabinet shows torn, damp wood behind its open door. Water damage can turn small RV renovation mistakes into expensive fixes. RV owners should always check for soft spots or discolored areas in their RV before starting any projects.
6. Insufficient Storage Planning
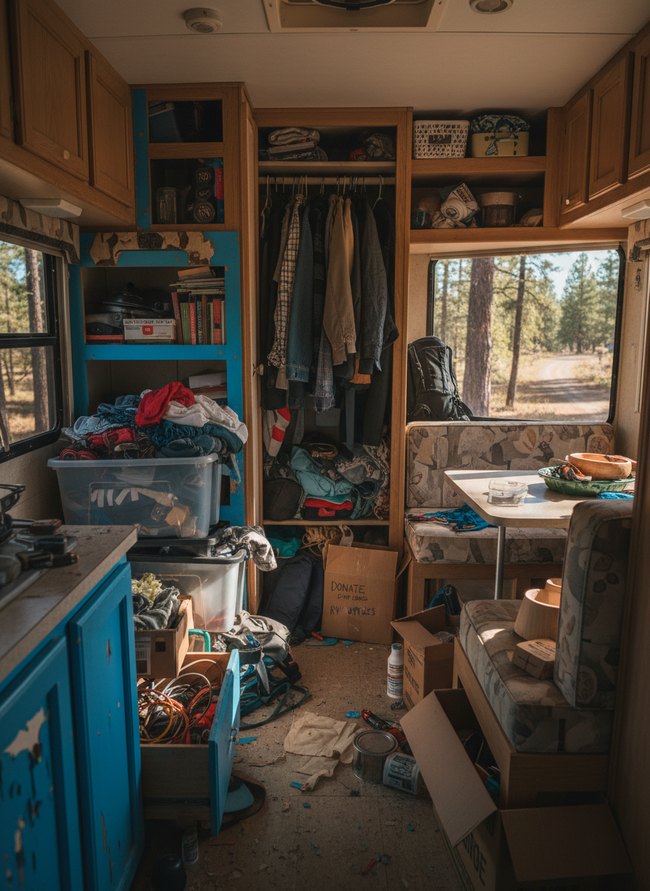
A cramped RV interior shows wooden cabinets and light blue shelves overflowing with clothing and boxes. Garments hang from a narrow closet rod, and plastic bins sit stacked on the floor. Many renovation mistakes happen when designers forget to plan for storage.
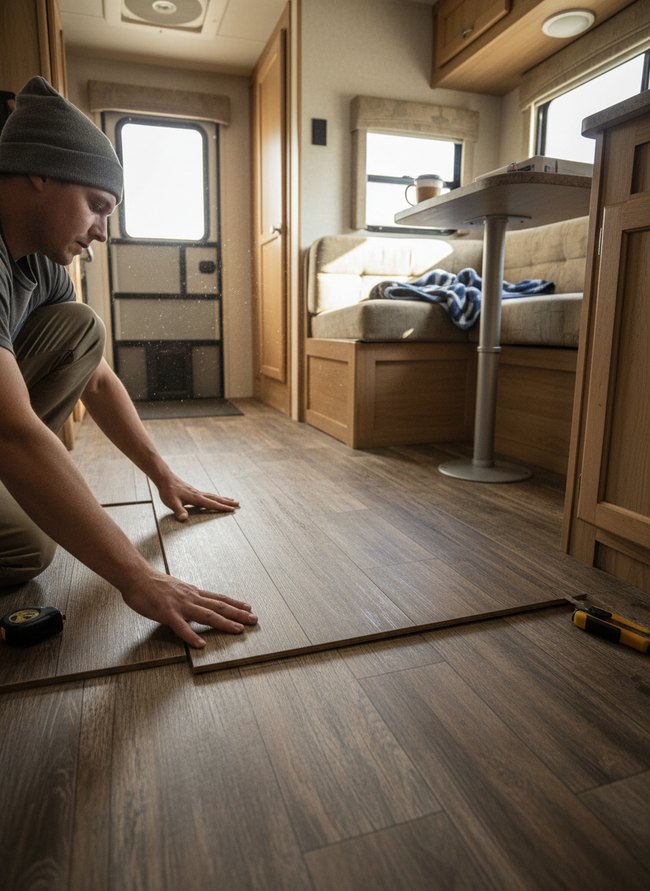
7. Costly Material Miscalculation

A person sits on the floor with both hands on their head, looking at a damaged sheet of wood-patterned vinyl flooring. The vinyl curls up from the subfloor, revealing a large torn section where the old flooring peeled away. The renovation mistake shows why you must pick durable materials.
8. Structural Support Oversight
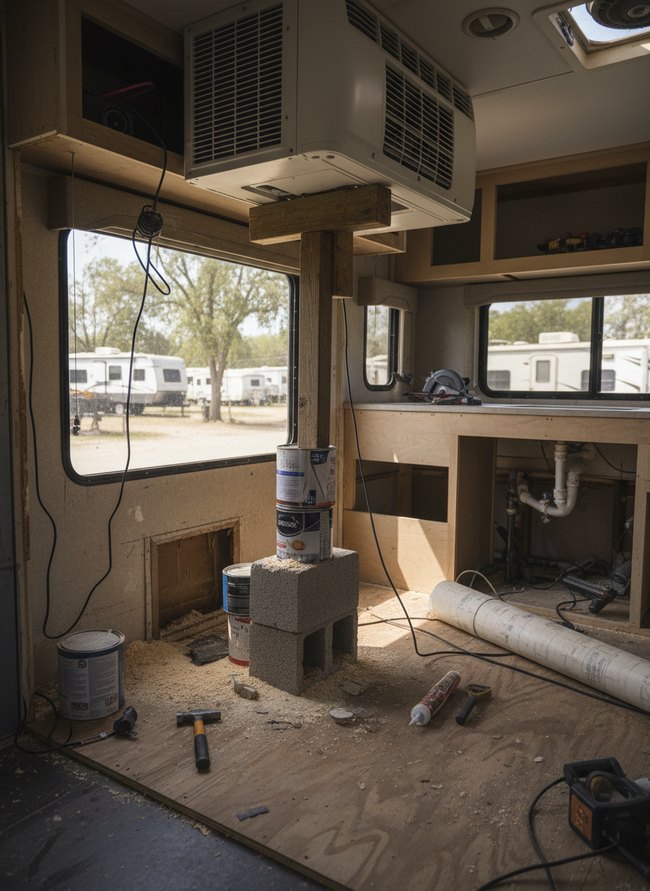
A white window AC unit hangs from a rough wooden support beam. The beam stands on a stack of gray concrete blocks, creating a dangerous structural support in the middle of the room. RV owners can avoid these renovation mistakes by hiring professionals for heavy appliances.
Before You Start: The Critical RV Pre-Renovation Checklist to Save Your Wallet
Water damage lurks hidden behind many RV walls. Inspect every ceiling panel and under each window frame for dark stains. A moisture meter reveals unseen problems. Ignoring small leaks creates much bigger headaches later. Budget planning prevents overspending. Always add a 20% contingency fund to your initial cost estimate. This extra money covers unexpected surprises. Material research saves you money. Consider the weight of new countertops. Heavy stone adds unnecessary pounds. Lightweight butcher block provides a durable surface. Your RV has specific weight limits. Exceeding these limits impacts fuel economy and structural integrity. Always double-check appliance dimensions. A new refrigerator must fit its dedicated alcove. Consider the electrical draw of new devices. Older RVs have limited power capabilities. Planning your project thoroughly avoids costly RV renovation mistakes.
The Hidden Costs of ‘Home-Style’ Materials in a Moving Vehicle
Standard home drywall cracks under road vibration. Plywood panels offer superior flexibility and durability for your mobile space. Thick ceramic tiles add considerable weight, reducing fuel economy and straining your vehicle’s suspension. Lighter vinyl plank flooring provides a durable, waterproof surface without the extra pounds. Solid wood countertops look beautiful but absorb moisture and expand with humidity changes inside your RV. Butcher block requires constant sealing. High-pressure laminate surfaces resist water damage and maintain a flat profile. Heavy glass shower doors shatter easily during travel. A frosted acrylic shower panel ensures safety and cuts down on mass. Metal fixtures with a brushed nickel finish withstand constant motion better than delicate ceramic options. You save money long-term. Dense residential insulation packs too tightly into small RV walls, losing its R-value. Closed-cell foam insulation offers higher thermal resistance in a compact form. Your RV renovation mistakes disappear with smart material choices.
Which Idea Will You Try First?
That’s 8 different takes on rv renovation mistakes. The best ideas above are usually the smallest moves — one material, one layout shift, one piece of furniture in the right place. Pick whichever room feels closest to your space and start there before tackling the rest.
Found an idea worth keeping? Save this post to your Pinterest board so it’s waiting for you when you’re ready to start your own project.