How to Start Van Life Step by Step
A polished oak desk, a plush velvet couch, and a tall ceramic lamp with a linen shade define many domestic spaces, yet these objects disappear in a van. Most people overlook the fact that van life is not about having less stuff. A deep wooden cabinet needs secure mounting points to remain upright during travel. The guide details the overlooked considerations for how to start van life, offering concrete methods for building a mobile home. Readers will gain insight into transforming a metal shell into a comfortable rolling sanctuary. Each step below presents a clear pathway for creating your personalized vehicle.
1. Researching Van Layout Options
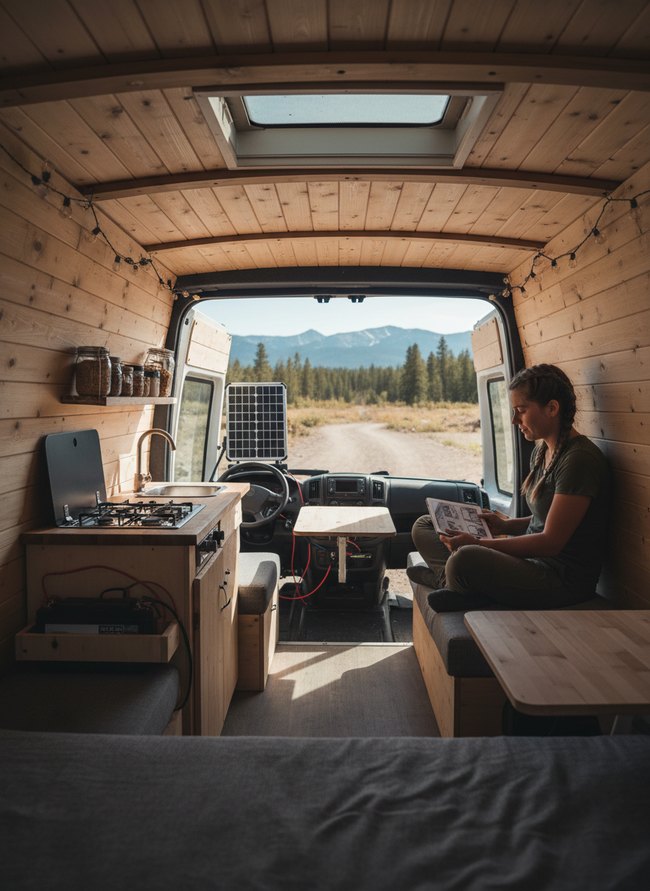
A long central aisle creates a clear path from the rear bed to the front cab, making the interior feel open. Light wood planks line the walls and ceiling, providing a bright, natural shell for the small space. A woman sits on a gray cushioned bench reading a white book, showing how to start van life with a functional layout. The movable wooden table offers flexible dining or workspace.
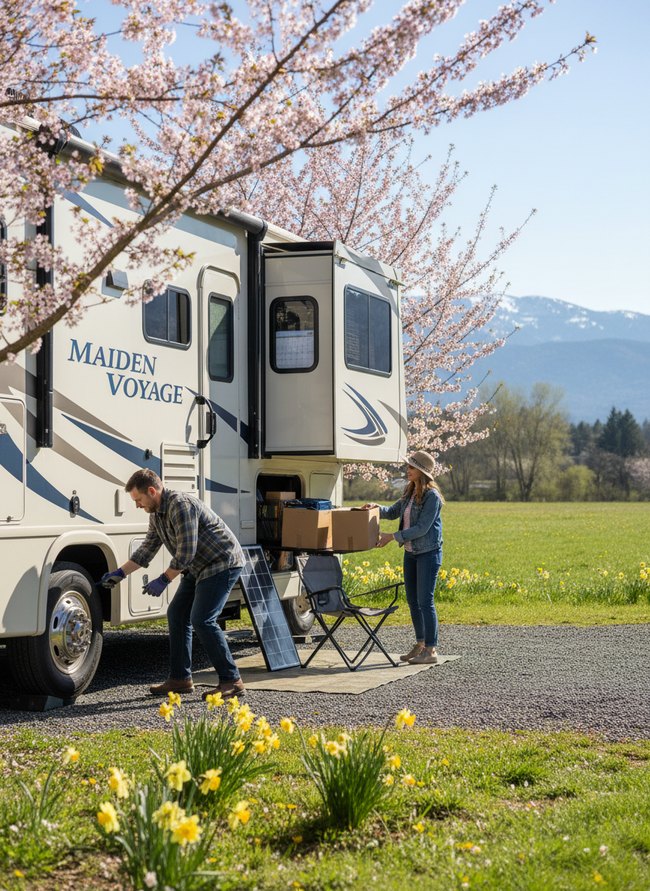
2. Selecting Your Base Vehicle
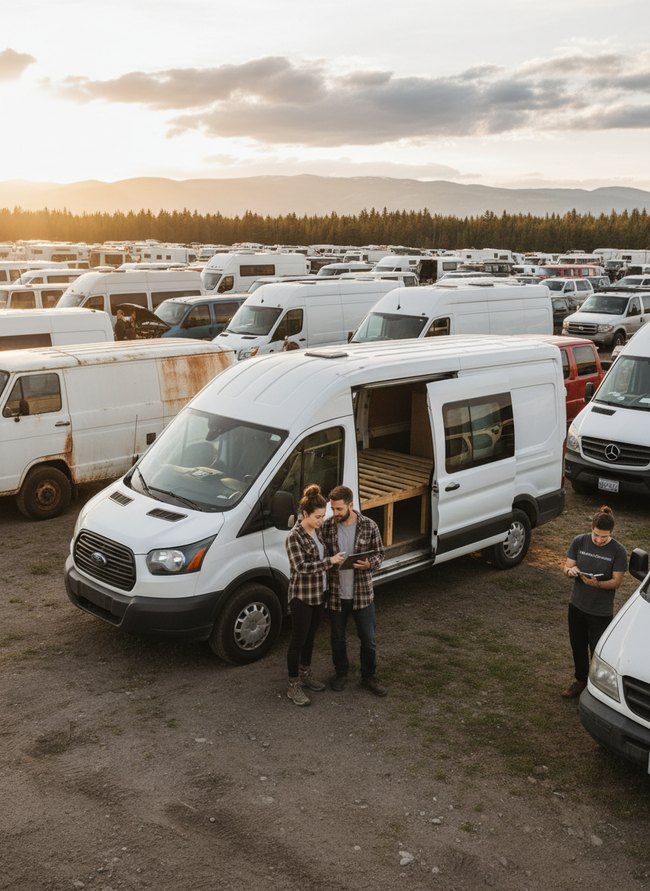
Considering a vehicle’s condition before purchase saves future headaches. A white Ford Transit van with an open side door reveals a wooden bed frame. Other cargo vans fill the gravel lot, showing many options for starting van life. Always inspect the interior for existing structures.
3. Planning Interior Buildout
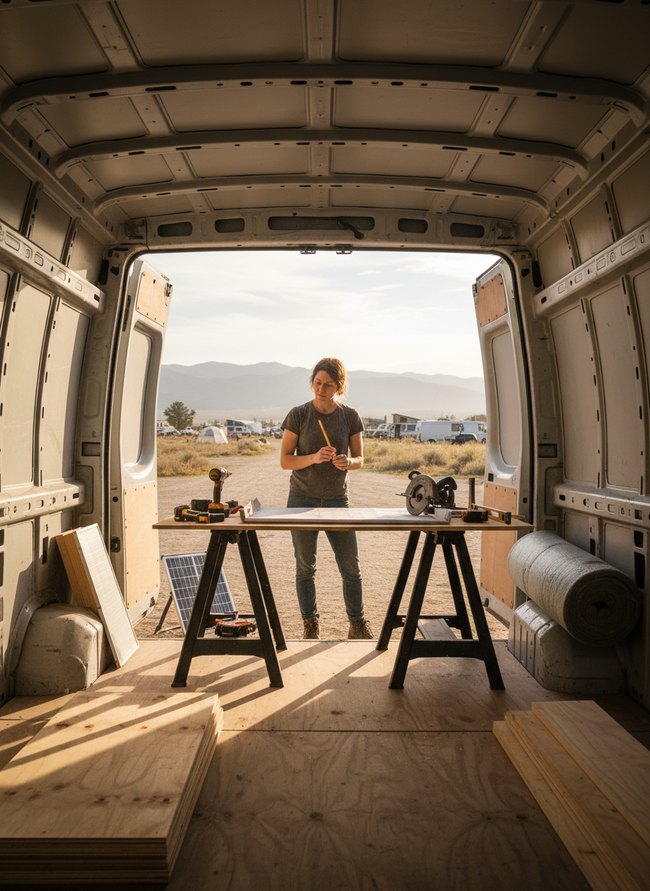
The wide cargo van’s open back doors create a large, airy workspace. The van provides ample room for a long wooden workbench, power tools, and a person measuring wood planks. A portable solar panel sits on the dry ground, showing how to start van life.
**The move to steal: Plan your buildout in an open area.**
4. Insulating Van Walls
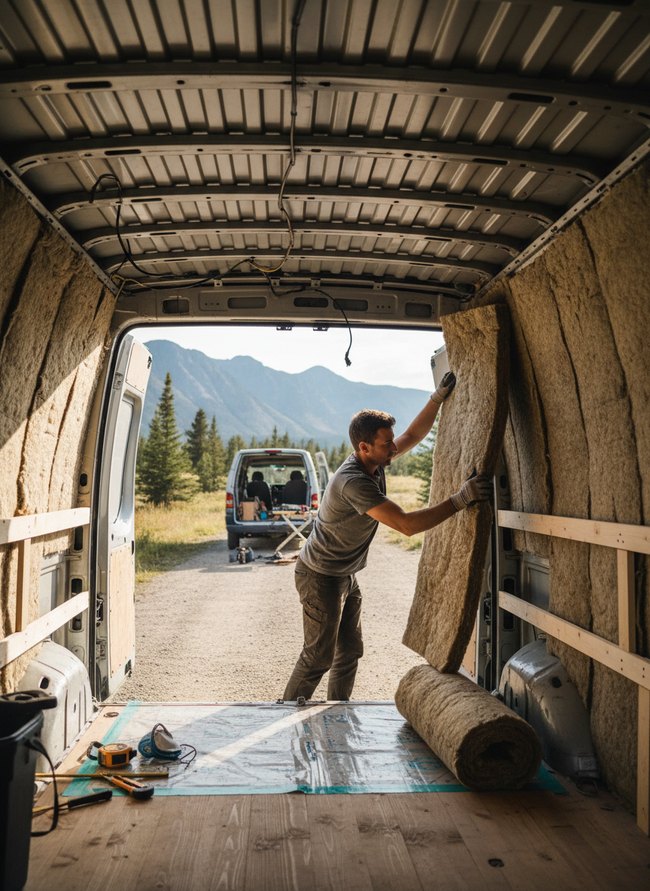
The builder carefully places thick insulation panels between wooden studs inside the cargo van. The technique creates robust, thermal-resistant walls, a crucial step for comfortable van life. A light brown roll of insulation rests on the floor, ready for installation. Steal the strategy of installing wooden frames before insulation for a structured, secure fit.
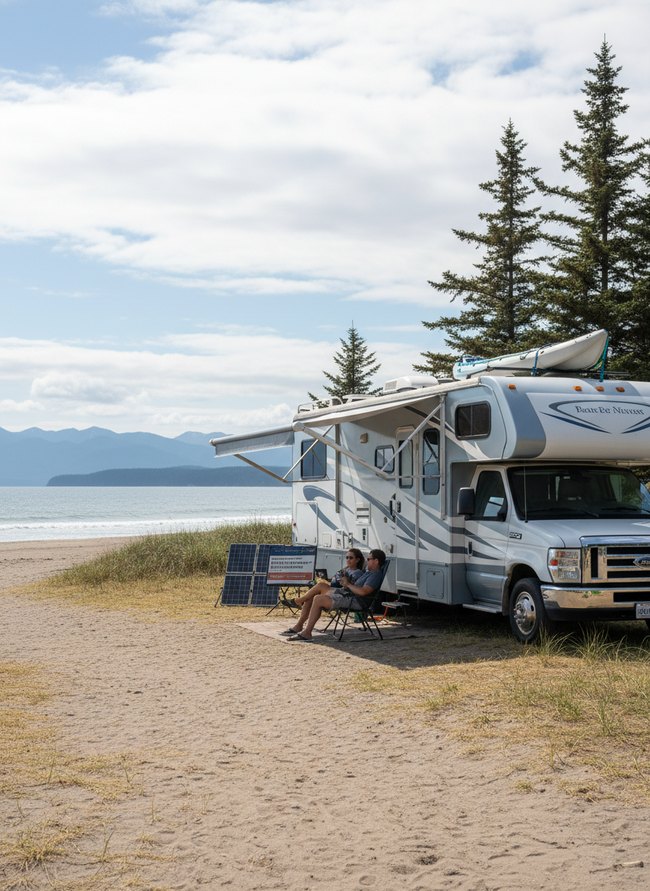
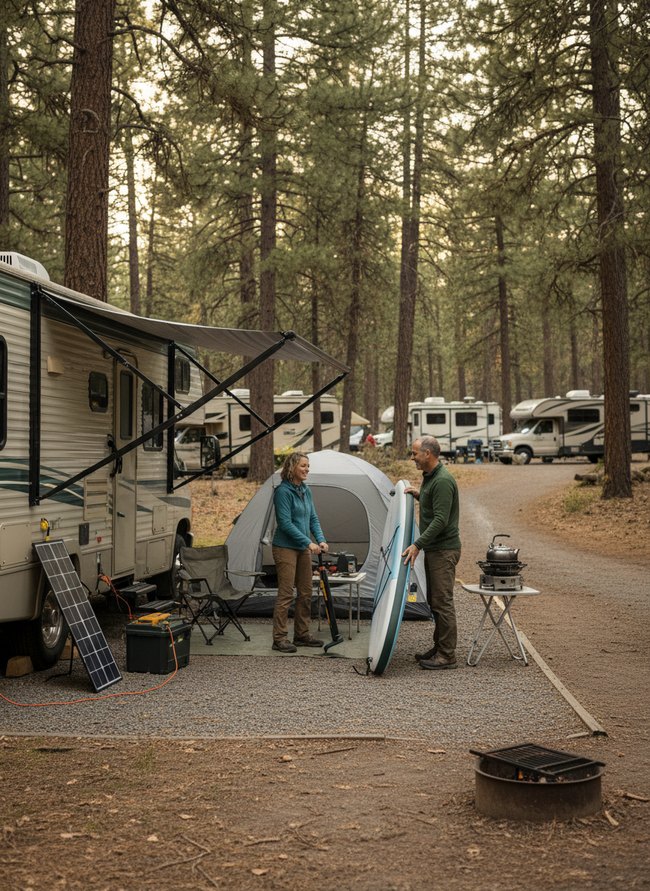
5. Installing Solar Power
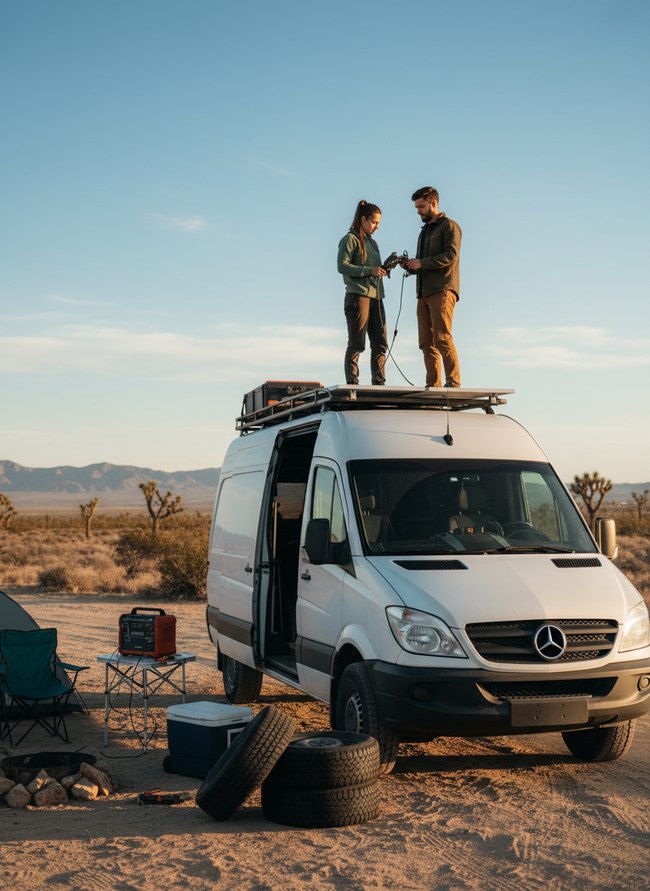
Mounting solar panels directly to the white van’s flat roof rack creates a clean, usable power system for any van life journey. The setup keeps the array secure and out of the way, allowing easy access for maintenance or adjustments. A portable power station sits on a small silver folding table nearby, ready to store the generated energy. A sturdy roof rack for solar panel installation is a smart move for any van conversion.
6. Setting Up Water System
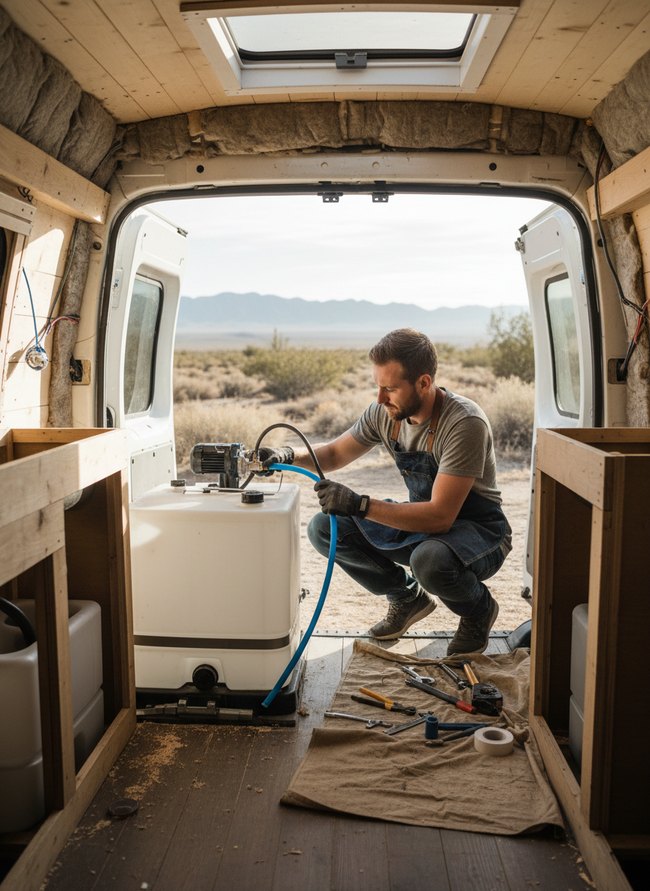
The man installs a white plastic water tank to begin the crucial process of setting up a water system inside the cargo van. He connects a blue plastic hose to a small black water pump, a key step for moving water. The wooden frame and insulation show how to start van life by building a proper home. The lesson here is about installing water storage.
7. Building Custom Cabinetry
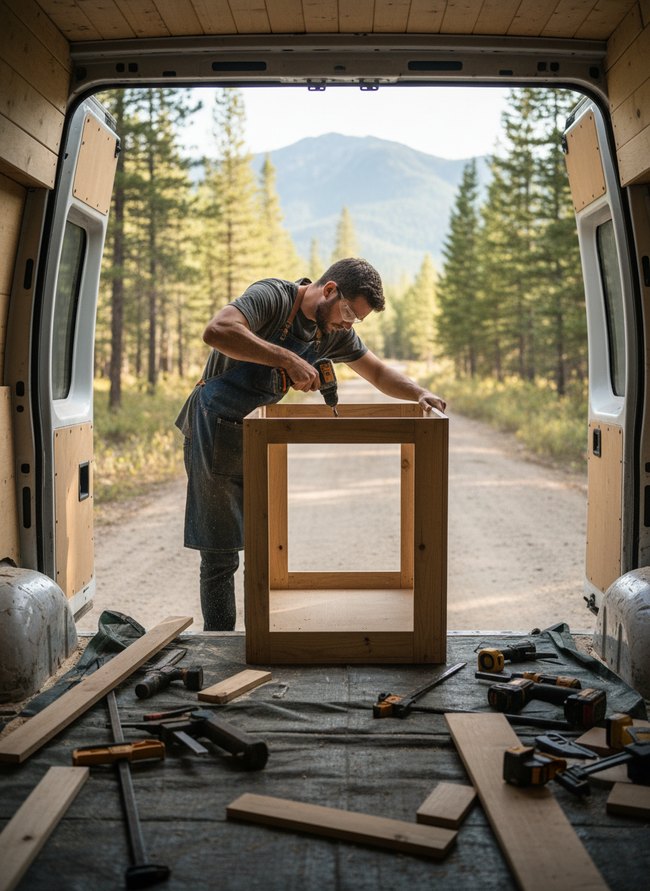
Custom cabinetry inside a van offers flexible storage solutions. The man uses a cordless drill to attach two light brown wooden planks, creating a strong rectangular frame. The custom-built storage provides a sturdy base for new van life adventures.
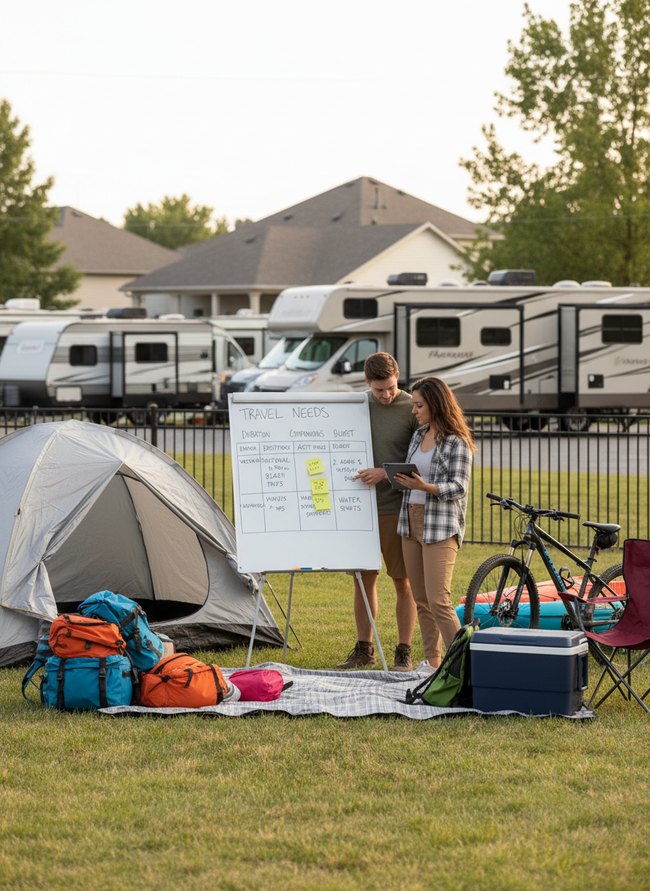
8. Choosing Essential Appliances
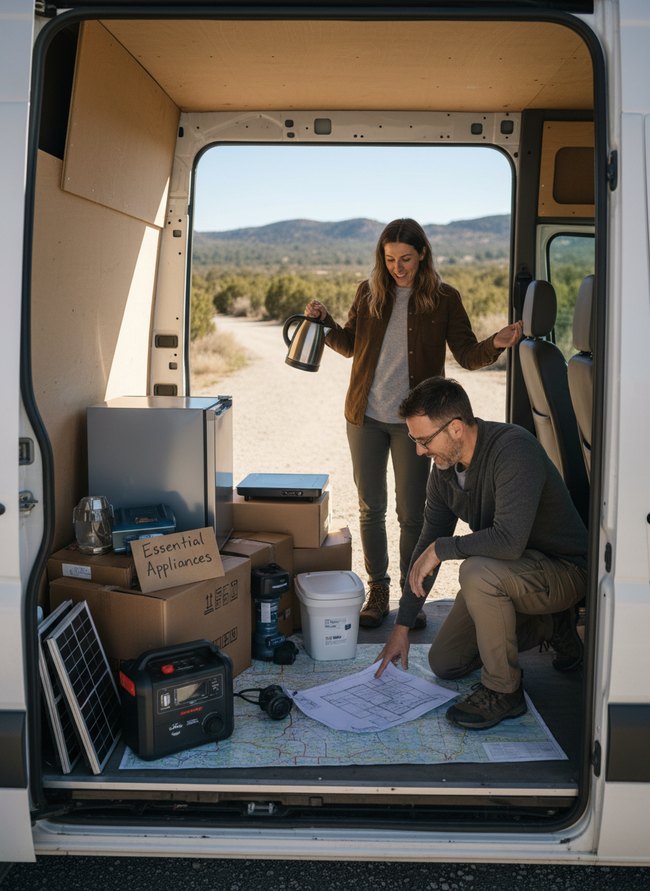
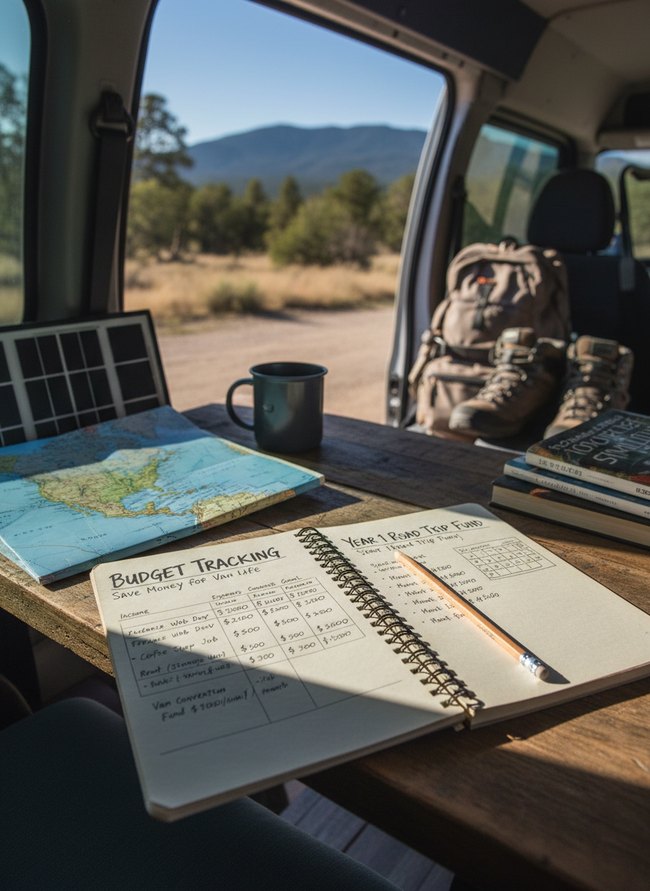
Careful planning with a printed van layout diagram helps you choose the right appliances for your space. Laying out the physical items like the silver mini-fridge and black portable power station on a large paper map provides a visual guide. The diagram ensures your how to start van life project starts with good spatial awareness.
9. Optimizing Storage Solutions
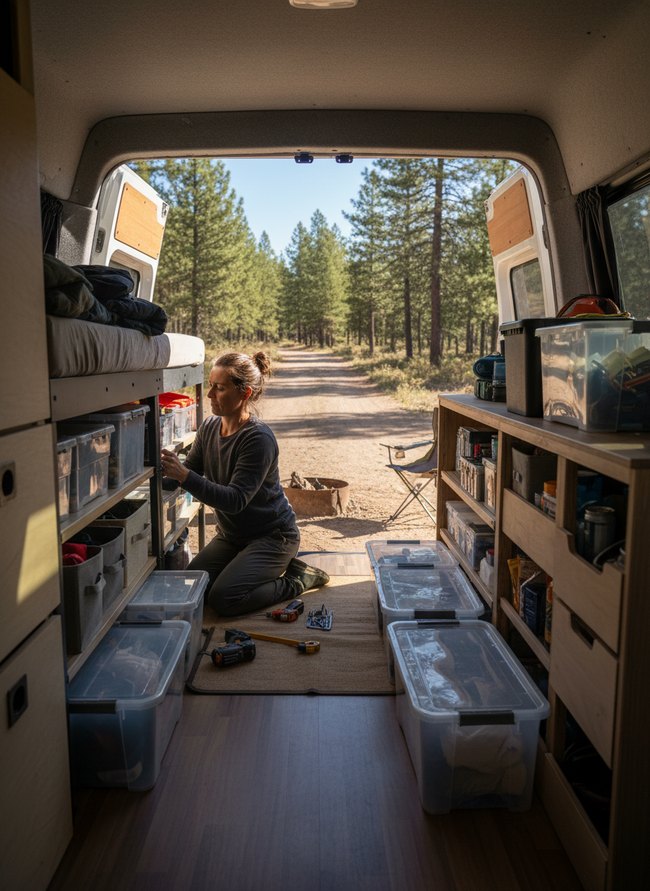
Clear plastic bins organize supplies under the high wooden bed platform. The stacked containers gain valuable floor space. Many small gray fabric bins also store gear on wooden shelves. Clear containers offer easy visibility.
10. Mapping Out First Trip

A large paper map on the rustic rug clearly marks a planned route. The map helps you see the whole journey at once, which is helpful for how to start van life. A small brass compass and blue pen sit next to the map, ready for more planning. The wooden walls of the van create a warm, cozy background for your trip preparations. Use a physical map for a complete overview.
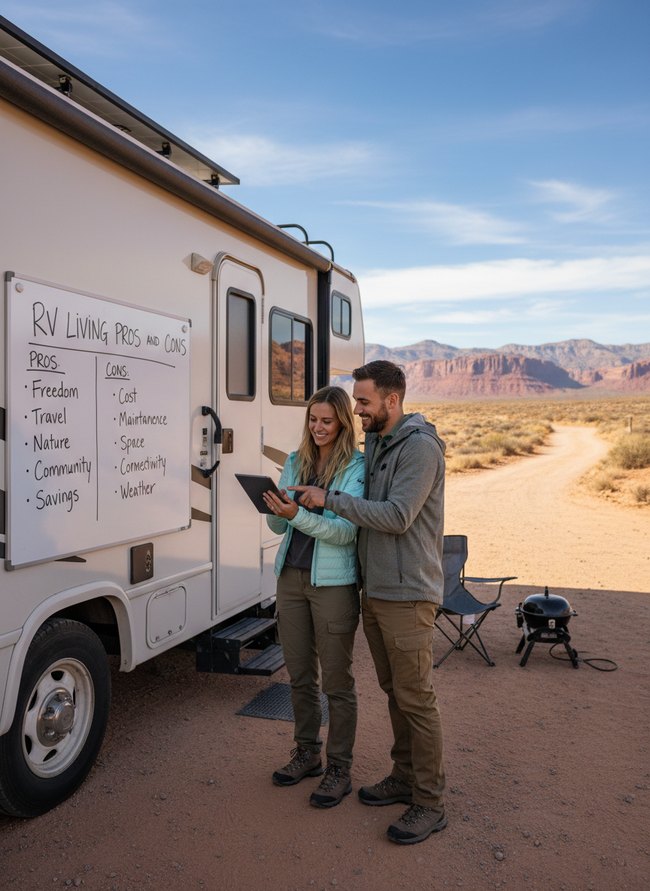
11. Budgeting Van Conversion

A detailed flowchart pinned to a whiteboard clearly maps out the “Van Life Startup Plan.” The visual guide simplifies complex steps involved in a van conversion project. The board lists key stages like choosing a van, installing insulation, and adding furniture. Creating a similar visual plan helps one understand how to start van life by breaking down a large task into smaller, manageable pieces.
12. Testing Systems Pre-Journey
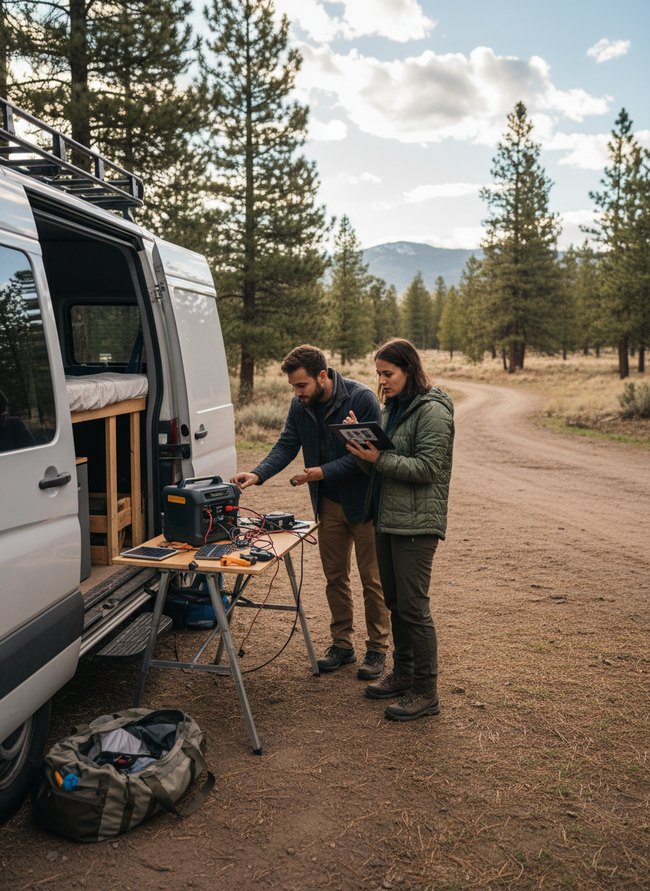
Testing your electrical systems before a trip prevents problems on the road. A white cargo van with an open side door shows a wooden bed frame inside. Two people stand beside a small folding table covered with a black power station, red and black wires, and two small rectangular solar panels. Test your systems at home before you start van life to avoid issues later.
The Geodetic Imperatives of Sub-7-Meter Wheelbase Selection
Wheelbase length directly impacts your van’s ability to navigate tight city streets. A shorter wheelbase, under six meters, provides a nimble turning radius for urban parking. Larger vans with wheelbases exceeding seven meters often struggle to fit into standard parking stalls. Van dwellers frequently learn this lesson when they try to park a long chassis in a compact spot. Owners of these bigger vehicles spend extra time searching for oversized parking lots. Your interior build-out also feels the effects of chassis length. Longer vehicles tolerate heavier internal structures without becoming top-heavy. Shorter van models demand lighter materials for cabinets and beds. You must consider the vehicle’s dynamic weight distribution. Ignored, this principle leads to unstable driving, especially on winding mountain roads. A five-meter chassis, like a Ford Transit Connect, offers surprising interior volume for its compact exterior. That smaller footprint allows the driver to maneuver through crowded areas with ease.
Energetic Autonomy: Modeling Photovoltaic Array Output vs. Daily Consumption Profile
Solar panel placement impacts your power generation. A rooftop mounted 200-watt solar panel, flat on a white van roof, captures less direct sunlight than an angled one. People often forget the sun’s angle shifts throughout the day. Your energy use profile dictates the size of your battery bank. Running a 1,500-watt electric kettle for five minutes drains a 100 amp-hour lithium battery quickly. Many new van dwellers underestimate peak loads. Charging a laptop and running a small refrigerator simultaneously pulls significant current. A detailed energy audit prevents dead batteries at sunset. You calculate your projected daily watt-hours by adding up every device. A 12-volt USB charger for your phone uses minimal power over eight hours. Conversely, a 120-volt induction cooktop for preparing dinner consumes substantial power for just twenty minutes. Understanding these short, intense power draws guides your battery and inverter choices. Properly modeling your photovoltaic array output against your actual daily consumption profile means never running out of power.
Which Idea Will You Try First?
That’s 12 different takes on how to start van life. The best ideas above are usually the smallest moves — one material, one layout shift, one piece of furniture in the right place. Pick whichever room feels closest to your space and start there before tackling the rest.
Found an idea worth keeping? Save this post to your Pinterest board so it’s waiting for you when you’re ready to start your own project.