8 Backsplash Ideas for an RV Kitchen Makeover
The tiny kitchen in your RV takes a beating. Grease splashes, coffee sloshes, road vibrations shake everything loose. A bare wall behind the stovetop collects grime. The RV needs durable materials, something more than painted drywall. You deserve a kitchen that looks good and holds up. Nobody wants to scrub sticky messes from a plain plastic wall. Upgrading the small vertical space makes a big difference. A good-looking backsplash protects walls and adds character to your mobile home. We found eight solid RV backsplash ideas ready for your next adventure.
1. Metallic Hexagon Peel Backsplash
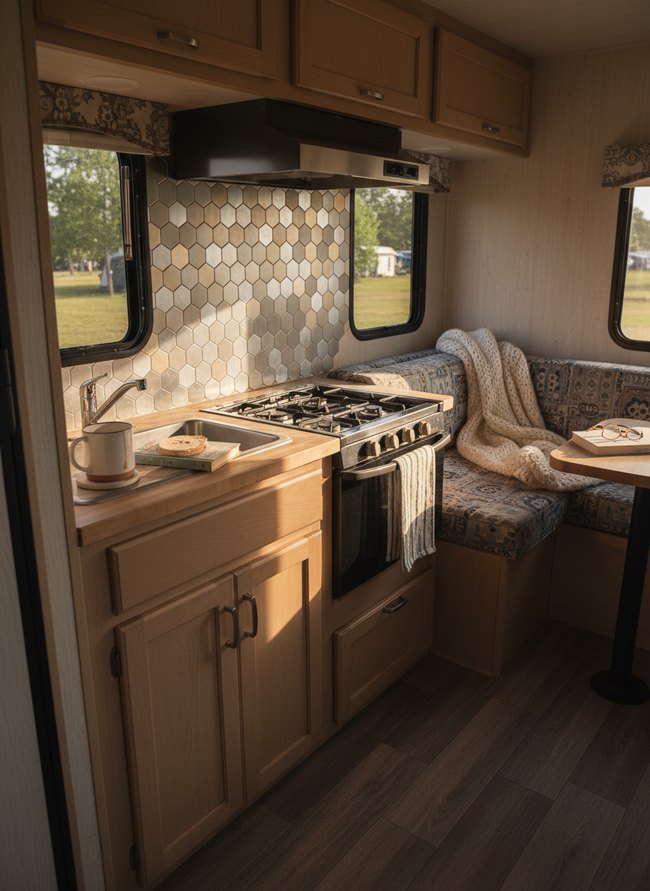
The metallic hexagon peel-and-stick backsplash offers a durable, light-reflecting surface in a small cooking area. Self-adhesive tiles come in various metallic finishes, like brushed aluminum or polished chrome, to match existing fixtures. The reflective quality of the backsplash brightens a compact kitchen.
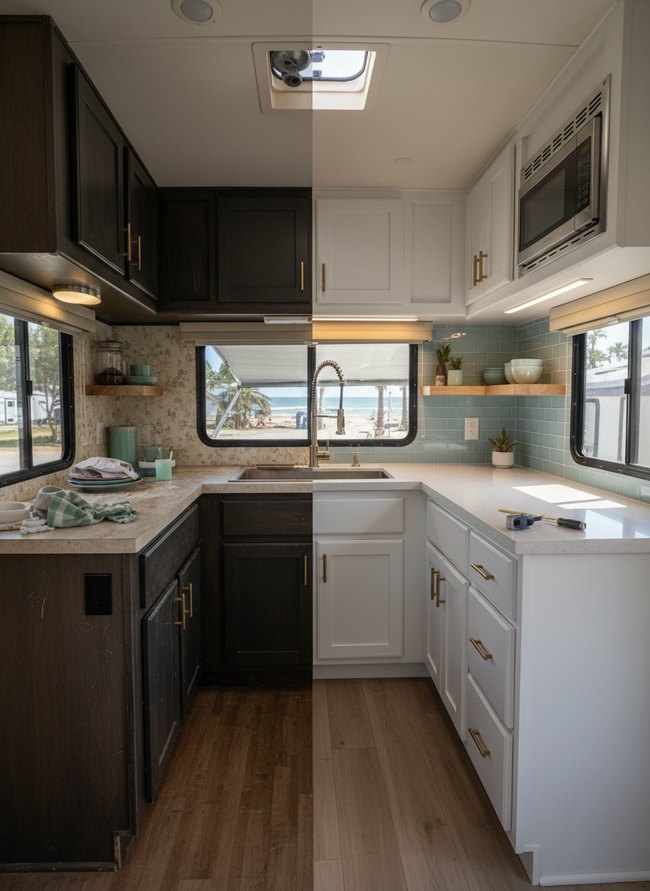
2. Subway Tile Adhesive Backsplash
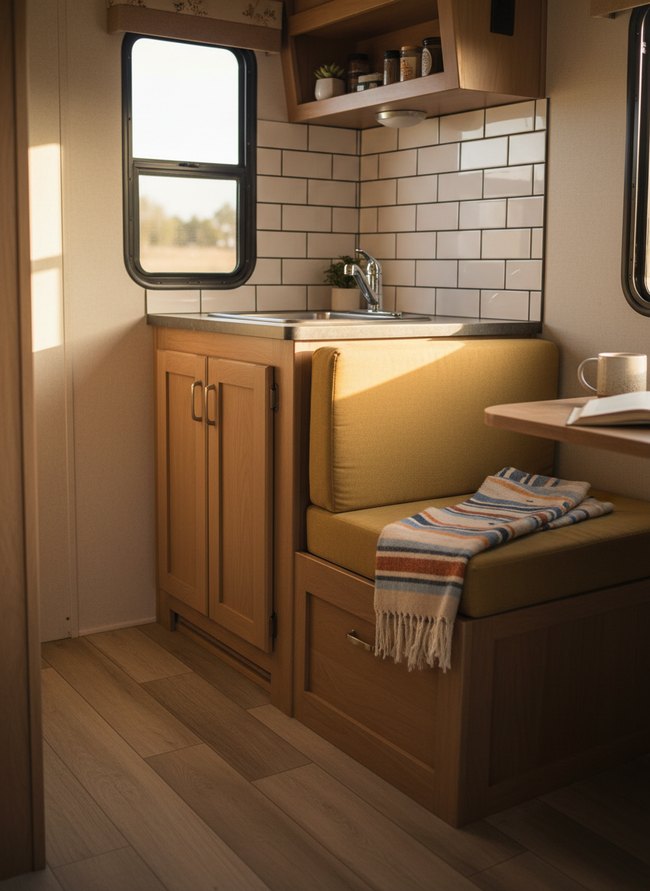
White subway tiles with dark gray grout create a crisp, clean RV backsplash for the small kitchen area. Adhesive tiles offer a quick upgrade without the mess of traditional mortar. Find a smooth, clean surface before applying your chosen kitchen backsplash.
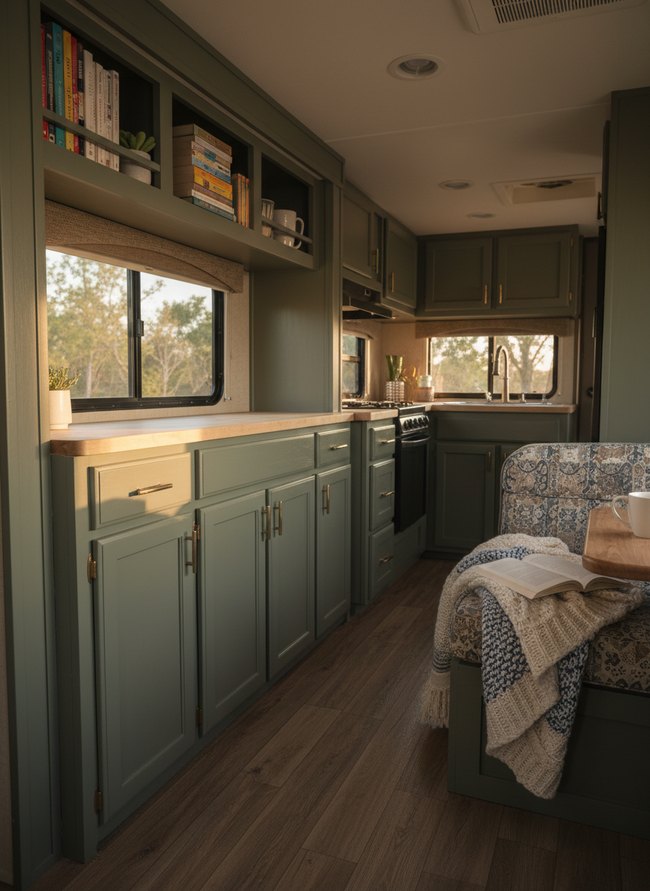
3. Faux Wood Plank Backsplash
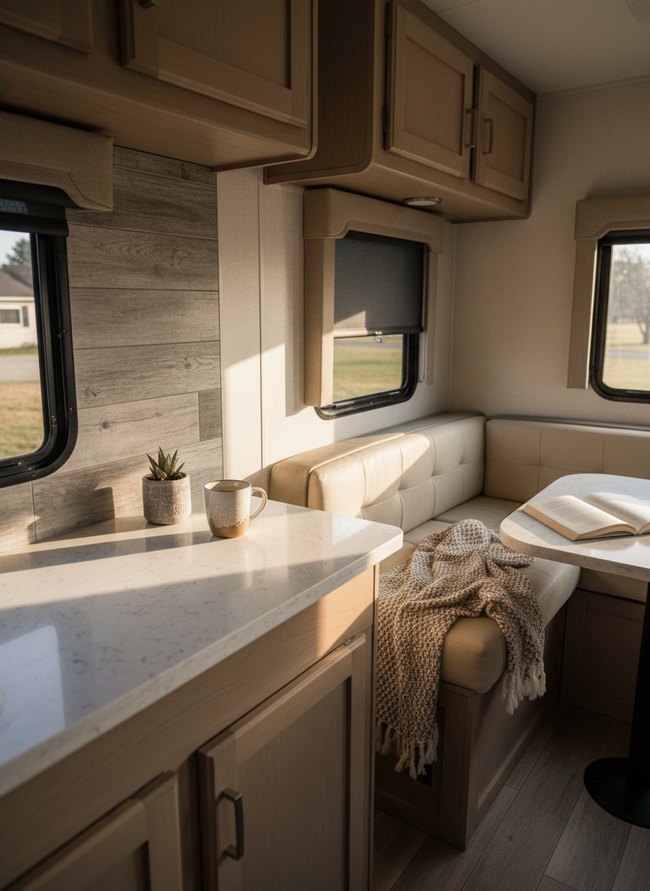
Light gray faux wood planking creates a rustic, weathered look on the RV backsplash. The material offers a budget-friendly way to bring natural wood texture into your mobile kitchen. Real wood planks can warp with temperature changes in an RV.
4. Textured Stone Panel Backsplash
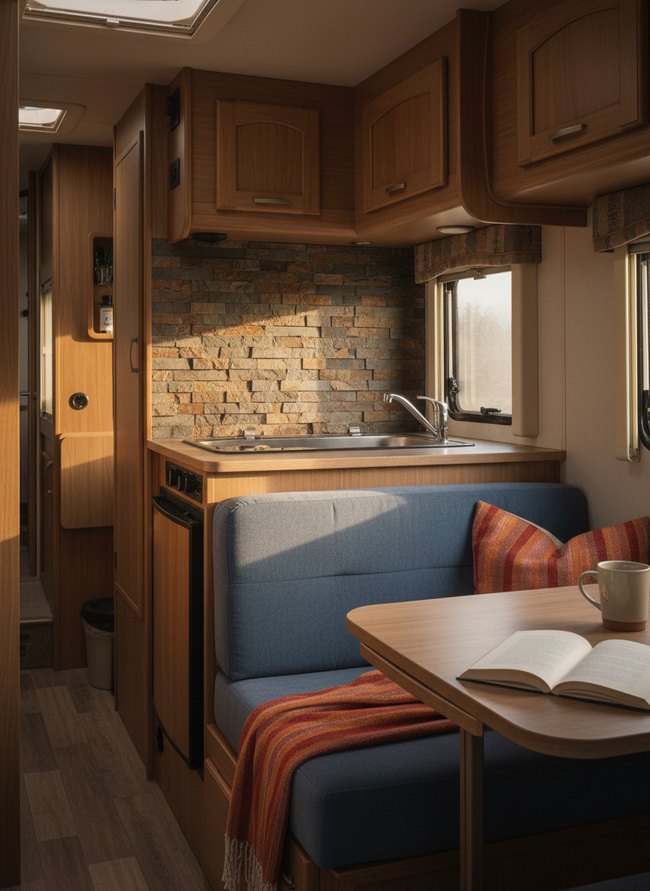
The stacked stone backsplash uses brown and gray shades to create a rugged, natural look above the silver sink. Sunlight casts long shadows across the textured surface, highlighting the uneven edges of each stone panel. Consider using a similar stone-panel backsplash to bring an outdoor feel into your compact kitchen space.
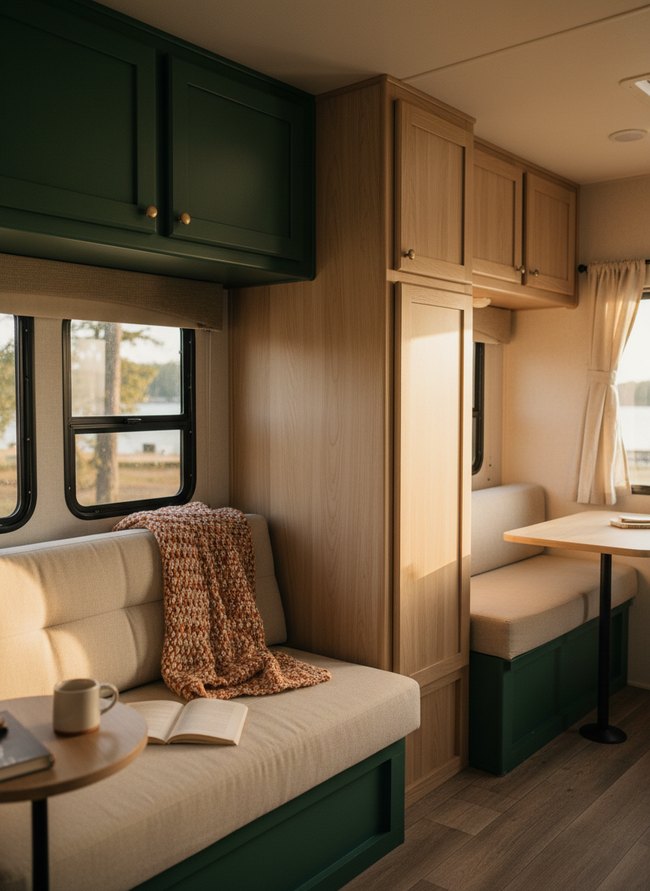
5. Geometric Pattern Vinyl Backsplash
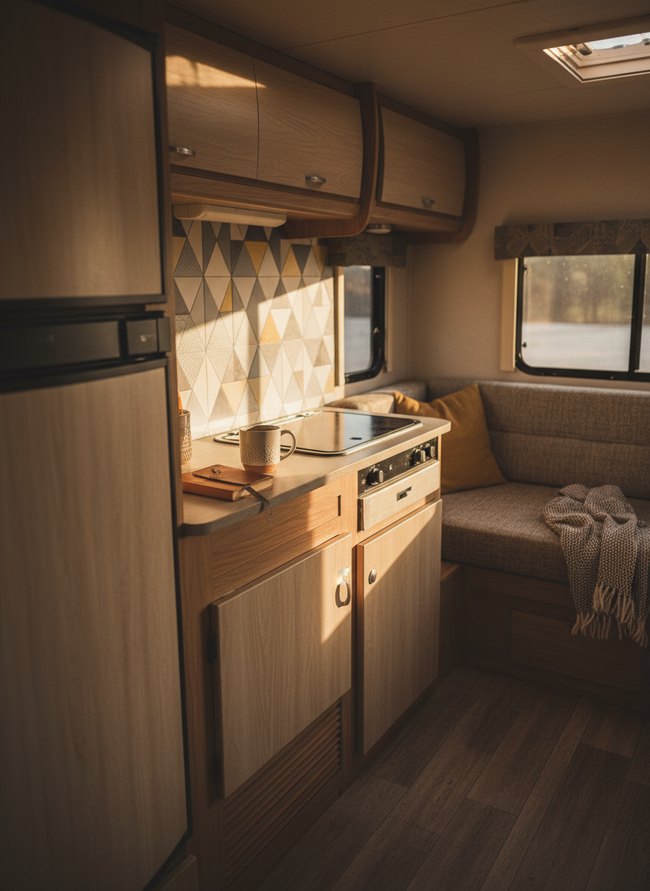
A geometric vinyl backsplash, with warm yellow and gray triangular patterns, adds a playful touch to the light wood kitchen. The peel-and-stick material offers an easy way to update a small space without heavy tools. Choose a vinyl design that complements existing cabinetry for a cohesive look.
6. Gleaming Stainless Steel Backsplash

The polished stainless steel backsplash reflects warm sunlight, making the small kitchen area feel bigger. The durable metal surface bounces light around the room, brightening the white cabinets and light wood countertop. A shiny metal backsplash offers easy cleaning and a modern, open look in any RV.
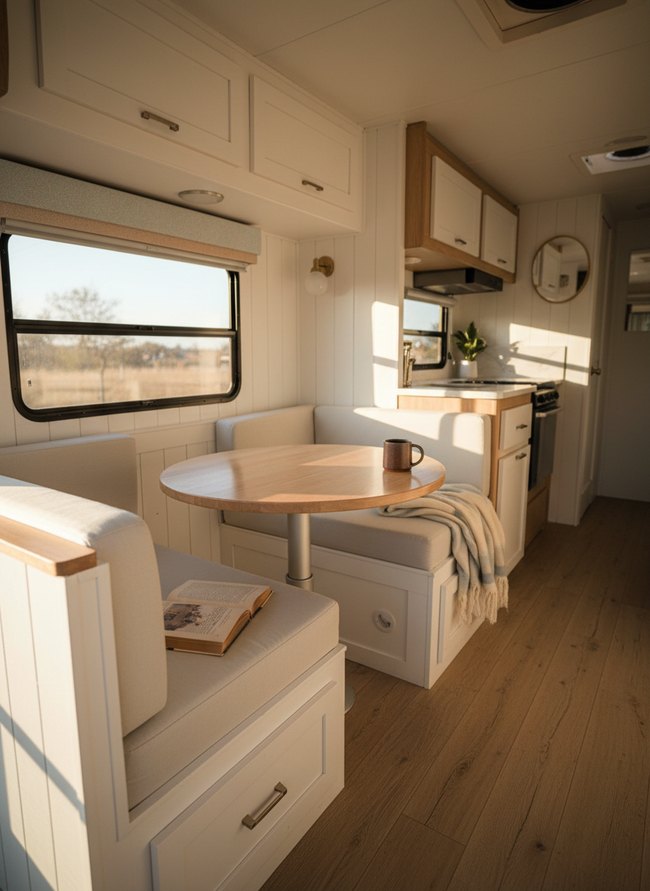
7. Classic White Beadboard Backsplash
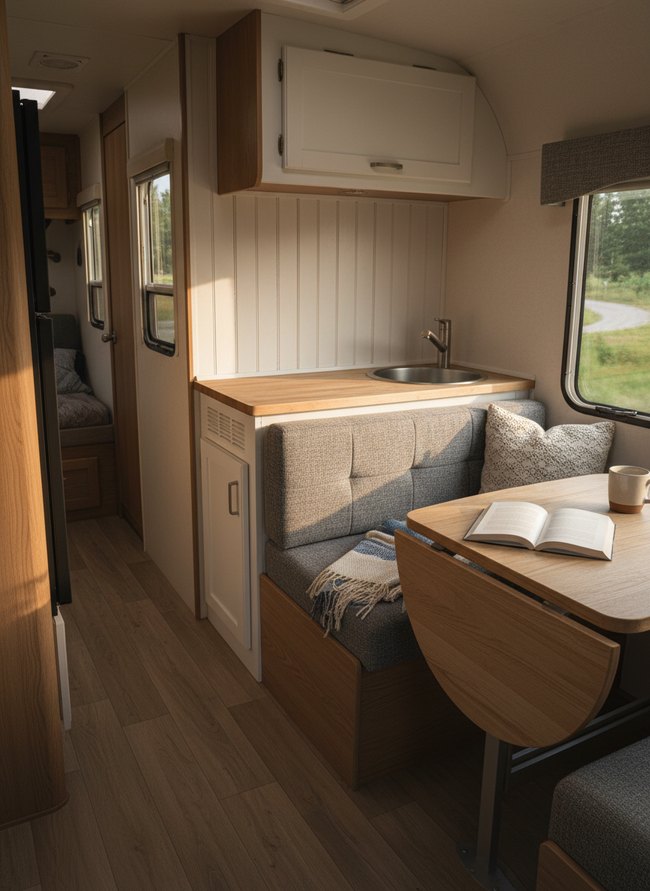
The white beadboard backsplash adds a crisp, clean texture to the RV kitchen. Homeowners can install the simple material easily for an instant upgrade. Pick a durable, moisture-resistant panel for your RV backsplash.
8. Mirrored Acrylic Sheet Backsplash
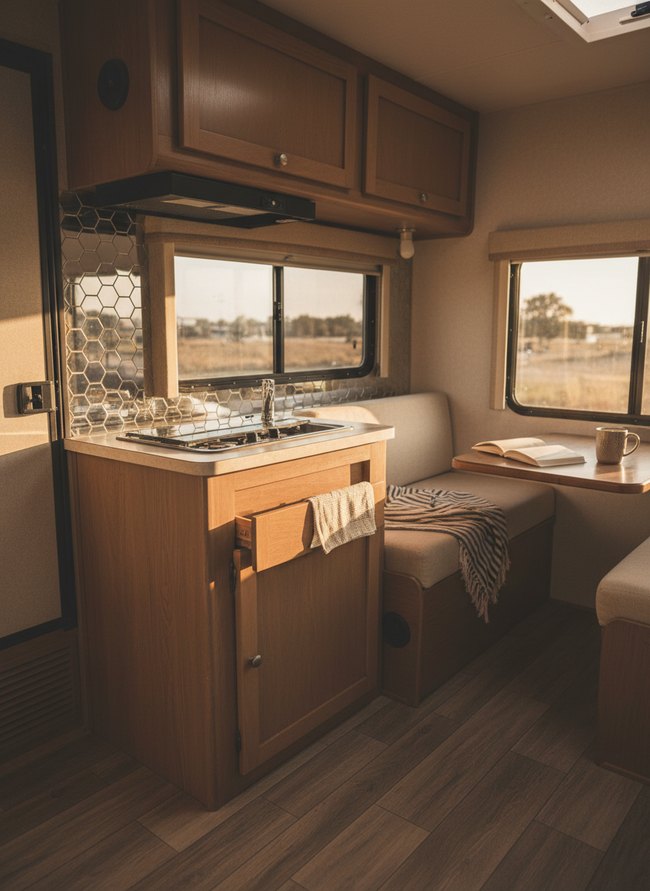
A honeycomb-patterned backsplash uses mirrored acrylic sheets to add shine above the small stainless steel sink. The reflective surface brightens your kitchen, making the area seem larger and more open. Consider using a strong adhesive to attach acrylic panels, ensuring they stay put during travel.
Can My RV Walls Even Handle a Backsplash? (And What About Weight?)
Most folks assume RV walls are flimsy paperboard. Actually, those thin panels are quite strong for their purpose. You might fear a heavy tile backsplash will tear your RV’s walls right down. Conversely, modern peel and stick tiles weigh very little. Many owners glue bulky ceramic tiles directly to their kitchen walls. A much better plan involves using lightweight adhesive-backed vinyl sheets.
Traditional grout creates extra mess and adds unnecessary heft inside a small space. Conversely, a smart owner chooses seamless, waterproof panels. You may worry about road vibrations shaking your new backsplash loose. Strong construction adhesive applied sparingly prevents wobbly panels. Cheap contact paper bubbles and peels over time. Quality marine-grade PVC panels withstand years of travel. A heavy, full-height backsplash consumes precious cargo capacity. Instead, consider a narrow, waist-high strip for a pop of color without excess mass. Your RV’s structure handles surprisingly well when you pick the right materials.
Adhesive Anxiety: How to Ensure Your Backsplash Stays Put on the Road
Most people grab any old tube of construction adhesive for their RV backsplash ideas. That sticky goo works fine for static homes, but your rolling kitchen is not a static home. Vibrations from rough roads shake things loose. Changes in outside temperature make materials expand and contract. Moisture from cooking steams up the small space.
Many RV owners simply glue up peel and stick tiles. Those thin vinyl sheets curl at the edges after a few bumpy trips. Your best bet for a lasting backsplash involves specific products. Loctite PL Premium Polyurethane Construction Adhesive creates a strong, flexible bond. This thick amber glue handles extreme temperature swings. A few dabs secure each tile.
You also need a good caulk. Silicone caulk offers superior waterproofing. Apply a thin bead around all edges of your new backsplash. This clear sealant stops water from getting behind the tiles. Water causes mold and adhesive failure. Gorilla Glue Heavy Duty Construction Adhesive also works well. This strong white adhesive sets quickly. Pick a clear or white caulk to match your design.
Which Idea Will You Try First?
That’s 8 different takes on rv backsplash ideas. The best ideas above are usually the smallest moves — one material, one layout shift, one piece of furniture in the right place. Pick whichever room feels closest to your space and start there before tackling the rest.
Found an idea worth keeping? Save this post to your Pinterest board so it’s waiting for you when you’re ready to start your own project.