How to Paint RV Cabinets That Actually Last
Honey-toned cabinet doors glare under the bright overhead lights. Old wood grain patterns peek through thin factory finishes, making the entire space feel tired. RV owners want a fresh, bright look inside their rolling home, not worn-out surfaces from decades past. Perhaps a quick coat of primer was tried before, only to see ugly chips appear weeks later from daily use. Painting RV cabinets transforms small living quarters into a cheerful haven, but the job needs proper preparation. A durable finish on galley cupboards makes every meal feel special. The detailed guide walks you through proven steps to achieve professional, lasting results, ensuring painted surfaces stay pristine for many miles to come.
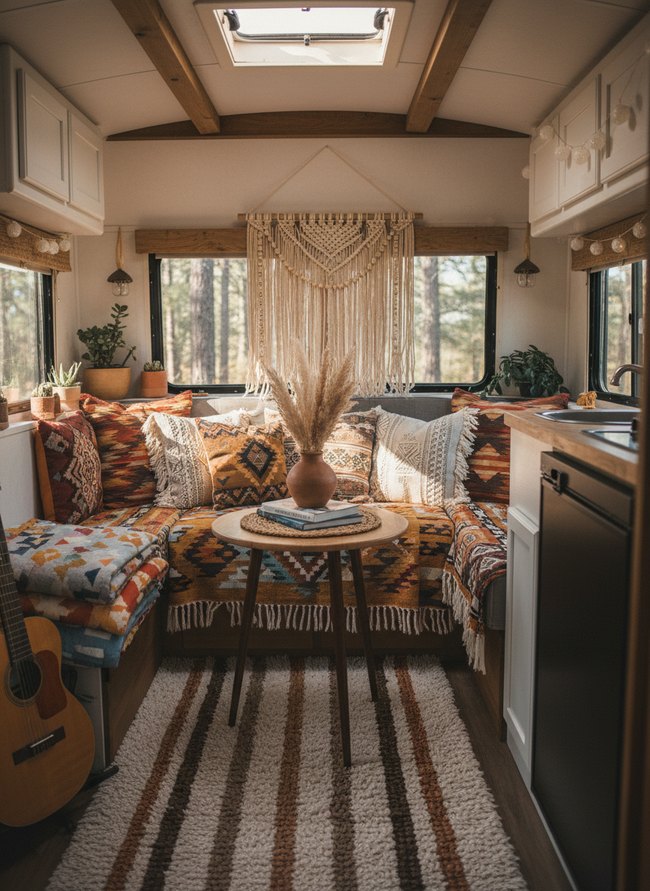
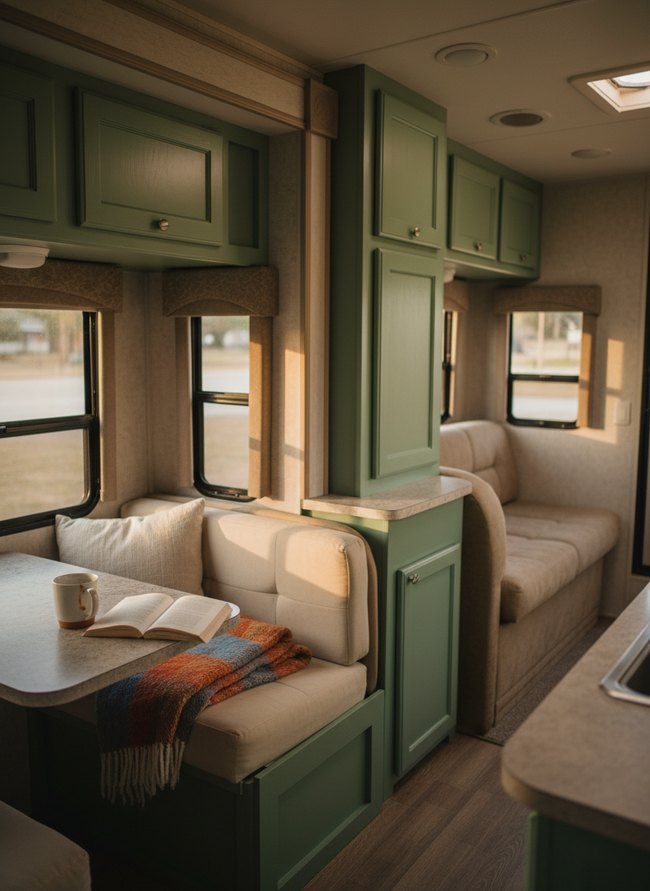
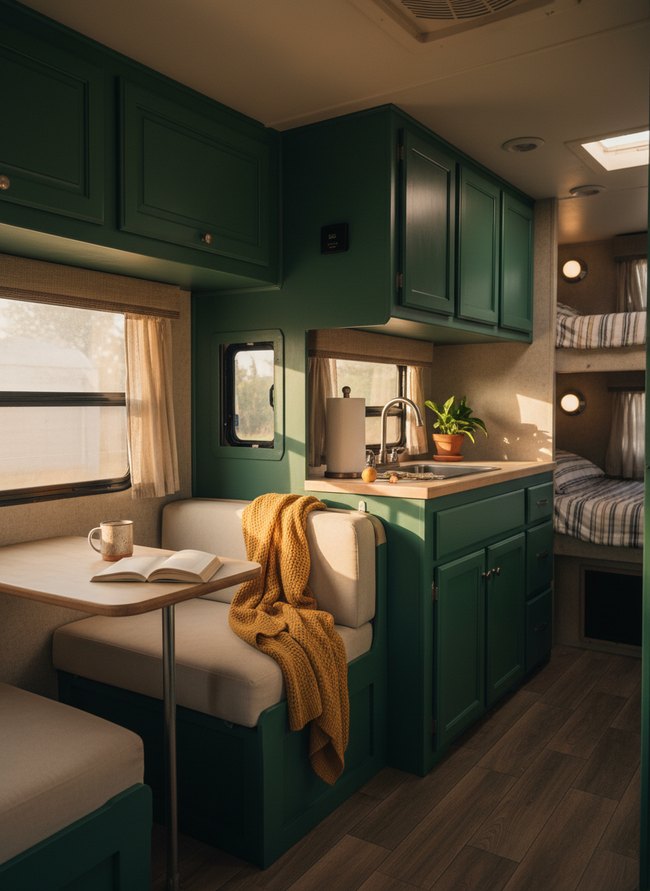
1. Durable Matte Finish
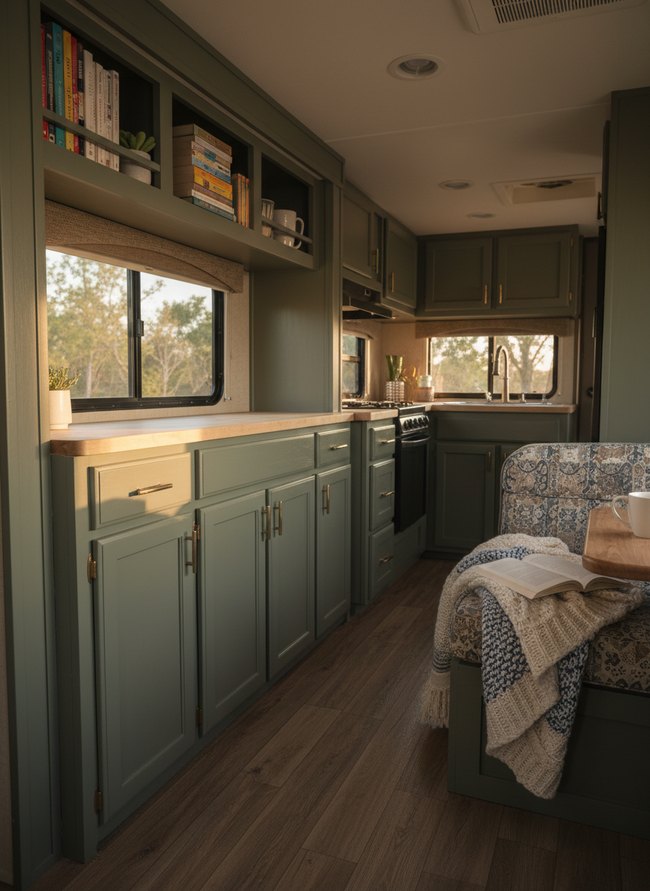
Sage green RV cabinets stretch across the entire length of the small kitchen, providing abundant storage space. Golden brass hardware gleams on each cabinet door, offering a warm metallic contrast to the cool painted surfaces. The matte finish looks durable and gives the kitchen an updated aesthetic for your home on wheels.
2. Glossy White Facelift
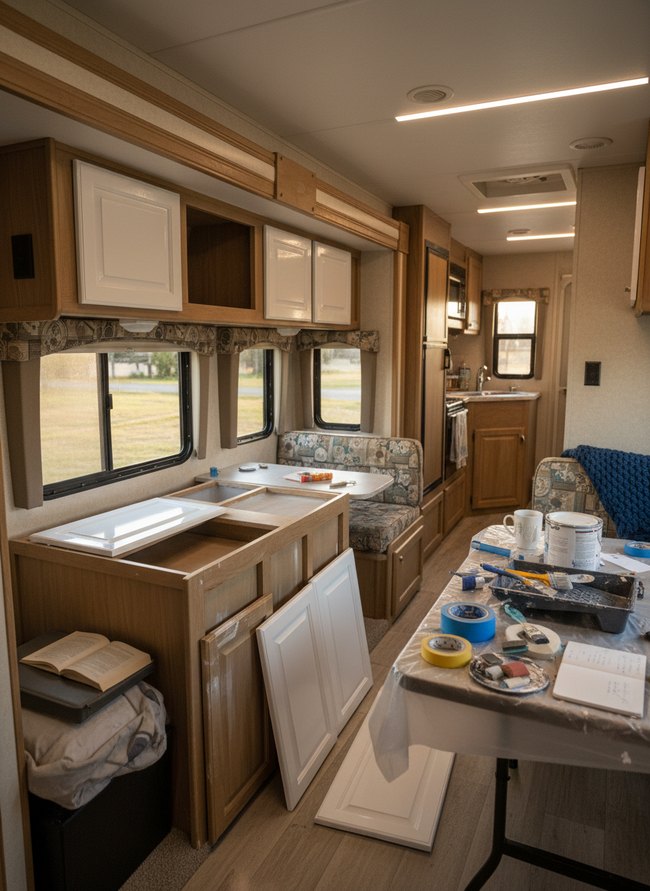
Several white cabinet doors, some attached and some leaning against a wooden base, demonstrate the impact of fresh paint. The contrast between the bright glossy white and the natural light brown wood shows the dramatic change possible when painting RV cabinets. RV cabinets achieve a bold, clean look with careful preparation and a smooth finish.
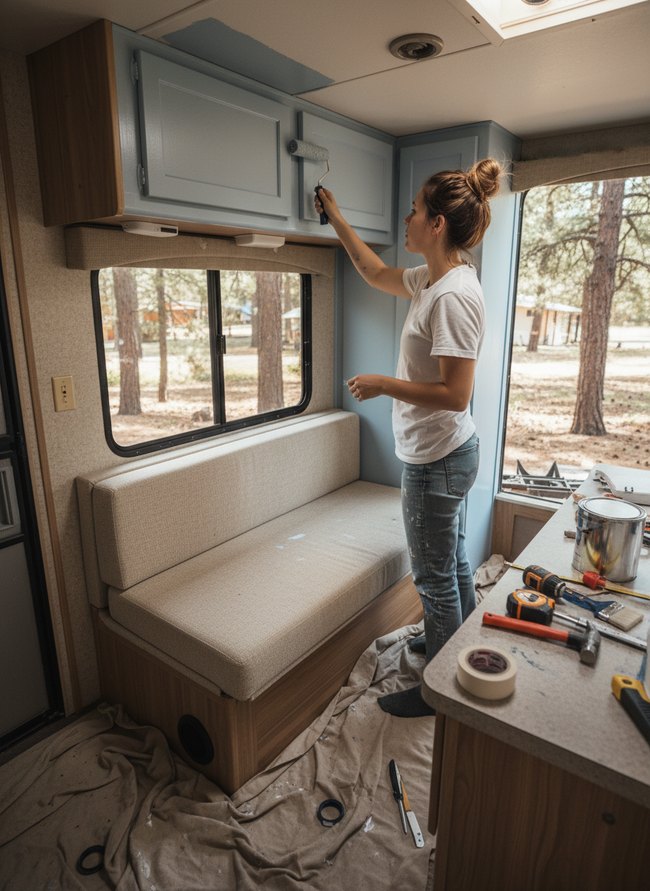
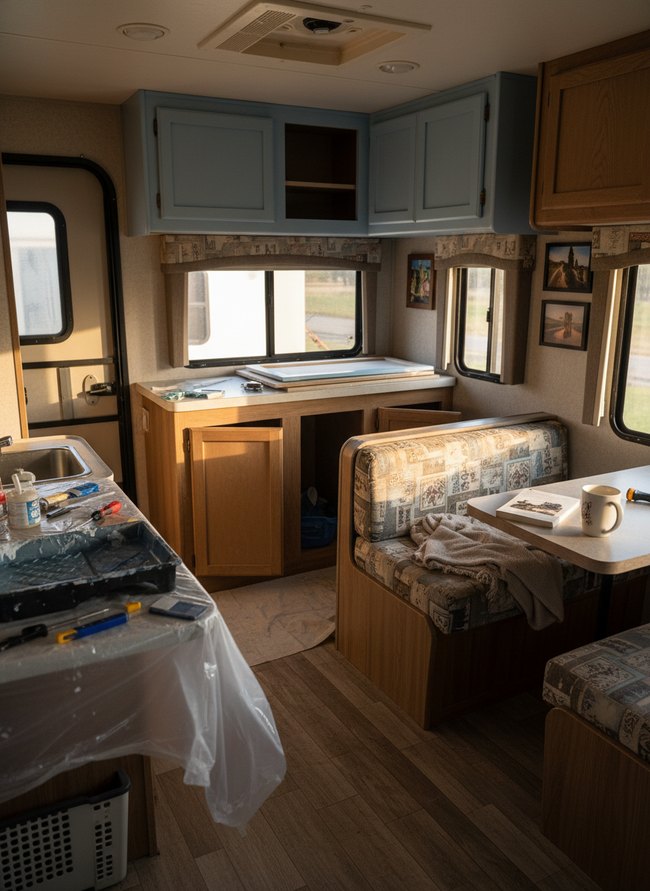
3. Rich Two-Tone Restoration
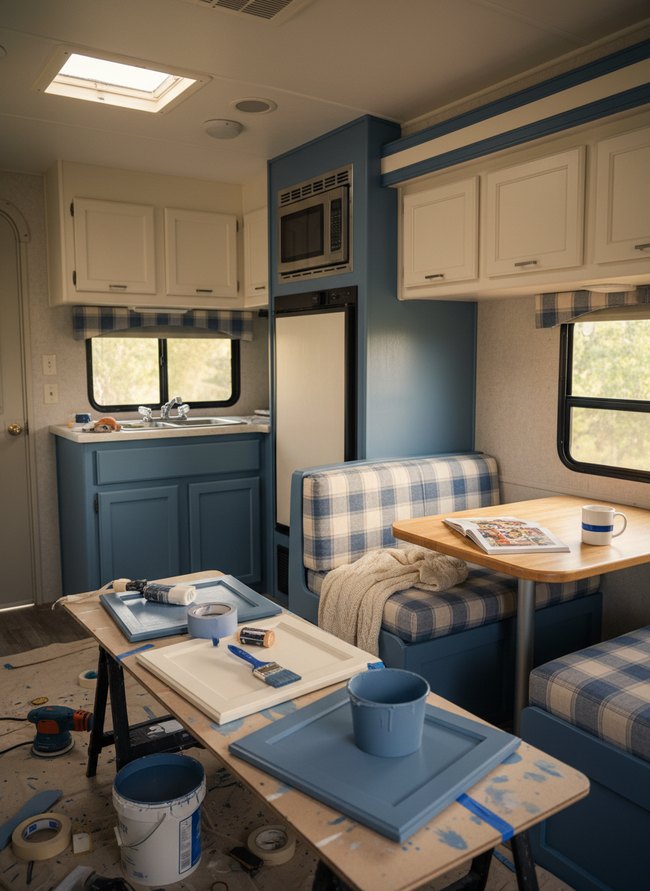
The small kitchen area features painted RV cabinets in a two-tone scheme, with bright white upper cabinets complementing deep blue lower units. Paint cans, brushes, and masking tape on a sawhorse show the ongoing work to transform the old cabinets into a fresh, inviting space. The image shows how to paint RV cabinets, creating a clean, modern look for your mobile home.
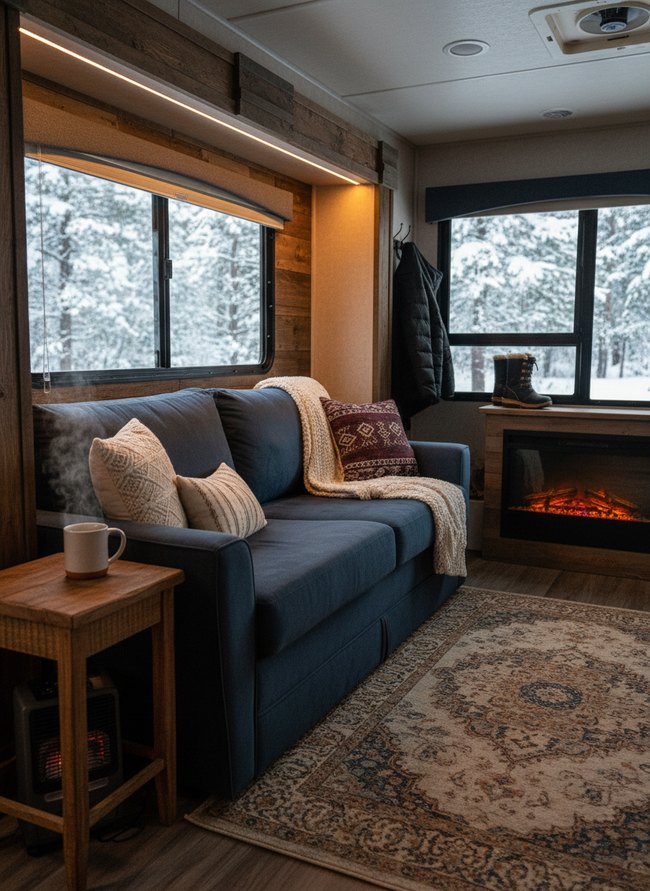
4. Modern Gray Transformation

Refreshed gray RV cabinets create a unified, clean look across the living space. Subtle cabinet doors and simple square drawer fronts offer a modern, updated aesthetic. The painting method provides a stylish transformation for your RV’s interior.
5. Rustic Farmhouse Overlay
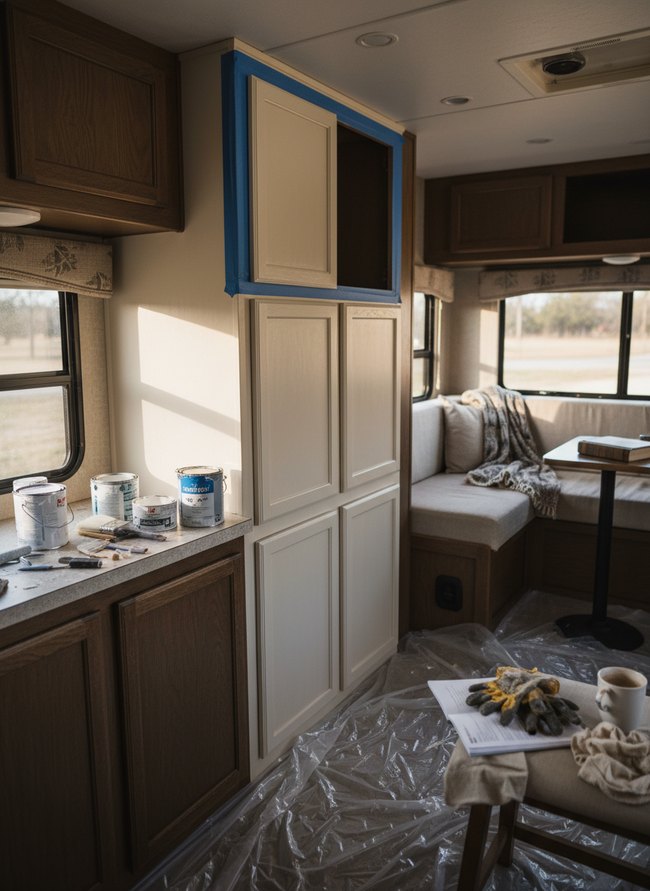
Light cream paint covers most lower and middle cabinet doors, giving them a fresh, clean look. Blue painter’s tape neatly frames the top cabinet opening, showing careful preparation for painting the remaining RV cabinets. Clear plastic sheeting protects the floor, ensuring easy cleanup during the painting project.
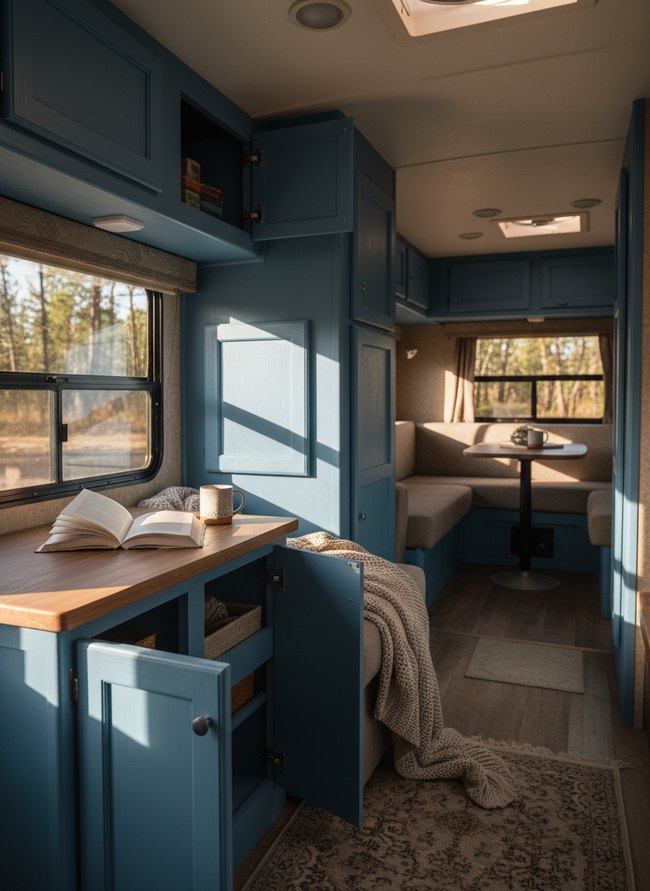
6. Coastal Blue Refresh
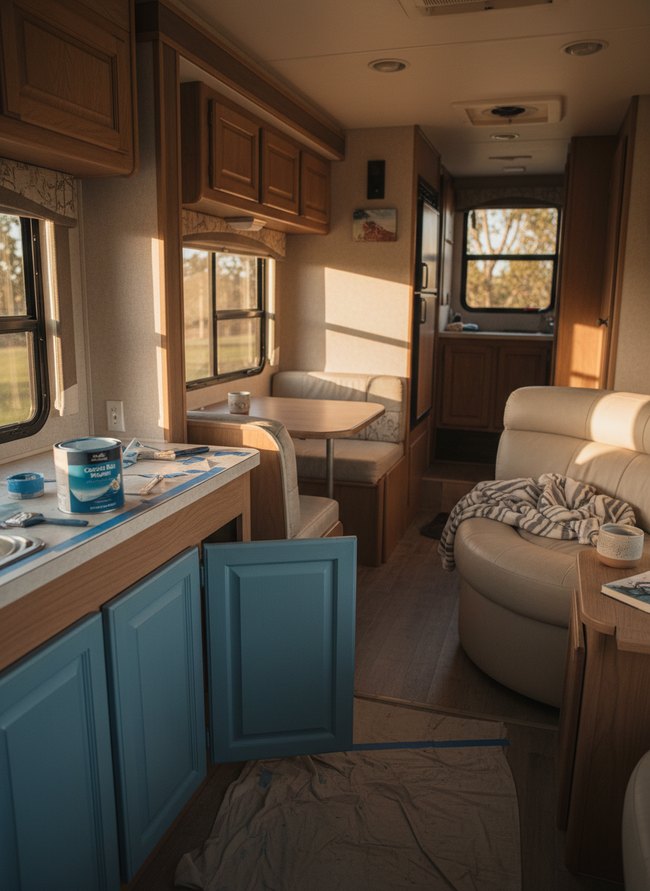
Blue painted RV cabinets show a clear step in transforming an RV’s interior from a dull, wood-toned space to a vibrant, coastal-inspired haven. A light blue paint can sits open on the countertop, ready to apply fresh color to the remaining cabinet doors. RV owners can successfully paint the cabinets with a little preparation and the right tools.
7. Smooth Cabinet Glaze
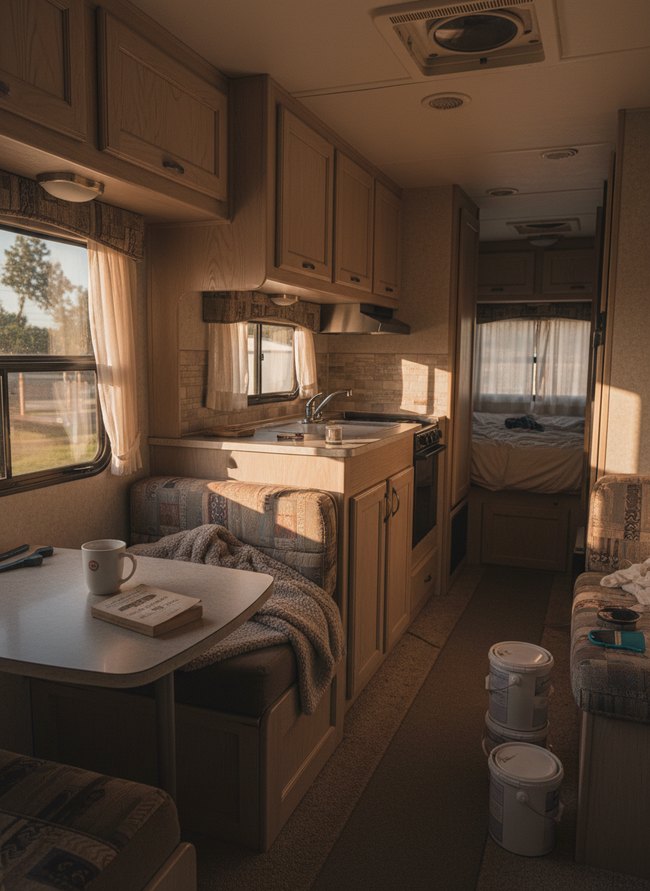
Light wooden RV cabinets with recessed panel doors create a uniform, bright appearance in the small kitchen. Fresh white paint pails on the tan carpet suggest a recent project to update the interior. A clean, smooth cabinet glaze will brighten your traveling home.
8. Distressed Wood Revival
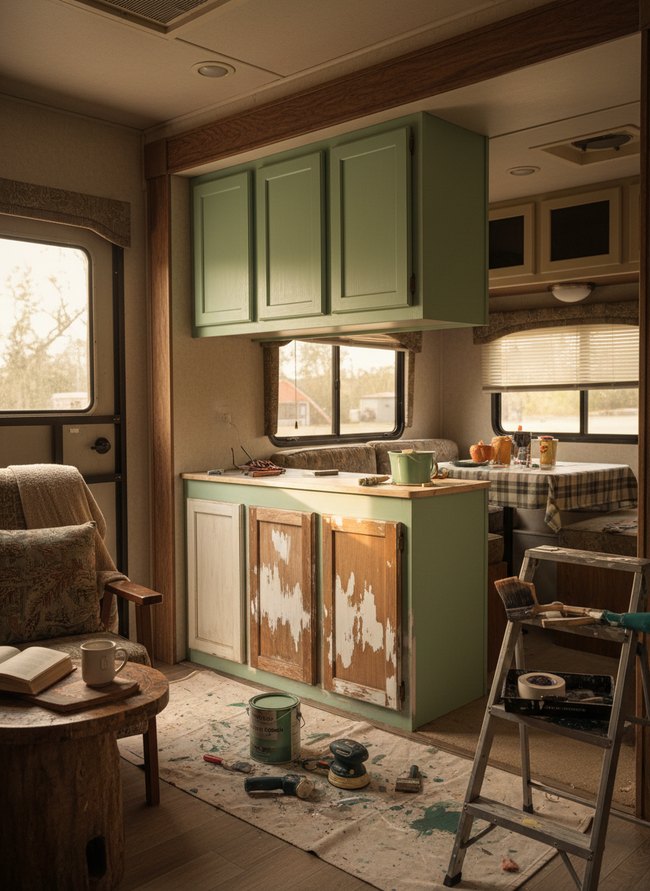
Light green rv cabinets sit finished, ready for use. Two lower wooden cabinet doors show significant paint stripping, revealing worn wood beneath. The image clearly demonstrates how to paint the rv cabinets for a distressed wood revival look.
9. High-Traffic Prep Work
Light blue painted RV cabinets hang above a wood-look countertop, revealing the fresh color. A plastic drop cloth covers the nearby kitchen counter, protecting surfaces from paint splatters. Careful preparation makes painting the cabinets much easier.
10. Chip-Resistant Paint Application
Deep teal cabinets showcase a smooth, durable finish across their flat wooden surfaces, reflecting ambient light. Overhead cabinets feature open doors, revealing neatly stored items and demonstrating easy access for travelers. The uniform paint application on all the storage units suggests a chip-resistant coating, promising long-lasting beauty and function.
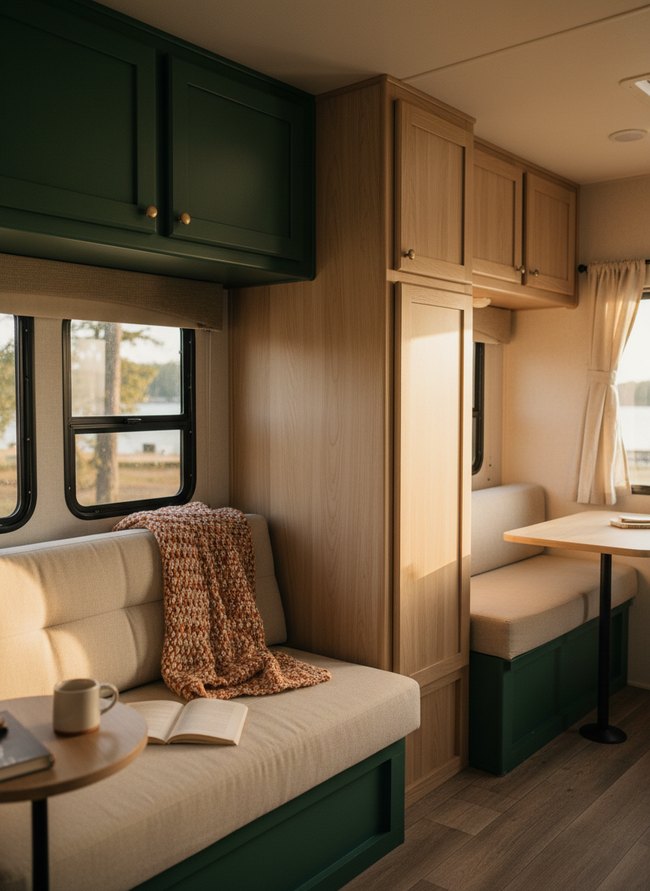
11. Professional Spray Finish
Deep forest green RV cabinets gleam with a smooth, professional spray finish, contrasting with warm cream cushions and light wood countertops. Golden sunlight streams through sheer window curtains, highlighting the freshly painted surfaces and creating a cozy atmosphere. The detailed image shows how to paint RV cabinets for a durable, high-quality result that brightens any mobile living space.
12. Lasting Brushstroke Technique
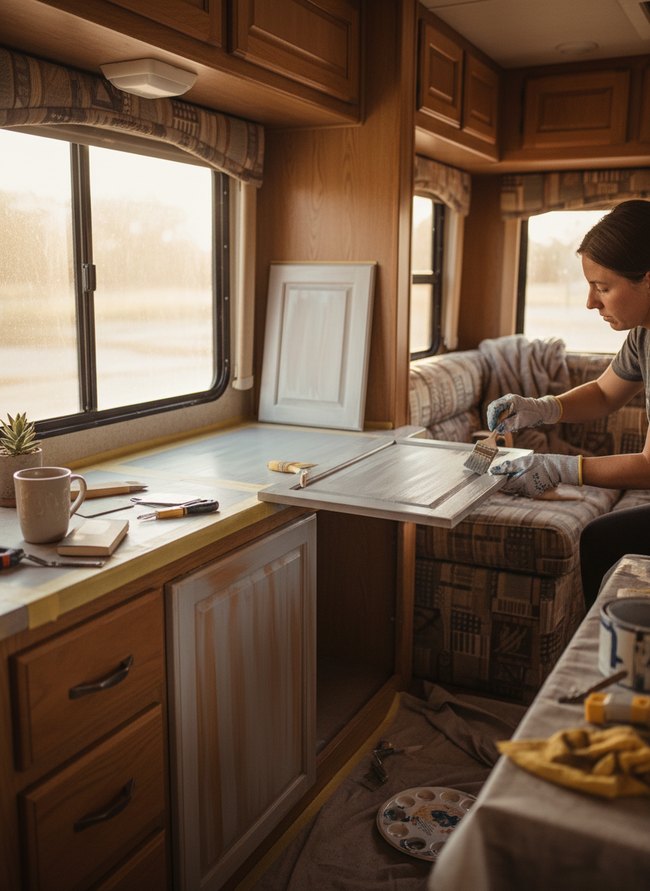
A diligent painter carefully applies light gray paint to a wooden cabinet door, which rests on a taped-off countertop inside a recreational vehicle. The fresh coat begins to cover the warm orange-brown original finish, showing how to paint RV cabinets for a refreshed interior. The image provides a clear visual example of proper brushstroke application on the cabinet surface.
Don’t Forget the ‘Cabinet Catch’ Conundrum: Painting Around Hardware That Actually Works
…And you might wonder about those small latches on your RV cabinets. Many home renovators suggest removing all hardware before painting, but those tiny roller catches and magnetic cabinet clasps on your RV doors need special attention. A standard kitchen cabinet hinge is simple; you just unscrew it. RV cabinet catches are different. These little mechanisms keep your cabinet doors shut tight on bumpy roads. You need those catches to function perfectly after your fresh coat of paint.
You have two main paths for these important parts. First, mask the catches carefully with painter’s tape. This method saves you time reattaching small screws. Make sure the tape creates a crisp, clean edge around the metal. Second, unscrew each catch and set it aside. This strategy allows for full paint coverage on the cabinet surface. You will need to mark each catch’s exact position before removal, ensuring correct realignment later. A small pencil mark works well. A mismatched catch will not secure your dishes. Your plates will crash when you hit a pothole. These tiny but mighty pieces of hardware protect your belongings.
The ‘RV Varnish’ Villain: How to Tackle Factory Finishes That Fight Back
…Your cabinets have a factory finish, a tough opponent. Degreasing with a strong cleaner like TSP is your first step for a lasting paint job, removing years of kitchen grease and grime from the flat doors. Many people skip this crucial stage, but paint will not stick to an oily surface. Oil-based primers work best on these hard surfaces, creating a strong bond for the new color. A 220-grit sanding sponge smooths the existing clear coat without scratching the wood grain too deeply. This light scuff provides tooth for the primer to grab onto the slick laminate. You might think a simple wipe-down is enough, but microscopic oils remain, causing paint to flake off the cabinet frames later. Always choose a bonding primer specifically made for glossy surfaces; regular primer cannot penetrate the tough acrylic coating. Two thin coats of primer, each allowed to fully dry, build a robust foundation. Paint adhesion depends on this careful preparation, not just the paint you pick. A shellac-based primer seals odors too, a bonus for older RVs.
Which Idea Will You Try First?
That’s 12 different takes on how to paint rv cabinets. The best ideas above are usually the smallest moves — one material, one layout shift, one piece of furniture in the right place. Pick whichever room feels closest to your space and start there before tackling the rest.
Found an idea worth keeping? Save this post to your Pinterest board so it’s waiting for you when you’re ready to start your own project.