How to Install Peel-and-Stick Flooring in a Camper
Vinyl planks often present a false promise of simple camper upgrades. Many tutorials skip the critical surface preparation needed for a lasting bond. Rough wood subfloors or old linoleum sheets require specific attention before new material adheres. Careful planning can avoid common pitfalls. The guide shows how to truly transform your mobile living space. New flooring will update your RV’s interior, providing a durable, fresh surface. We detail each step for your successful RV peel and stick flooring installation.
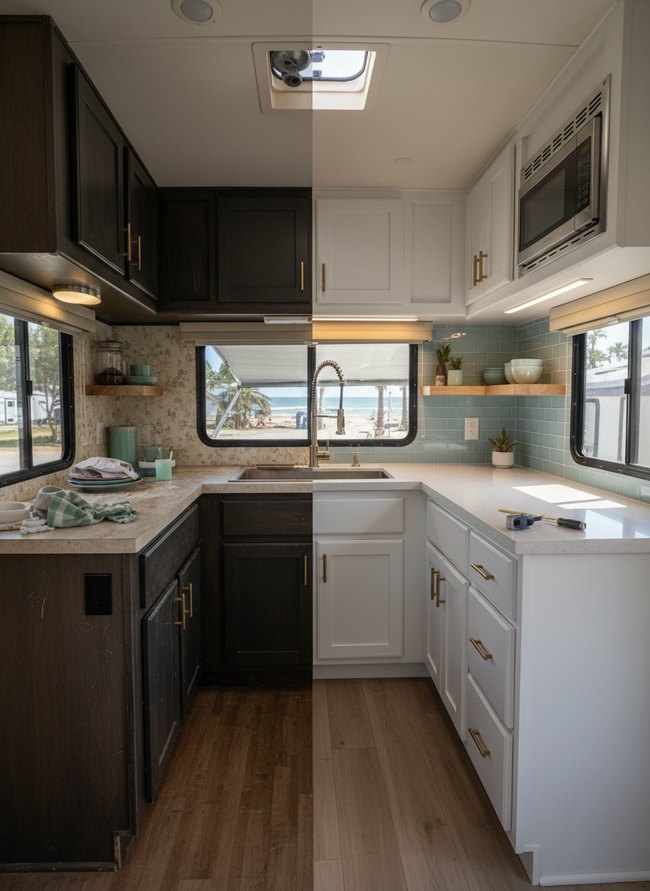
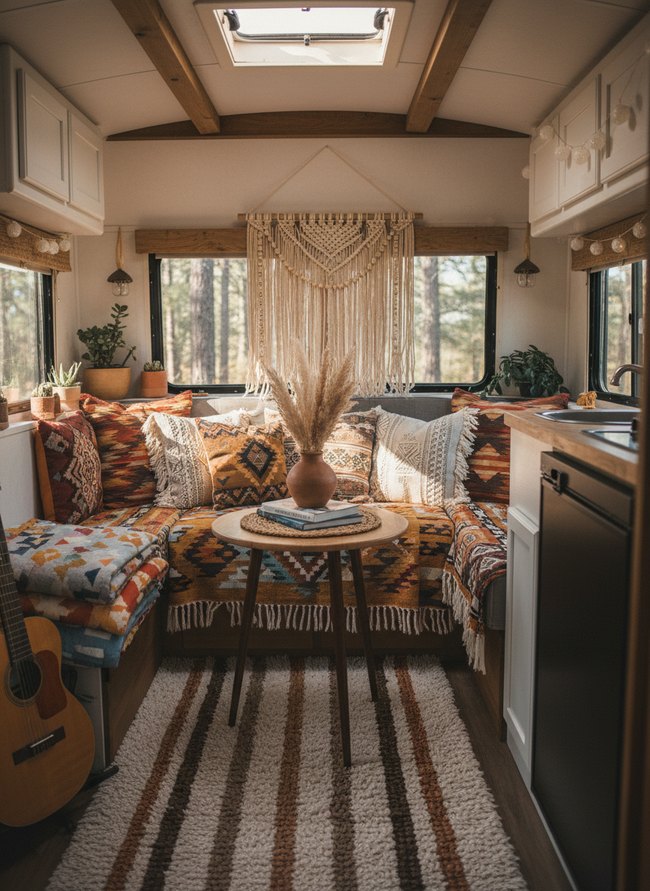
1. Classic Wood Plank Installation
Gray RV peel-and-stick flooring planks create expanded space in the compact camper. The linear pattern draws the eye through the entire room, making the interior feel less cramped. Light wood cabinets and a neutral bench seating area complement the flooring color without competing for attention. The long plank design makes any small space appear larger.
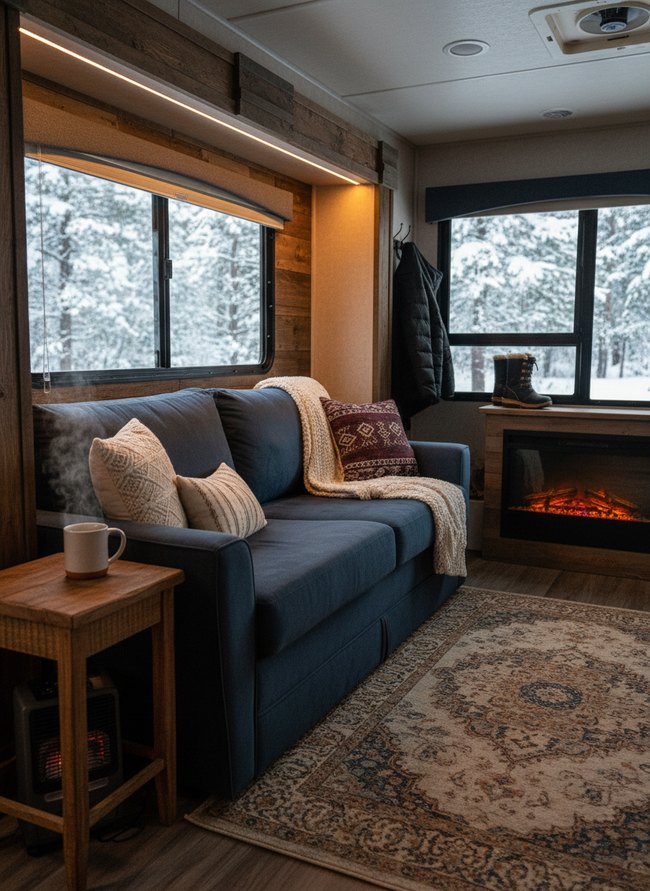
2. Herringbone Vinyl Application
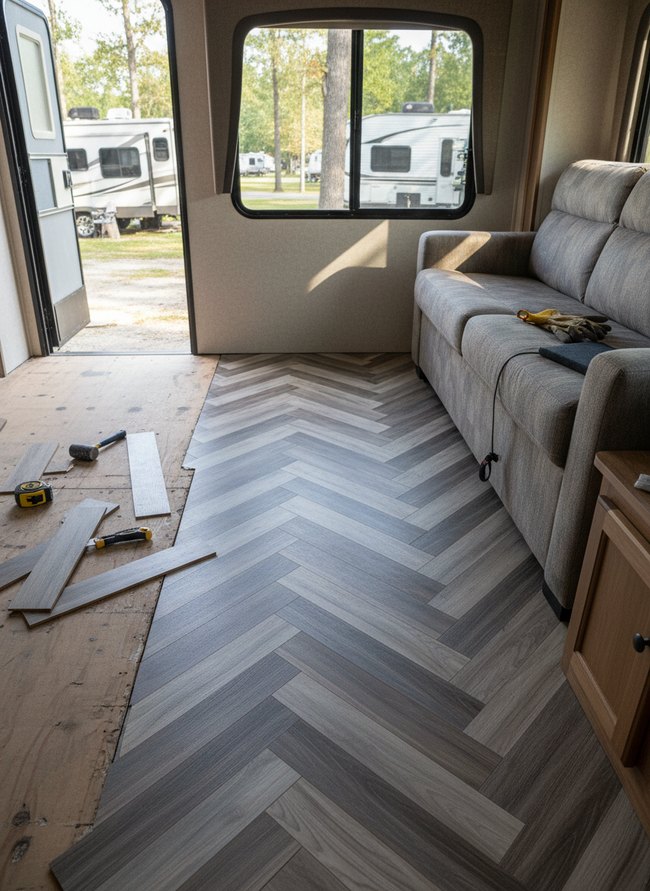
Herringbone patterns visually widen the narrow RV interior, creating an illusion of expansive space. The sophisticated layout works because angled lines draw your eye across the floor, breaking up the typical straight-line flow of a small room. A soft gray couch and a small wood cabinet complement the cool tones of the peel-and-stick flooring. Steal the herringbone pattern for a dynamic floor design.
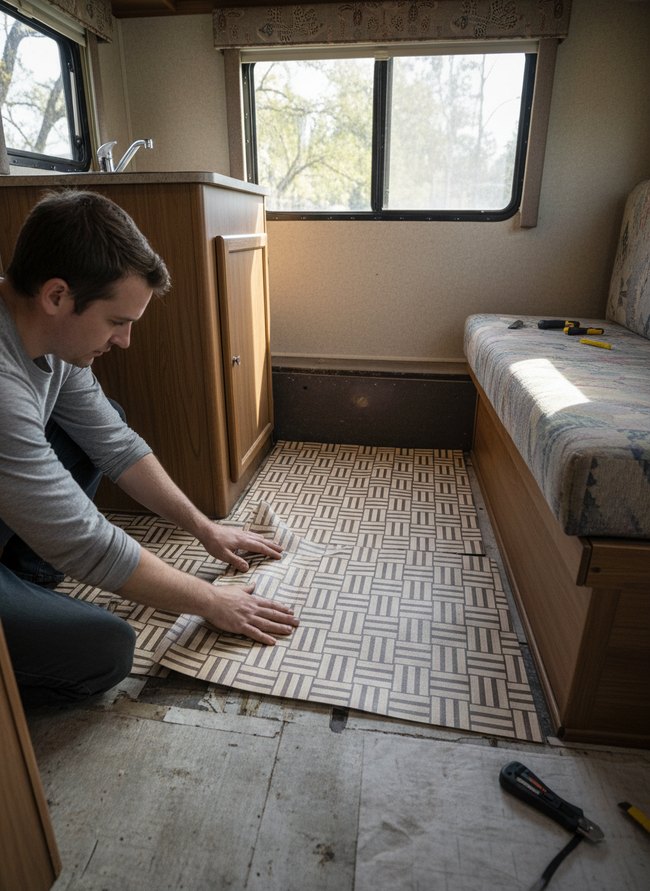
3. Geometric Tile Layout
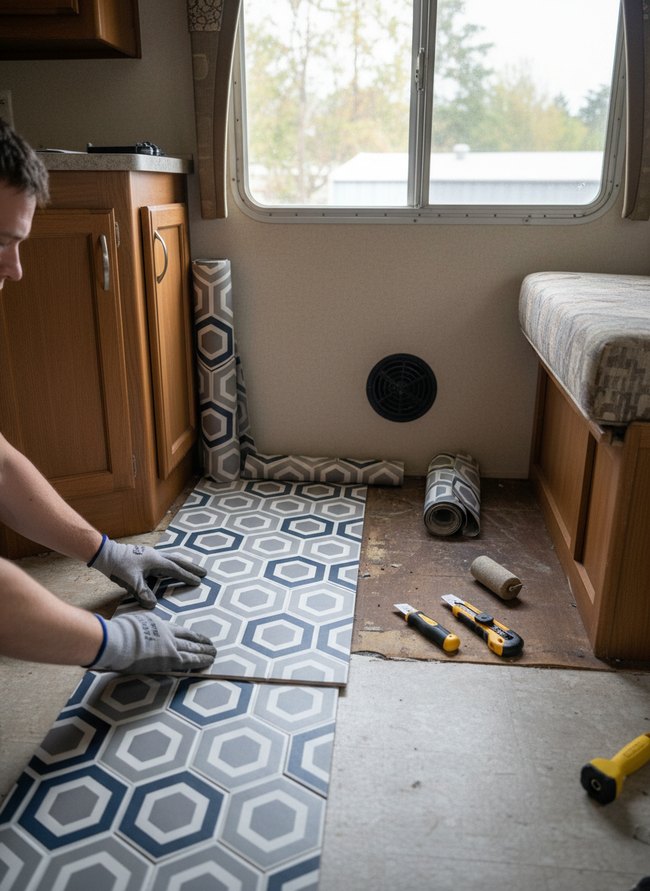
Geometric hexagon tiles laid in a straight line provide an organized visual flow. The alignment works well because the linear pattern guides your eye through the narrow camper space. A person’s gloved hands smooth the new RV peel-and-stick flooring, showing easy installation. The strong geometric pattern offers a clear design statement.
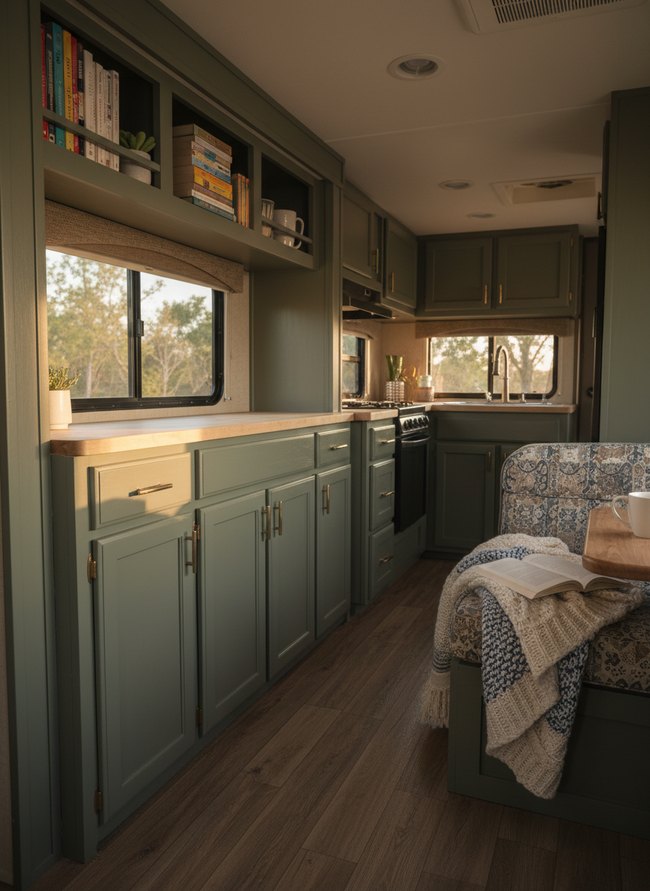
4. Rustic Farmhouse Overlay

The variegated wood grain of the RV peel and stick flooring planks creates visual depth. The design choice prevents the floor from looking flat, adding a rich, natural feel to the small camper space. A soft tan and charcoal striped banquette seating and matching light brown curtains complement the rustic tones. Choose a multi-tonal wood pattern for the planks.
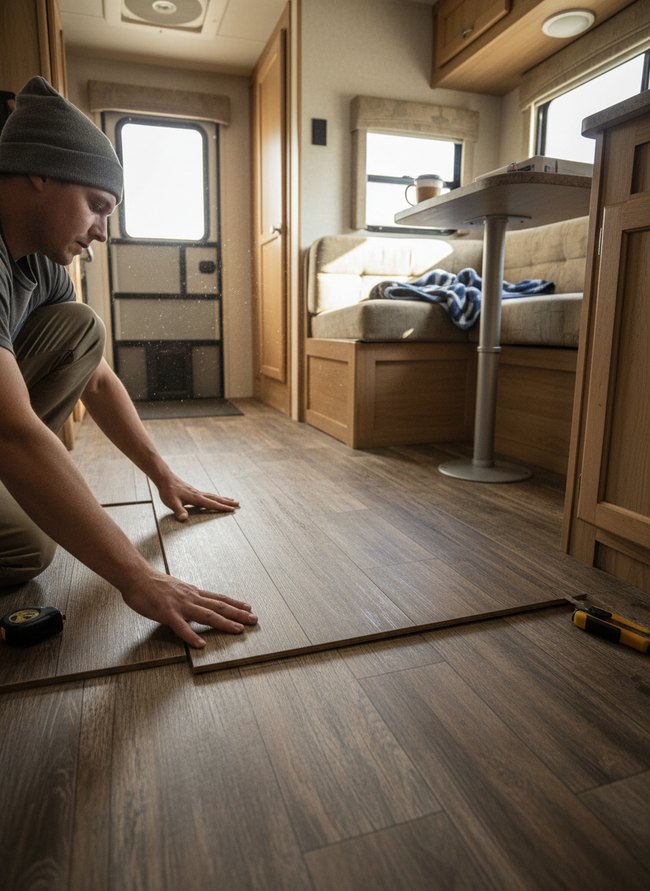
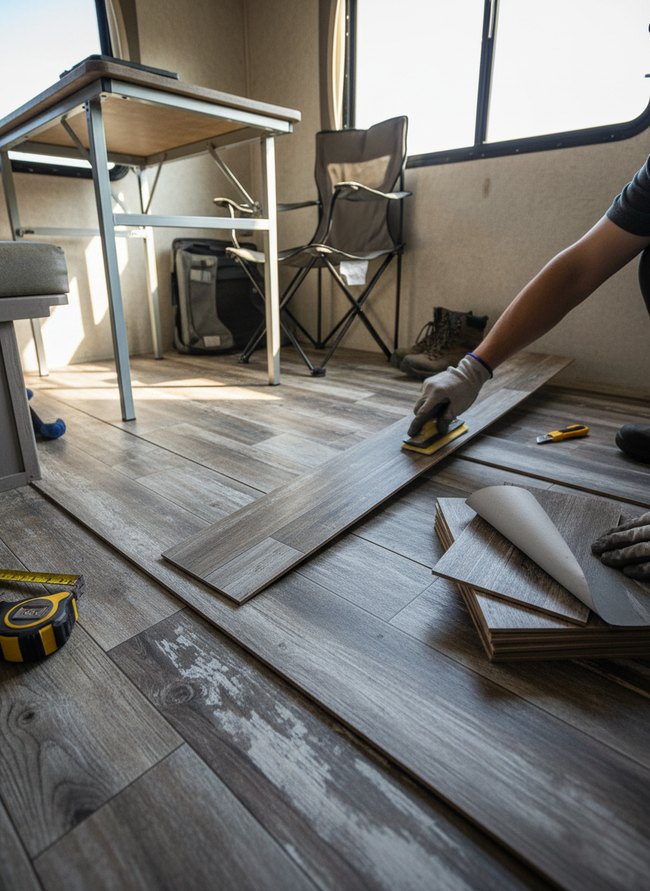
5. Modern Gray Laminate
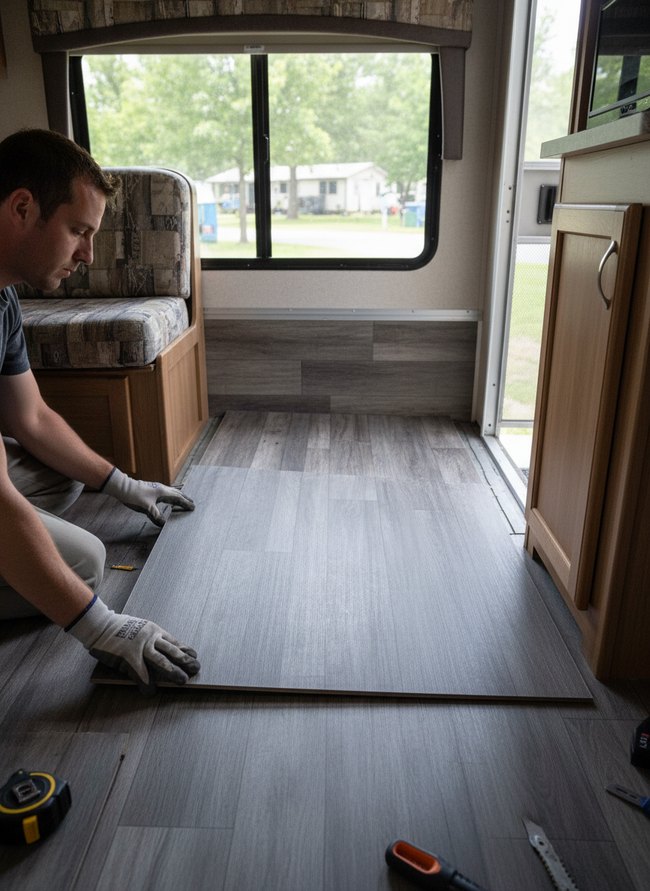
The installer extends the RV peel and stick flooring up the wall for a unified look. The clever move makes the small camper space feel bigger by blurring lines between floor and wall. A man in work gloves carefully aligns a new gray plank on the existing modern gray laminate planks. You can steal the idea of running your flooring material up a vertical surface to expand your room’s visual footprint.
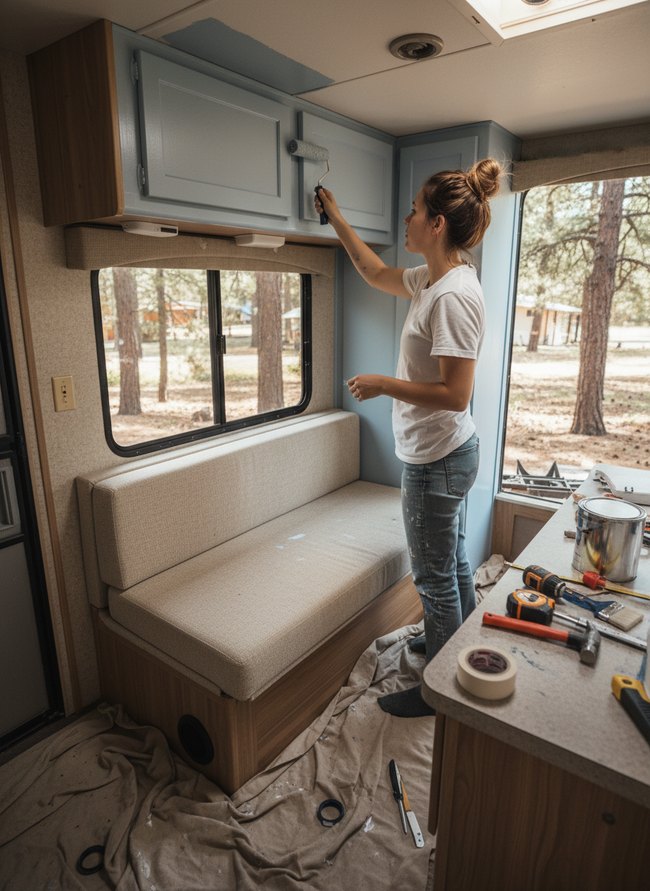
6. Coastal Whitewash Panels
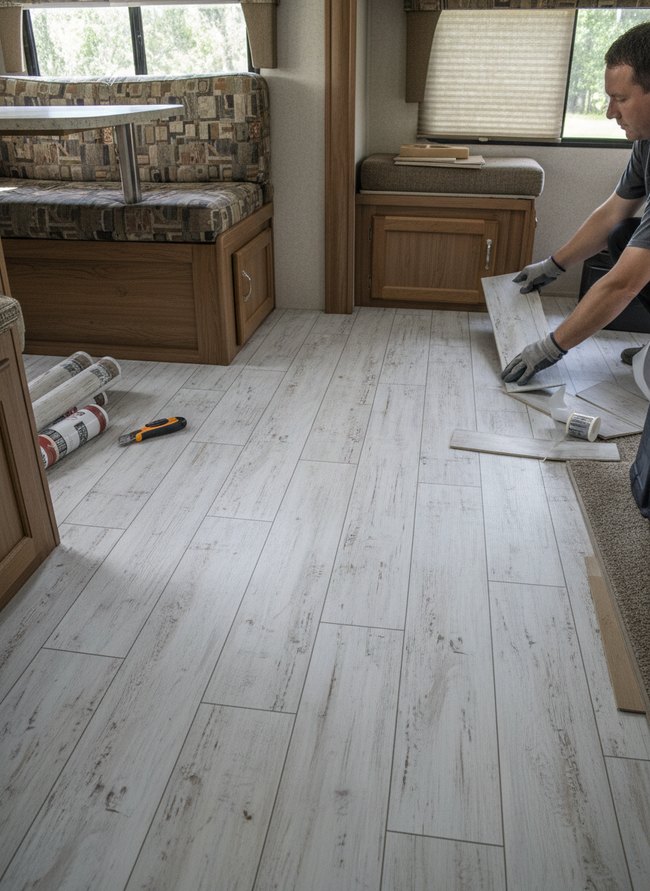
Coastal whitewash panels lighten the camper’s interior by reflecting available window light. Light wood cabinetry and a patterned bench cushion complement the bright RV peel-and-stick flooring. A person installs a new floor plank on the white floor. Homeowners can steal the bright, wide floor panels for their own small space.
7. Subway Tile Effect
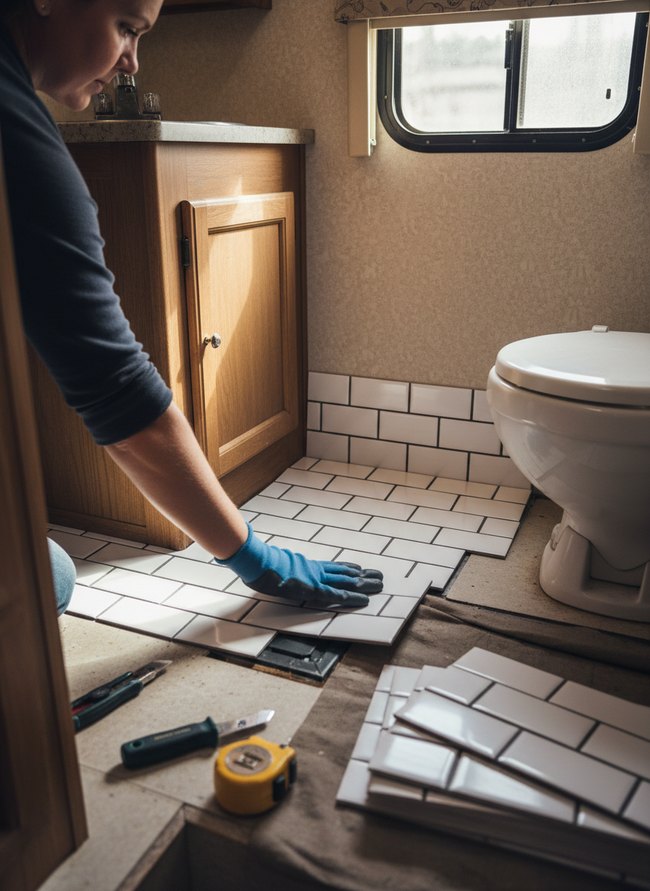
White subway tile RV peel and stick flooring transforms a small space with its clean, uniform pattern. The tile brightens the compact bathroom, making it feel more open and modern. A natural wood vanity and a white toilet complement the crisp flooring without overwhelming the small area. Designers recommend a consistent pattern for the flooring to create a unified look.
8. Diamond Pattern Adhesion
The installer applies a diamond pattern RV peel and stick flooring, creating visual movement across the camper floor. The geometric pattern works well in a small space, giving the illusion of more depth and width. A measuring tape and utility knife sit ready for precise cuts, while light brown cabinetry and plaid cushions frame the installation area. Use a bold, repeating pattern for the flooring to add lively character to a compact area.
9. Basket Weave Flooring
The basket weave pattern on the RV peel and stick flooring adds a geometric texture to the small camper space. A light tan and dark brown color palette brightens the cramped area, making the room feel more open. The basket weave design offers visual interest without overwhelming the small room. Choose a bold, graphic pattern for the flooring to create a visual impact.
10. Distressed Wood Finish
A person installs RV peel and stick flooring with a distressed wood finish, creating a cozy camper interior. Light gray planks give a weathered look, bringing character to the small space. A small metal table and folding chair stand on the completed floor sections. The clever choice of distressed wood finish adds instant charm.
11. Checkerboard Vinyl Squares

A checkerboard pattern on the new RV peel-and-stick flooring creates a bold graphic statement inside the camper. The classic black-and-white design makes a small space feel bigger and more dynamic. Wooden cabinetry and blue upholstered cushions provide a warm backdrop to the stark floor. High-contrast patterns add visual interest to compact areas.
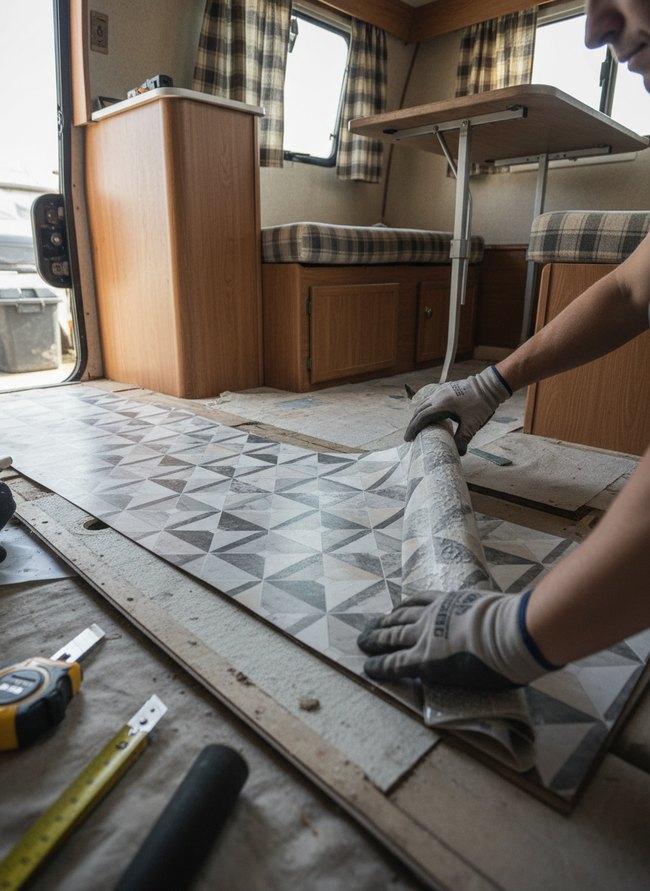
12. Seamless Stone Look
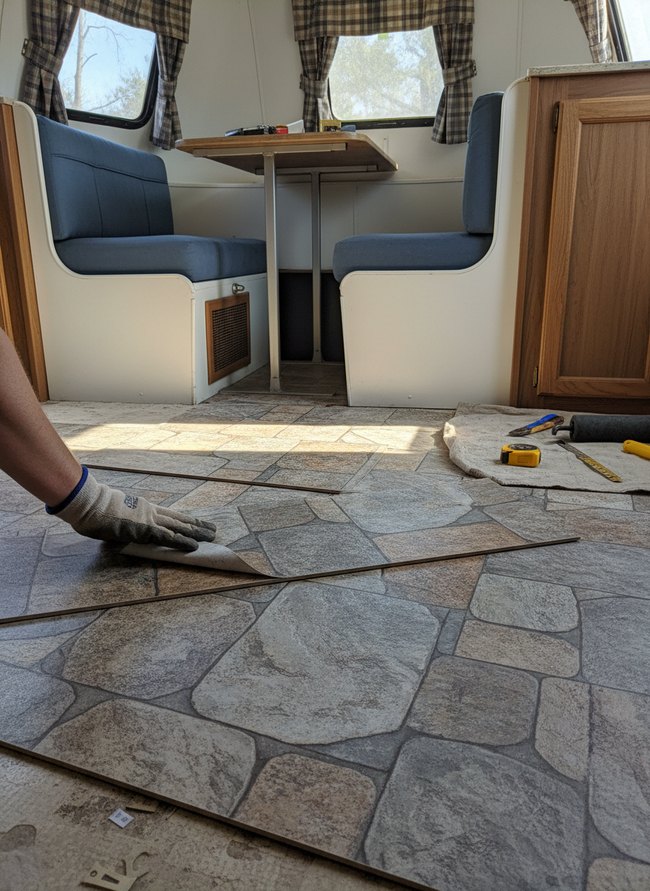
Stone-patterned RV peel and stick flooring planks create a natural, textured base for the small camper. Light gray and warm brown stones with thin dark grout lines cover the floor, giving a rustic feel. A metal ruler and yellow tape measure rest on a beige drop cloth nearby, showing tools for the installation process. Irregular stone shapes add visual interest to the compact space.
Adhesion Dynamics of Pressure-Sensitive Adhesives on Pre-Conditioned RV Substrates
Proper subfloor preparation directly impacts the long-term bond of peel-and-stick rv flooring tiles. Many people neglect this initial step. A dirty or uneven surface dramatically reduces adhesive grip over time. Consider a dusty plywood base inside a camper; tiny dirt particles prevent full contact between the adhesive backing and the wood grain. Without a clean, smooth base, the flexible vinyl planks might lift at the edges during a bumpy road trip. Applying a thin, clear leveling compound fills small gaps and ensures an even plane for the square tiles. This smooth underlayment allows the pressure-sensitive adhesive to fully engage across the entire tile surface, creating a strong, lasting hold. For instance, a slightly sanded linoleum subfloor offers better adhesion than a slick, unprepared sheet. Such careful preparation minimizes future problems with loose or curling peel and stick flooring.
Mitigating Thermal Expansion and Contraction in Flexible Vinyl Plank Installations
Vinyl planks expand and contract with temperature changes. A 12-inch plank can shift by a tiny fraction, but many planks across a camper floor magnify that movement. Consider a small camper floor, 8 feet wide and 10 feet long, covered in peel and stick flooring. The collective movement of those individual vinyl pieces can create noticeable gaps along the edges or between planks. For instance, a dark gray plank laid tightly against a kitchen cabinet in cool weather will push against the wooden cabinet when the sun heats the metal camper skin. That pressure could cause the plank to buckle upward, forming an unsightly ridge in the middle of your living area. Conversely, a light oak plank installed on a hot summer day will shrink when cold weather arrives. This shrinkage will pull the plank away from the tan wall, leaving a visible gap. Careful planning of expansion gaps around the perimeter helps manage these tiny shifts. Leaving a quarter-inch space at every wall allows the entire floor to breathe. A narrow wooden trim piece or a flexible silicone sealant can hide this necessary gap.
Which Idea Will You Try First?
That’s 12 different takes on rv peel and stick flooring. The best ideas above are usually the smallest moves — one material, one layout shift, one piece of furniture in the right place. Pick whichever room feels closest to your space and start there before tackling the rest.
Found an idea worth keeping? Save this post to your Pinterest board so it’s waiting for you when you’re ready to start your own project.