How to Set Up Your RV for First-Time Use
Your new RV offers freedom on the open road, but a successful trip demands careful preparation. A shiny motorhome sitting in the driveway promises adventure, yet getting the vehicle ready takes more than just turning the key. You trade instant departure for peaceful days without unexpected problems. Consider the trade-offs: skipping steps now means battling issues later. Each choice you make impacts your upcoming journey. A well-prepared RV gives you comfort and safety, making every mile enjoyable. Different approaches offer various levels of readiness and ease. Some ways save time upfront, while others build solid foundations for long-term travel. We will walk through the choices for setting up your RV.
1. Leveling RV Foundation Steady
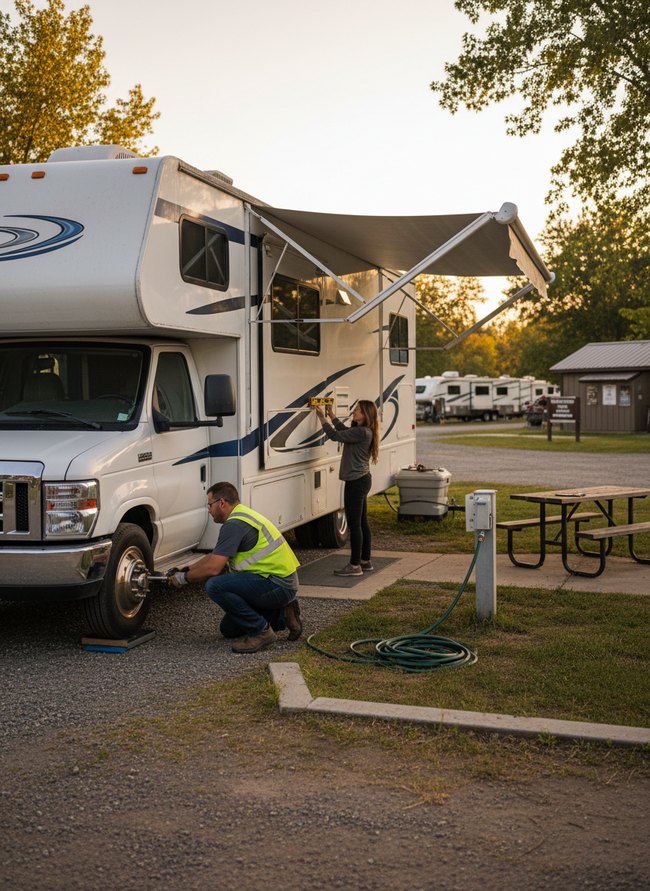
The white motorhome sits on a gravel patch, its large tires resting on blue leveling blocks. A man in a yellow safety vest kneels, tightening a lug nut on the front wheel, choosing manual labor for precise adjustments. A woman holds a yellow bubble level against the RV’s side, ensuring a flat surface inside for comfortable living.
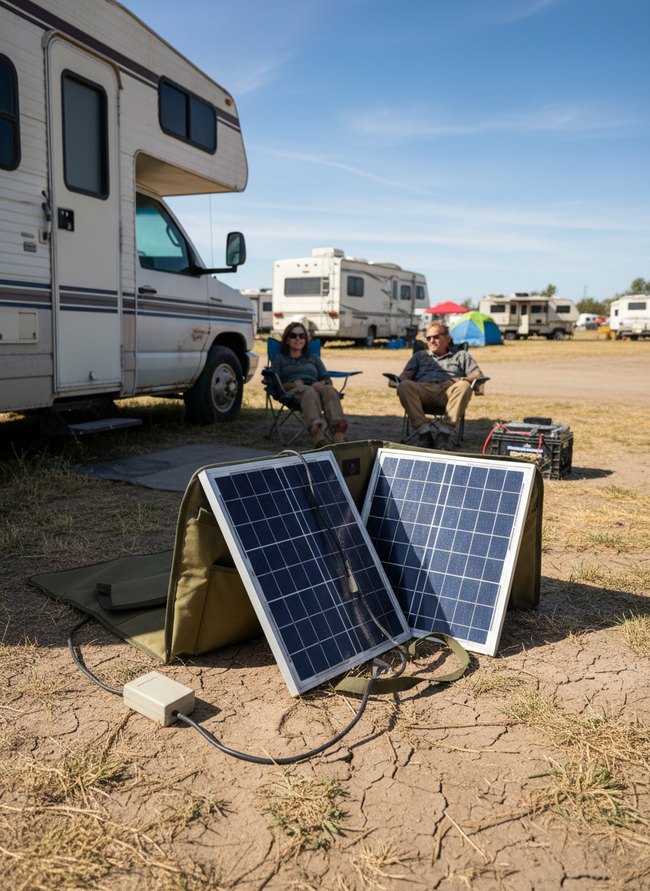
2. Hooking Up Shore Power

The white recreational vehicle receives a bright orange power cord from a tall gray power pedestal. A man in a blue shirt kneels on the brown gravel, connecting the thick cable to the RV’s side port. The connection trades immediate portability for consistent electrical power inside the temporary home.
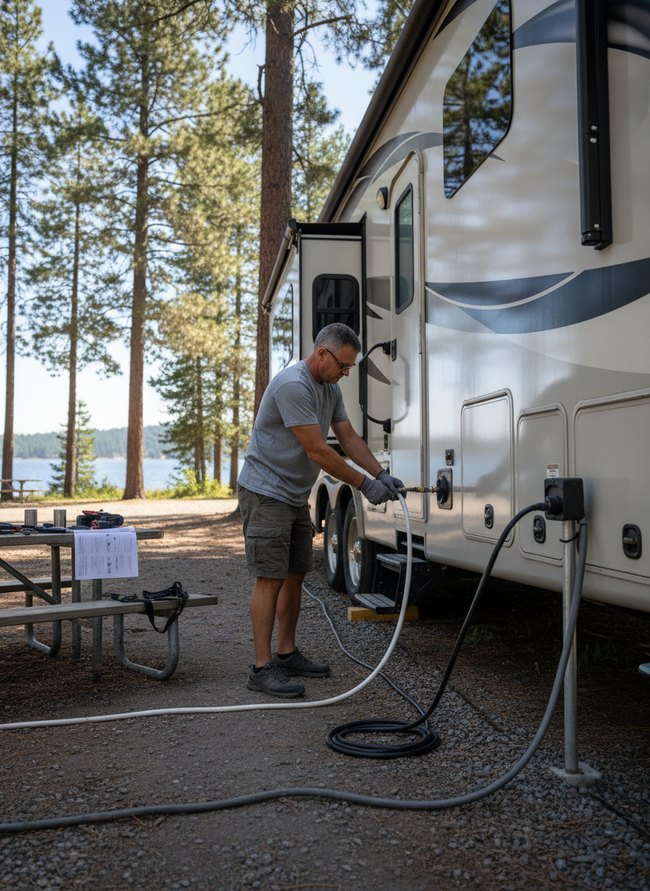
3. Connecting Fresh Water Supply
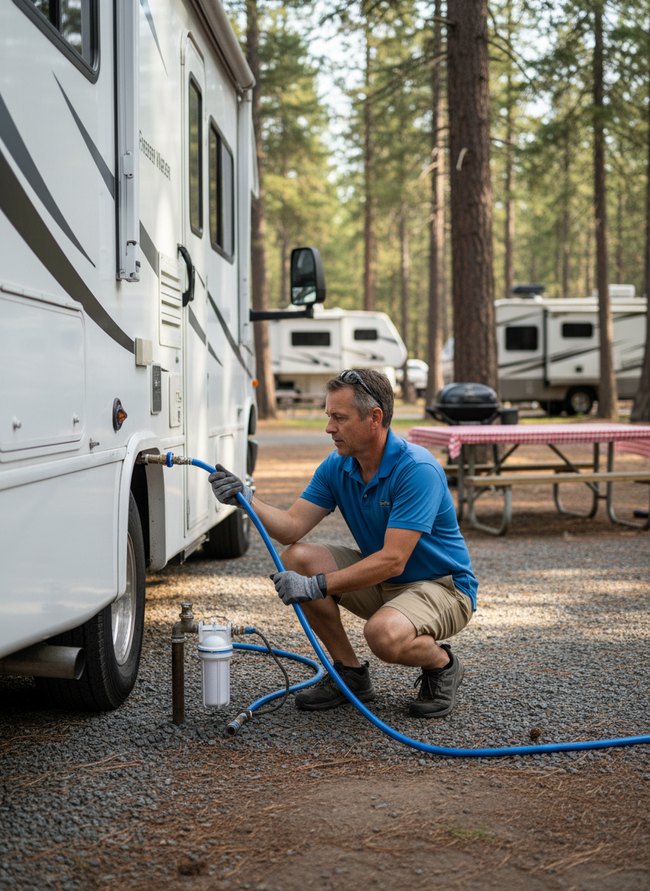
The blue rubber hose connects to a white plastic water filter, which then attaches to the RV’s freshwater inlet, ensuring clean water. A man in a blue polo shirt crouches, carefully threading the hose to the RV’s side panel. Campers can choose to use a filter for peace of mind, or skip the device for quicker setup, trading water purity for speed.
4. Securing Sewer Hose Setup
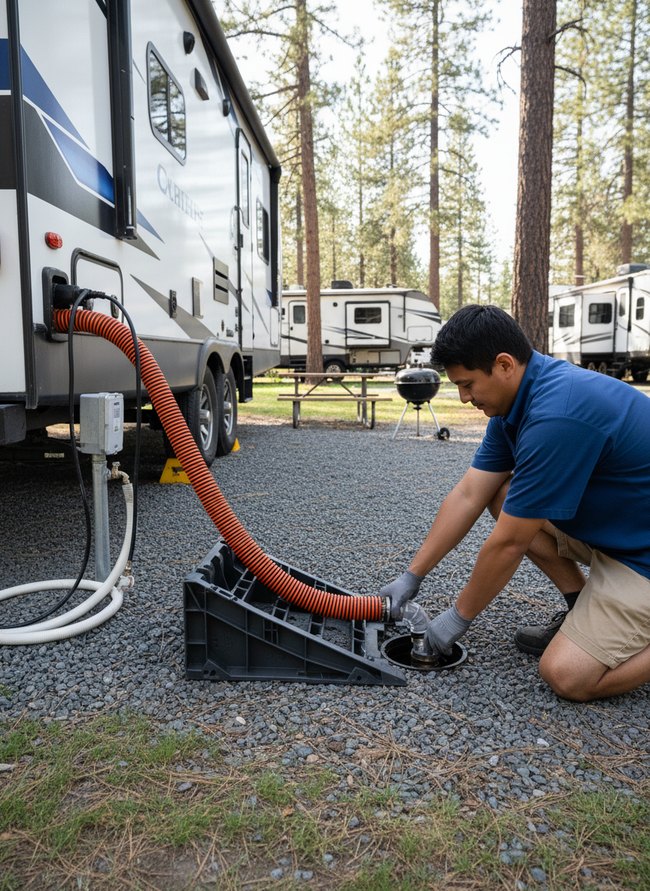
An orange corrugated hose connects to a white recreational vehicle. A man on his knees attaches the ribbed hose to a black ground drain. The RV setup step requires connecting the waste pipe for proper drainage.
5. Extending RV Slide-Outs
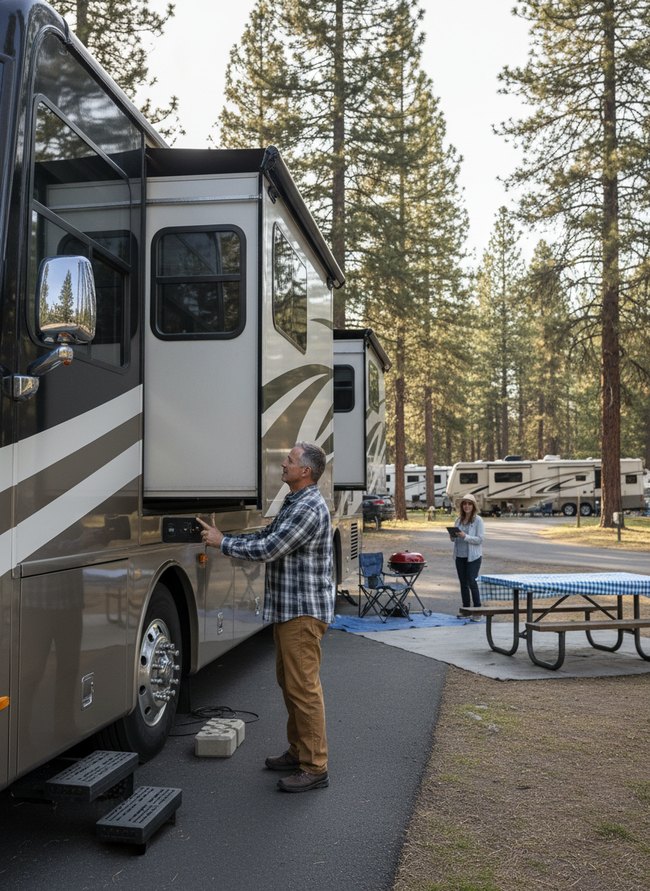
The gray RV side panel extends outward, creating more interior space. A man in a blue plaid shirt presses a black control button on the RV’s exterior. The action allows for a larger living area within the vehicle, trading away a quicker setup time for enhanced comfort.
6. Deploying Awning Shelter
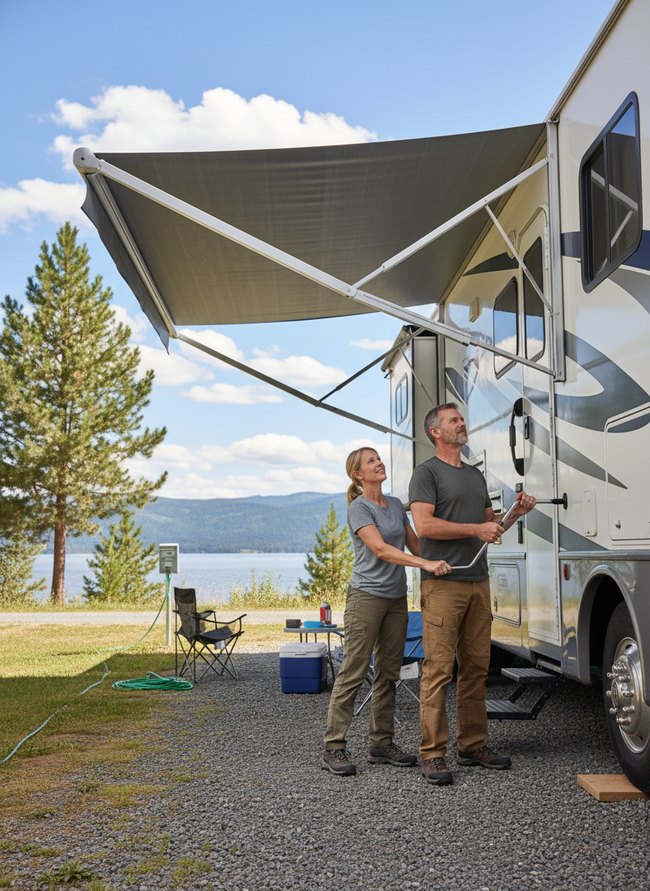
A gray fabric awning extends outward from the RV’s white side, creating a shaded outdoor space. RV owners can choose a manual crank system for simple operation, trading speed for mechanical reliability. A couple works together to turn the silver rod, setting up the awning.
7. Stabilizing Wheel Chocks
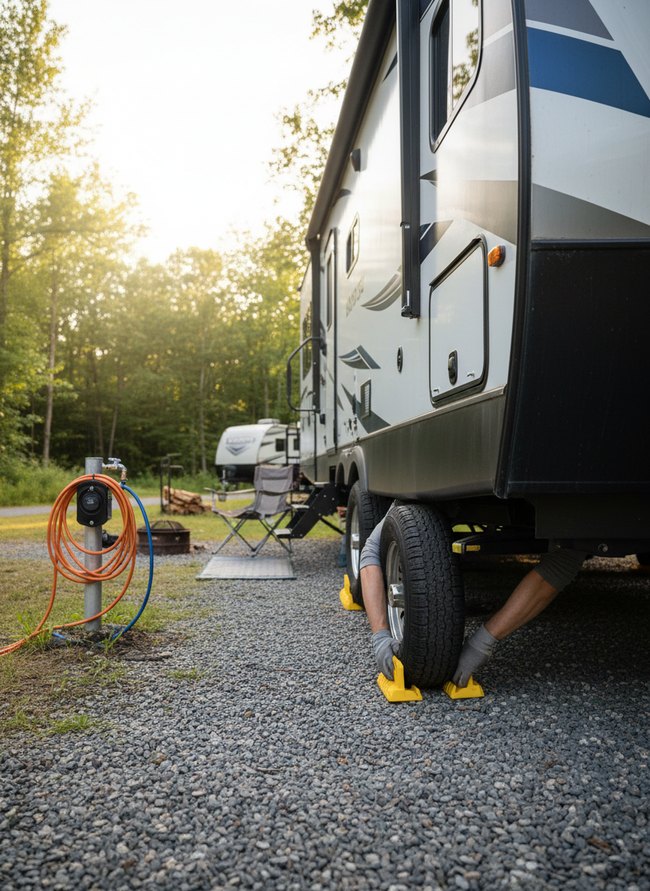
Bright yellow chocks firmly cradle the black rubber tire. Gloved hands carefully position the plastic wedges, ensuring the large travel trailer remains steady on the grey gravel. The method offers solid stability for your adventures.
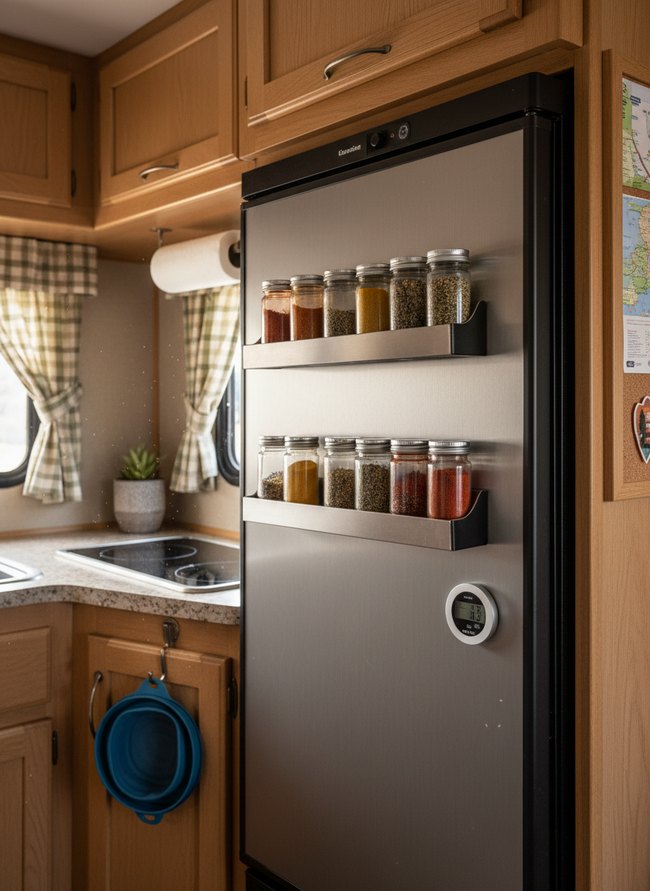
8. Adjusting Interior Climate Control
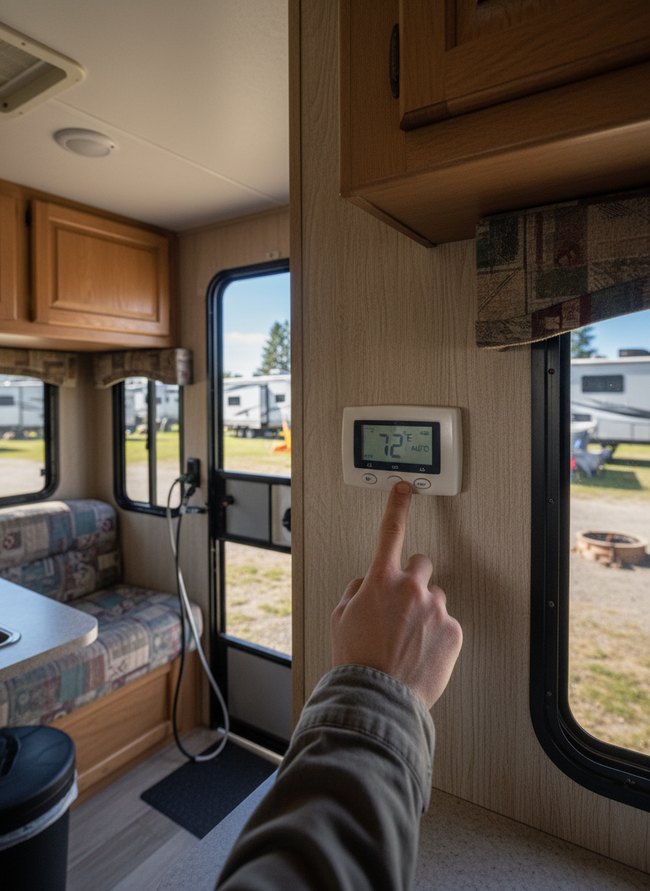
A white digital thermostat displays “72°F AUTO” on its small black screen. Your finger presses a raised gray button to adjust the temperature inside the oak-paneled camper. Patterned fabric cushions of the dinette offer a cozy seating area in the background.
9. Testing Appliance Functionality
The man in the gray t-shirt connects a white water hose to the side of a large white RV. Campers can choose a quick hookup, trading security for faster setup. A black electrical cord snakes across the gravel campground, providing power to the vehicle.
10. Organizing Interior Storage
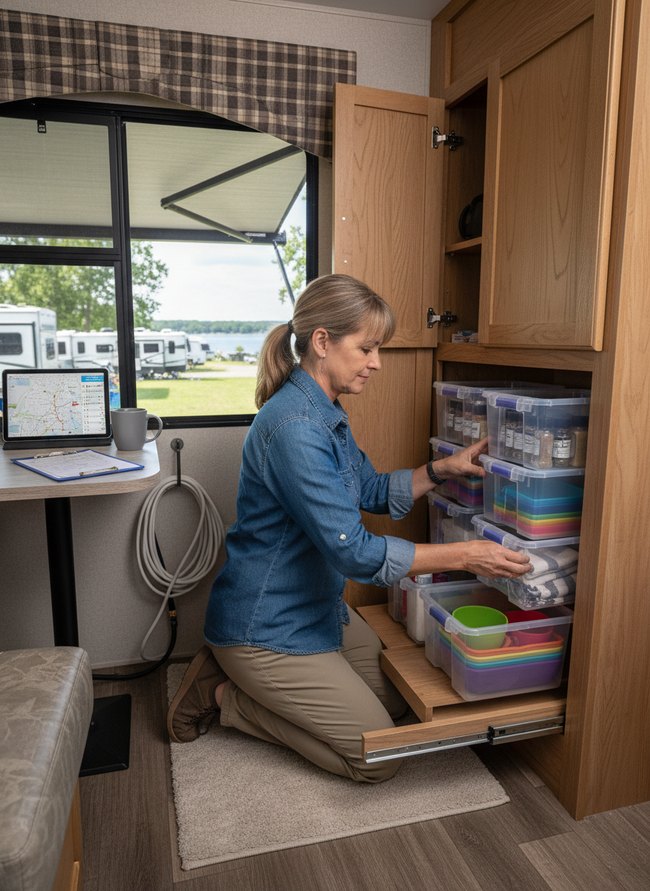
A beige plaid valance frames a wide window showing a lake view. Clear plastic containers with blue latching handles slide onto wooden shelves within the light oak cabinetry, keeping small items secure during travel. Stackable bins offer a clean, organized look inside the RV.
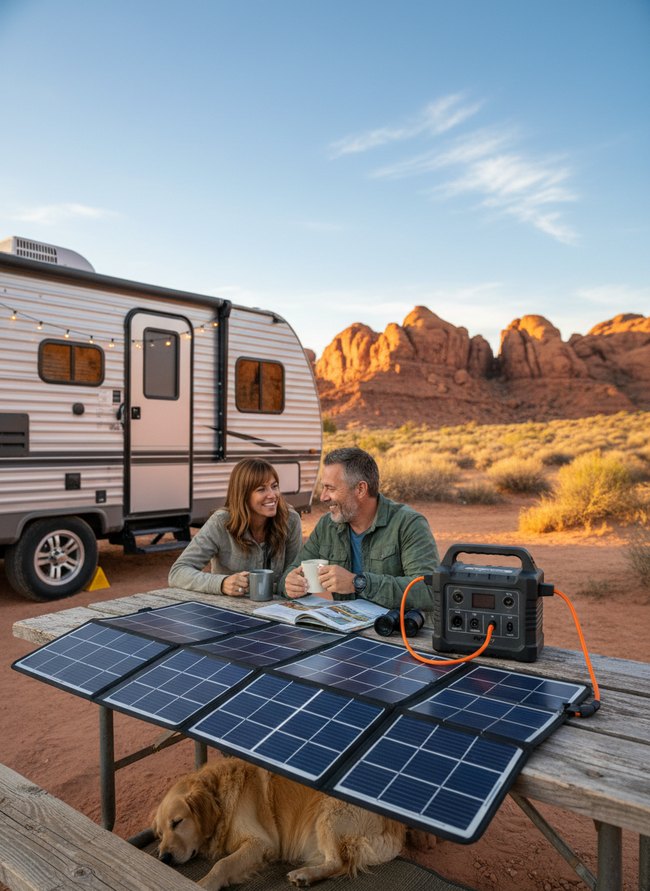
11. Checking Safety Systems
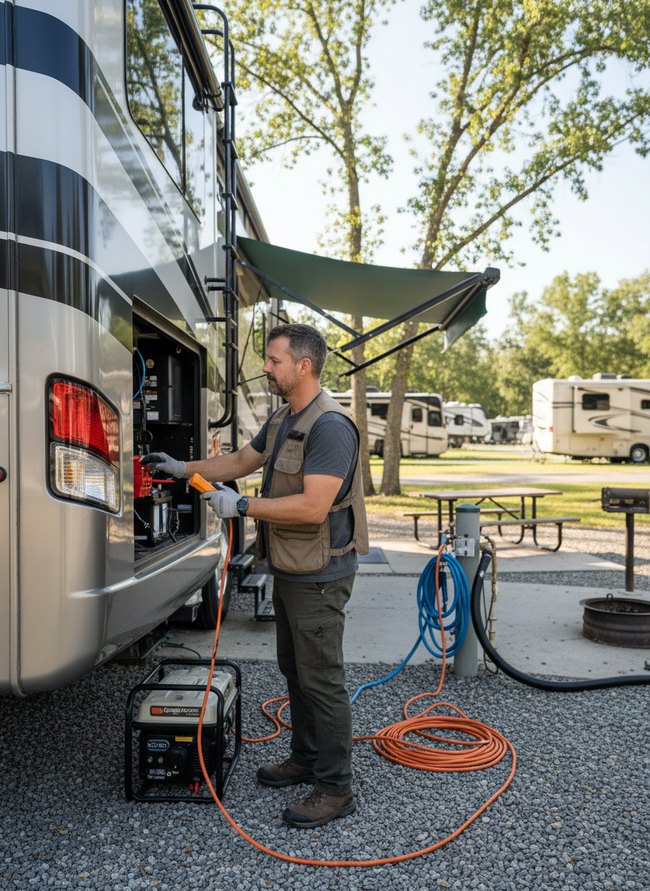
A silver RV’s rear panel stands open, revealing internal components. An orange electrical cord snakes across the gray gravel, connecting a small, black generator to the RV’s power inlet. Blue water hoses and a black sewage line extend from a nearby concrete pedestal, indicating full hookups are available.
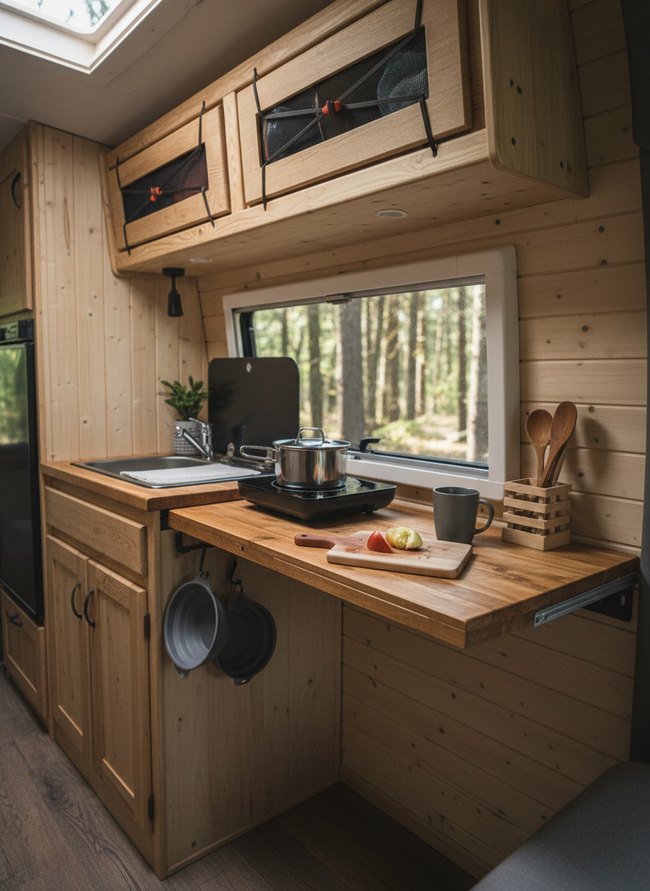
12. Prepping Outdoor Living Space
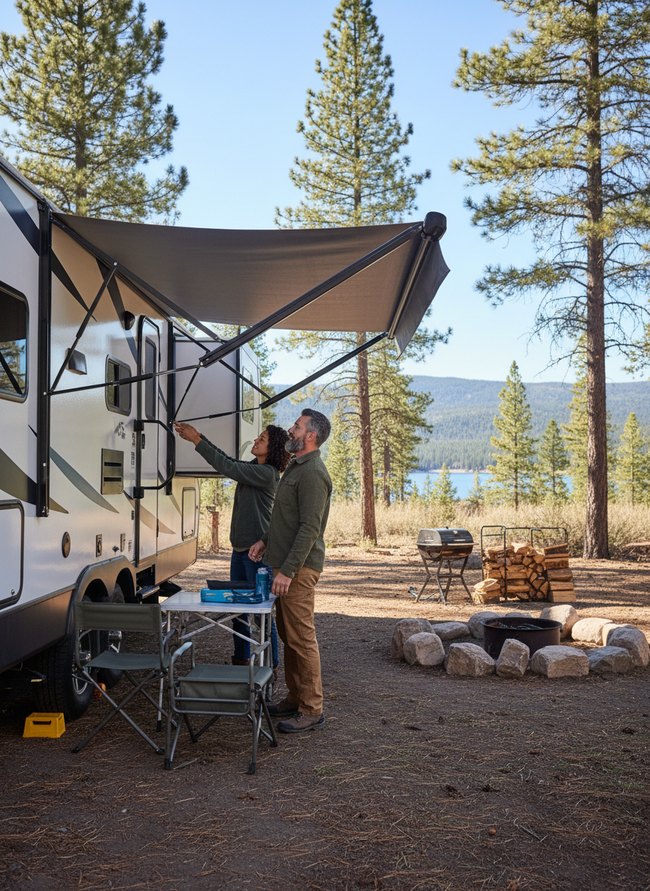
A gray canvas awning extends outward from the RV’s white side, creating a shaded outdoor room. Setting up the fabric roof takes a few minutes, but offers welcome relief from direct sun and summer heat. Folding chairs and a small folding table wait underneath, ready for campfire cooking.
Should I Sanitize My Freshwater Tank with Bleach or a Dedicated RV Sanitizer?
Bleach or a special RV cleaner: what will you use for your freshwater tank? Household bleach offers a cheap solution for cleaning your RV water tank. However, many people worry about the strong smell of chlorine after using bleach. A dedicated RV sanitizer costs more money for the bottle. Still, the specific tank cleaners often leave a milder scent. Bleach offers a strong cleaning power for a dirty tank. Your tank will smell like a swimming pool. An RV sanitizer often cleans well too, but it costs extra money.
Choose bleach if you want to save your copper pennies. This option works well for a tight household budget. Pick an RV sanitizer if you want a milder smell inside your RV. The cleaner will leave your water tank fresh. You can skip the worry about a chemical taste. Each cleaning chemical has specific instructions. Always follow the bright red warnings on the bottle. Your clean freshwater tank offers safe drinking.
Hard-Wired Surge Protector or Portable Plug-In: Which is Right for My RV?
A hard-wired surge protector offers constant electrical defense. The silver box mounts inside your RV’s power bay. Portable plug-in units connect quickly to campground pedestals. Each option has distinct merits and drawbacks for your recreational vehicle setup.
Fixed surge protectors require a trained electrician for installation. A permanent unit protects your RV’s electrical system from unexpected power spikes at all times. The black plastic housing stays safe from theft or accidental damage. You never forget the protector at home.
Portable surge protectors offer flexibility. A corded unit moves easily between different RVs. This lighter, movable protector lets you check power quality before connecting. However, an external unit can disappear from a campsite. Thieves target these exposed electrical devices. Rain can cause water damage to the exposed parts.
Choose a hard-wired surge protector if you own your RV and seek maximum convenience. Pick a portable unit for rental RVs or varied travel situations. This choice protects your electrical appliances.
Which Idea Will You Try First?
That’s 12 different takes on how to set up an rv. The best ideas above are usually the smallest moves — one material, one layout shift, one piece of furniture in the right place. Pick whichever room feels closest to your space and start there before tackling the rest.
Found an idea worth keeping? Save this post to your Pinterest board so it’s waiting for you when you’re ready to start your own project.