How to Insulate a Camper Van the Right Way
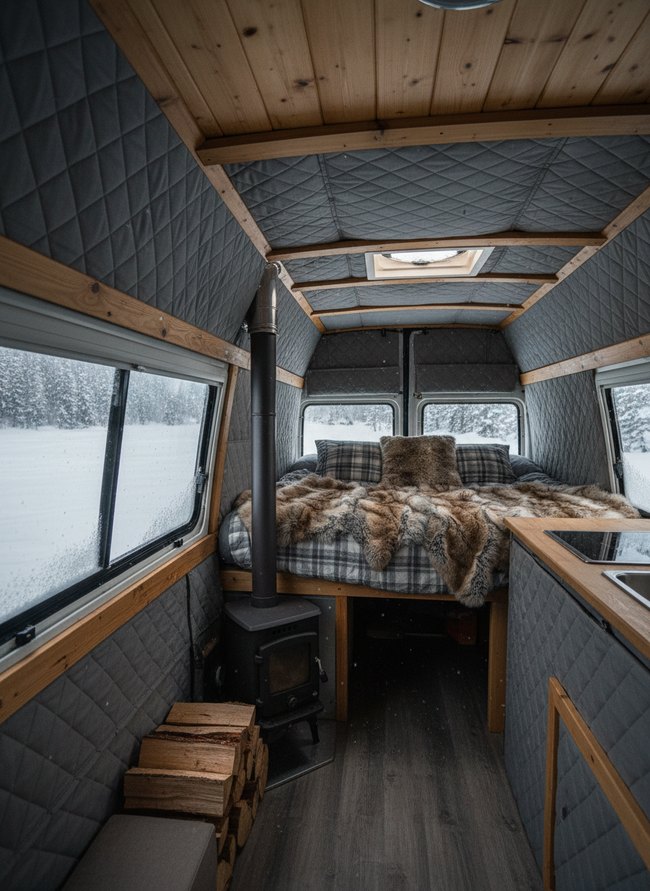
Cold metal walls in a camper van mean quick heat loss in winter weather. Warm, insulated panels inside the cargo area offer lasting comfort on frosty mornings. Many van dwellers seek a quiet cabin for peaceful road trips, while others prioritize maximum interior space for bulky adventure gear. Achieving a snug, calm mobile home requires careful material choices and solid installation techniques. Compromises often arise between a thick insulation layer and precious interior width. Each approach to van insulation presents its own set of advantages and challenges. Finding the right balance for your lifestyle means weighing these choices carefully. Here are some options to consider.
1. Clean Panel Preparation
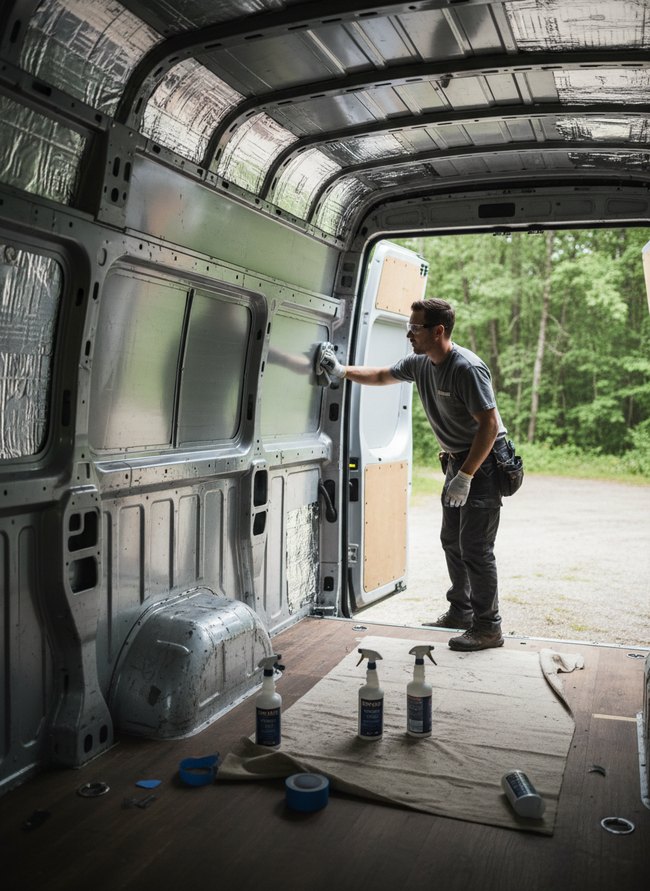
Bare metal walls of the cargo van gleam under outdoor light. A man in gray work pants meticulously wipes down a silver panel, preparing the surface for insulation. Careful cleaning helps create a strong bond for future materials, trading away quick setup for lasting adhesion.
2. Sound Deadening Application
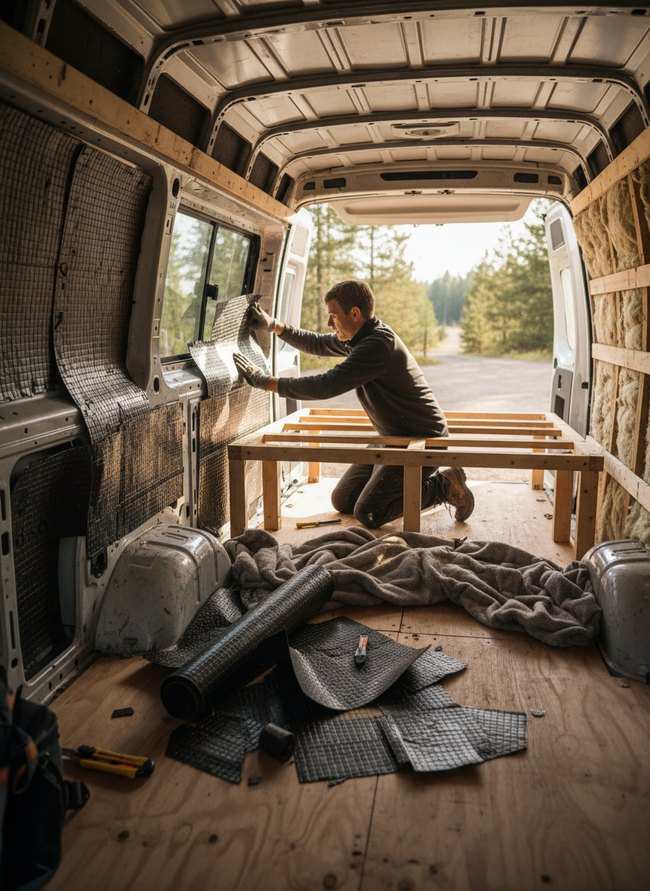
Gray quilted sound deadening material hugs the metal wall of the white cargo van. The sound deadening reduces road noise, though the material adds a layer of weight to the vehicle. A light wooden bed frame sits partly assembled, waiting for its next step in the insulation process.
3. Cavity Filling Insulation
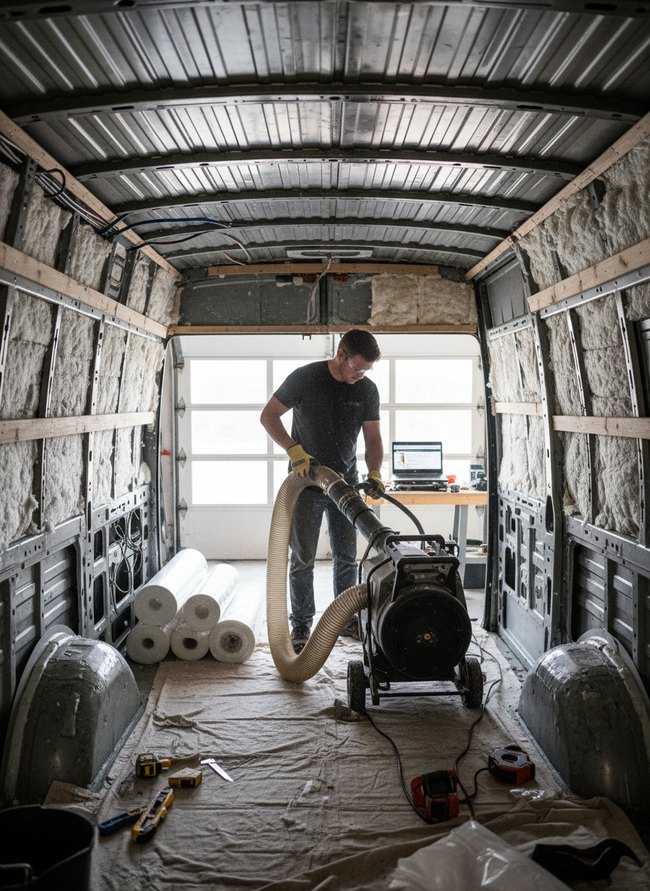
Dark gray metal walls of the van show fluffy white insulation tucked into the cavities. A man in a black shirt and yellow work gloves operates a large black insulation blower, filling wall spaces with material. Choosing this method for van insulation means trading some installation time for a tight, custom fit.
4. Vapor Barrier Installation

A man in a gray fleece hoodie carefully positions a wide sheet of clear plastic film inside the metal shell of a white cargo van. The thick plastic vapor barrier protects amber fiberglass insulation from moisture, trading a little extra installation time for long-term dryness. Open back doors reveal a dusty desert landscape with distant purple mountains, suggesting a mobile home project taking shape.
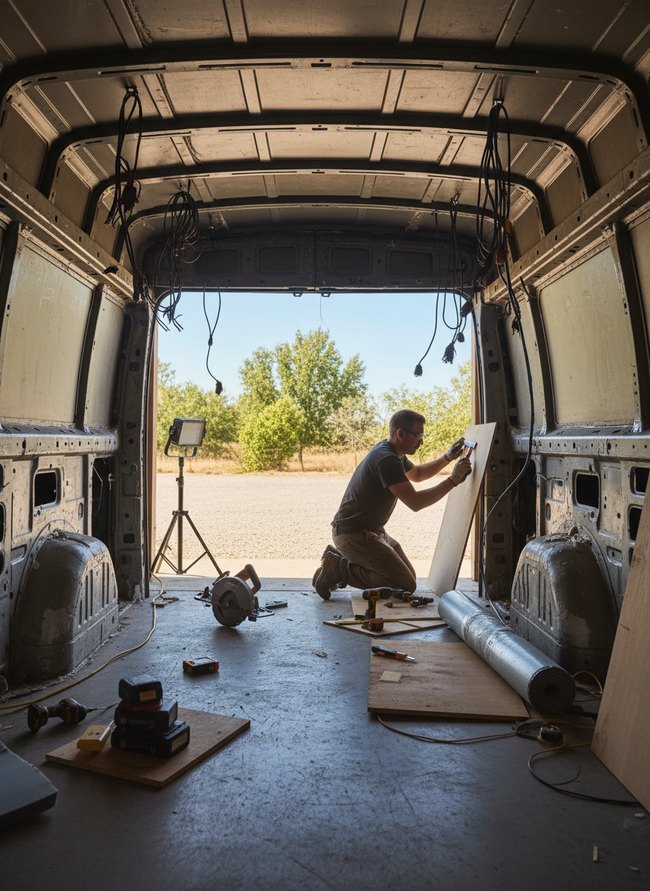
5. Insulation Board Cutting
A man in gray work gloves kneels on the plywood floor, carefully scoring a pink foam insulation board with a utility knife. Rigid foam boards offer superior thermal resistance, sacrificing some ease of installation for higher R-value. Other pieces of cut insulation already fill the metal wall cavities of the cargo van, a practical step in the van conversion project.
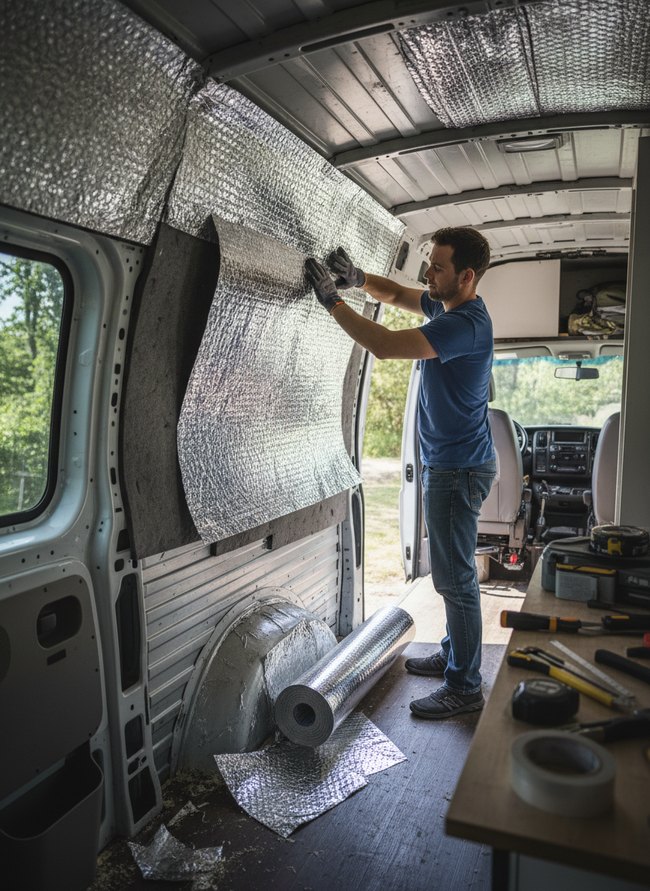
6. Foil Faced Insulation
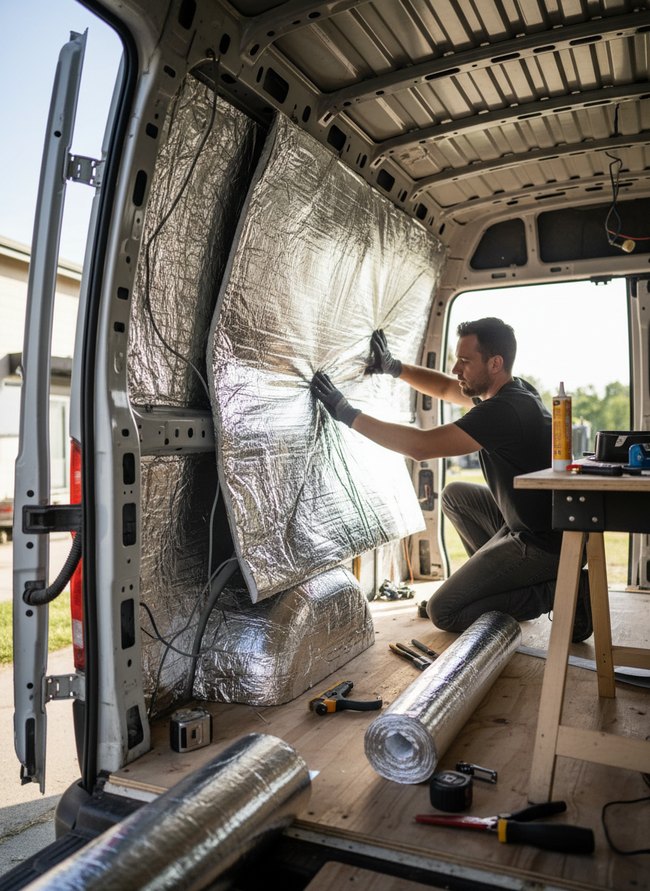
A silver foil-faced insulation panel presses against the ridged metal van wall, gloved hands holding the panel in place. Van builders choose thin, reflective insulation for easy installation, but trade thermal bulk for its slim profile. Rolls of the same shiny material lie on the light wooden floor, ready for more coverage.
7. Recycled Denim Insulation
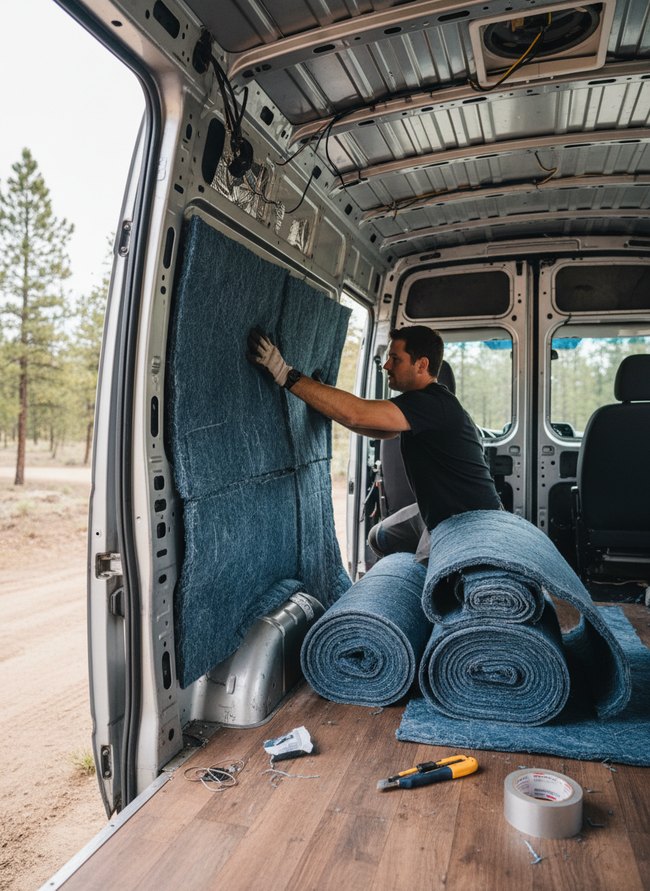
Blue denim insulation panels line the corrugated metal van wall, offering a soft, sound-dampening layer. The recycled material offers a breathable, eco-friendly option, trading some high-temperature resistance for easier handling. A sharp utility knife and silver duct tape lie on the warm wood-look floor, ready for precise cuts and secure placement.
8. Spray Foam Gaps
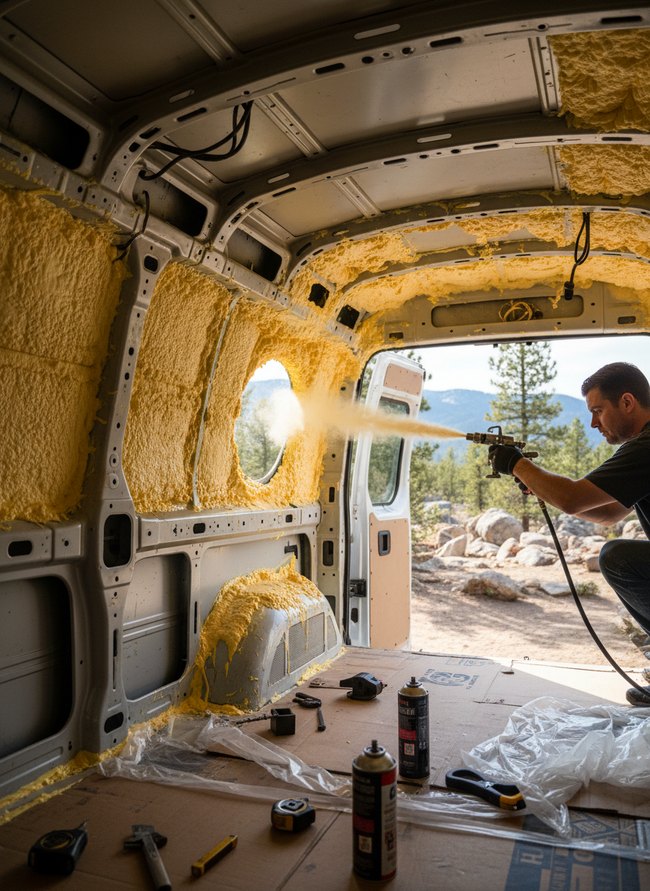
Yellow spray foam expands across the van’s metal walls, filling every deep cavity. A man in a dark shirt applies more foam from a black spray gun, creating a thick, textured layer. The insulation method trades quick application for potential mess, making cleanup a larger task.
9. Wool Insulation Batting
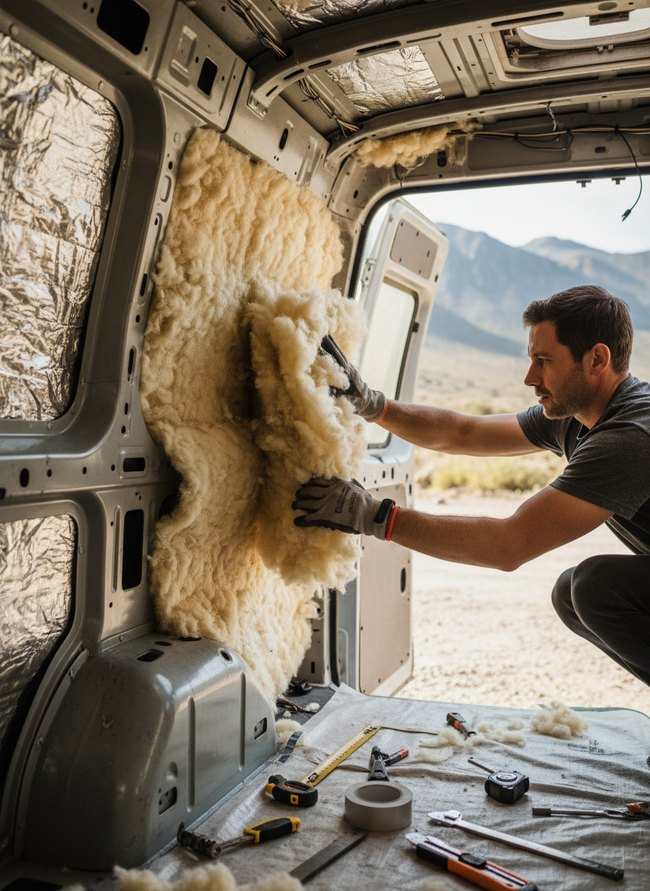
Cream-colored wool insulation fills a deep cavity in the van’s side. The material provides natural sound dampening and moisture control, trading some structural rigidity for plush comfort. A worker in a charcoal t-shirt carefully presses the thick batting into the metal frame, shaping the fluffy wool with gloved hands.
10. Reflectix Layering Technique
Silver reflective insulation sheets cover the gray metal van wall, creating a thermal barrier. A man in a blue shirt carefully presses the bubbly foil material into place. The insulation method helps to insulate a van, trading away some interior wall space for better temperature control.
11. Ceiling Insulation Panels
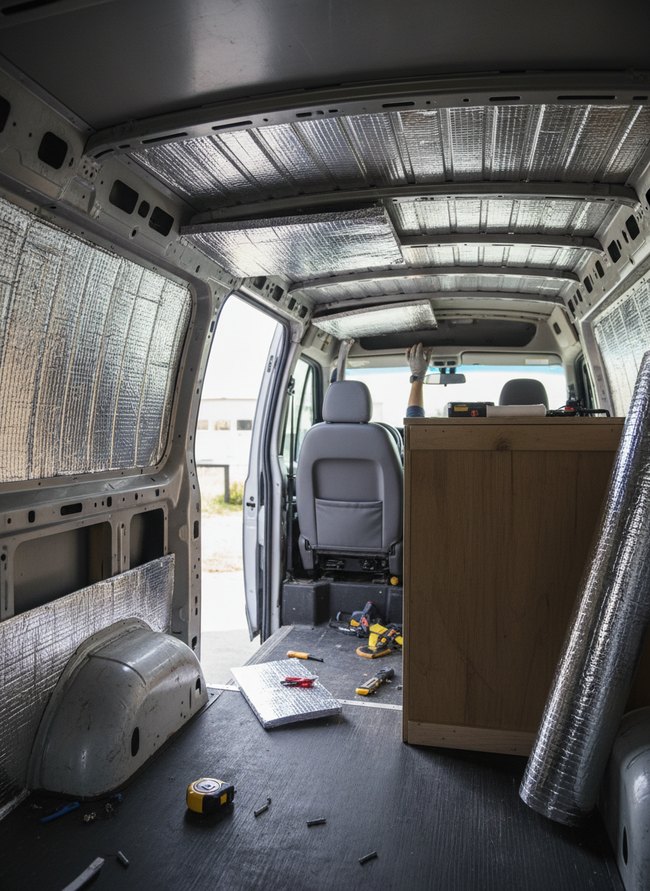
A worker in a gray glove holds a silver insulation panel up to the van’s roof. Installing the panels requires careful cutting for a tight thermal seal. The insulation offers maximum thermal retention, trading away some interior ceiling height.
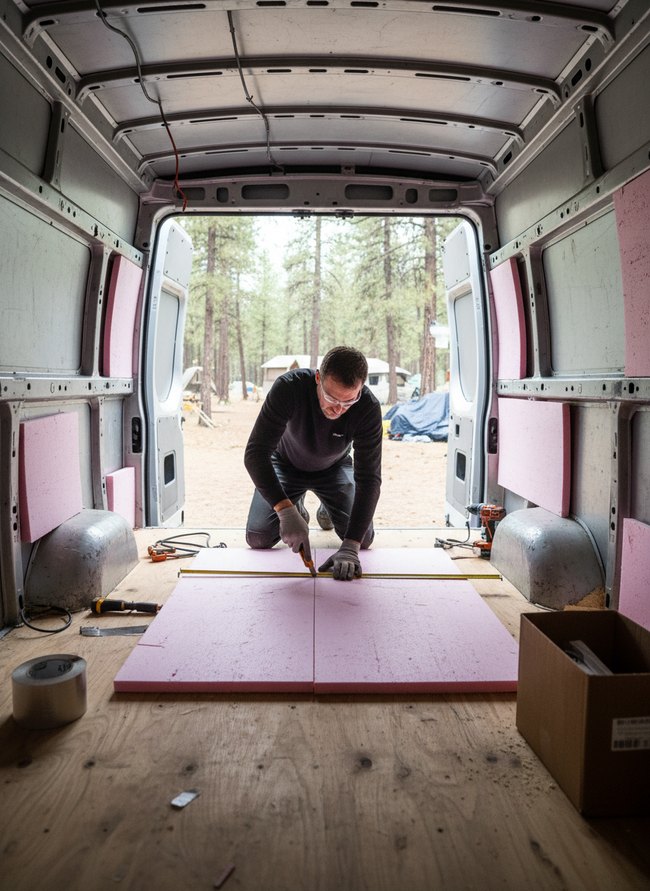
12. Floor Insulation Boards
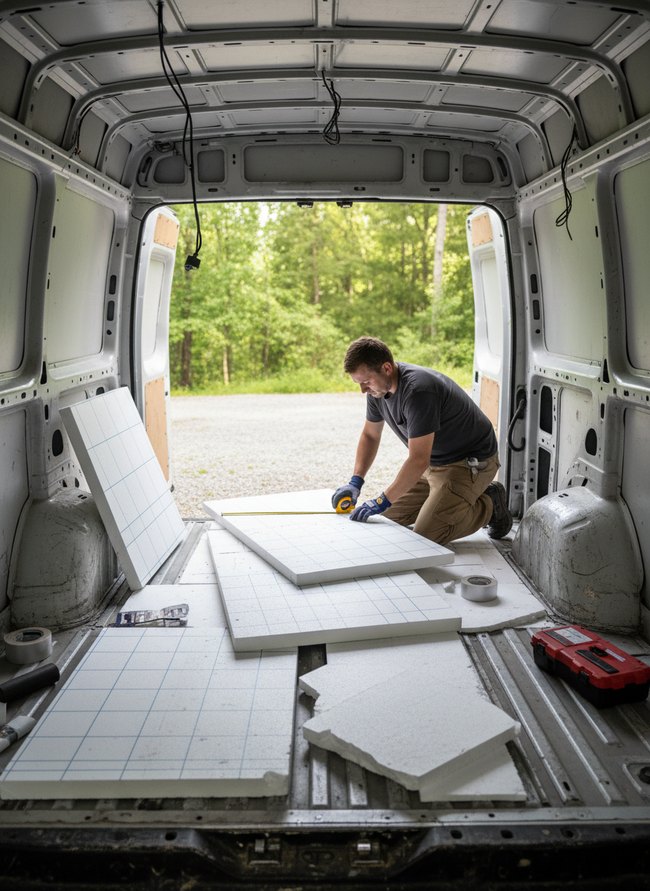
White foam insulation boards with blue grid lines lie on the ribbed metal floor of a large cargo van. A man in a gray t-shirt and tan pants kneels, measuring a thick white board with a yellow tape measure, preparing to cut the rigid material for a custom fit. The insulation method prioritizes a flat, solid subfloor over maximum air gap, trading a little thermal resistance for better structural integrity.
Spray Foam vs. Rigid Insulation Boards: Which is right for your van’s curves?
Choosing between spray foam and rigid insulation boards for your van’s interior walls requires careful thought. Spray foam insulation fills every small crevice, creating a seamless thermal barrier. The closed-cell structure blocks air and moisture movement. However, professional installation of spray foam costs more money. Removing old spray foam later proves difficult. Rigid foam insulation boards, like pink XPS sheets, offer a more budget-friendly approach. Cutting these flat panels to fit the curved metal of a van takes time and patience. Each board creates tiny air gaps unless sealed meticulously. A spray can of expanding foam seals these board edges. Van owners on a tight budget find success with rigid boards. People with extra cash and less installation time prefer spray foam. The solid layer of foam prevents condensation effectively. Rigid boards allow for easier future modifications to your van’s electrical wiring.
Vapor Barrier: To include or not to include, that is the question for condensation control.
Shiny foil vapor barriers create a moisture shield inside your van. Many van builders skip this step entirely. A thin plastic sheet prevents warm moist air from reaching cold metal walls. This trapped moisture then condenses into liquid water. Metal surfaces develop rust spots quickly. Some builders install only rigid foam boards. They leave small gaps for air movement. Air flow dries out any condensation. However, freezing temperatures can still cause ice buildup. A true vapor barrier stops condensation at its source. It creates a sealed, warm environment. Install a vapor barrier if you plan winter camping in cold northern climates. You need a complete system for maximum thermal performance. Van insulation requires careful planning. Skip the vapor barrier if you live in a mild climate. Mild climates see less condensation. Warm southern air holds less moisture. A simpler design works well there. Choose your approach based on your travel plans. Consider your projected climate range.
Which Idea Will You Try First?
That’s 12 different takes on how to insulate a van. The best ideas above are usually the smallest moves — one material, one layout shift, one piece of furniture in the right place. Pick whichever room feels closest to your space and start there before tackling the rest.
Found an idea worth keeping? Save this post to your Pinterest board so it’s waiting for you when you’re ready to start your own project.