Spring Cleaning Checklist for Your RV in 2026
Dust bunnies under vinyl flooring signal more than simple dirt; they indicate overlooked systems. Most guides miss the interlocking nature of an RV’s various components. A complete seasonal refresh demands attention to these connected systems. Your mobile home’s water lines, for example, require sanitization before you tackle the galley cupboards. The focused approach ensures lasting comfort for your next adventure. Our curated list identifies these hidden connections. A thorough RV spring cleaning checklist addresses both visible grime and unseen operational needs. You will discover practical ways to prepare your vehicle for the open road. Each item ensures your travel plans proceed without unexpected maintenance stops. The upcoming list details every necessary step.
1. Interior Deodorizing Protocol
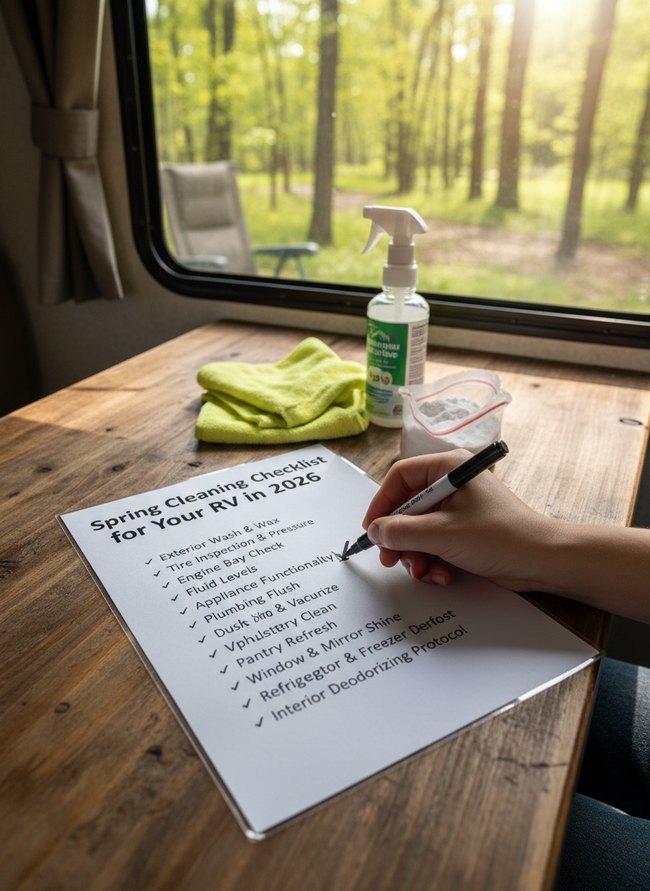
Bold black text on white paper makes the RV spring cleaning checklist easy to follow. A hand holds a black marker, checking off completed tasks on the laminated document. Nearby, a white spray bottle and a small clear plastic bag of white powder sit ready for interior deodorizing protocol. Add a simple checklist to your RV spring cleaning routine.
2. Exterior Washdown Routine
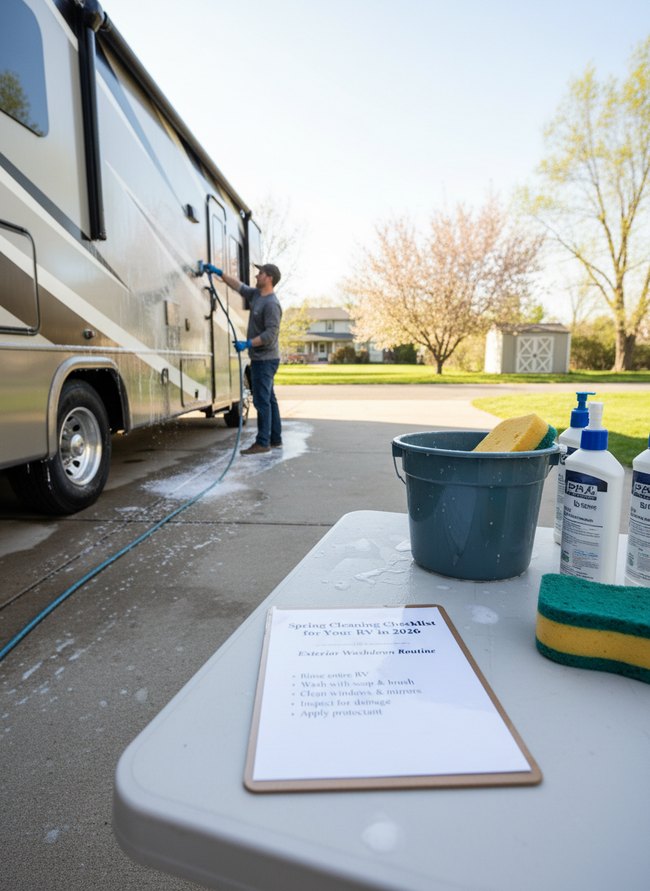
A simple written checklist on a clipboard provides clear, actionable steps for your RV’s exterior washdown routine. The direct approach ensures you follow each important task, like rinsing the entire vehicle and inspecting for damage. A dark blue bucket and large yellow sponge sit ready for use, emphasizing preparation. Steal the idea of a physical checklist to keep your spring cleaning organized.
3. Appliance Deep Clean
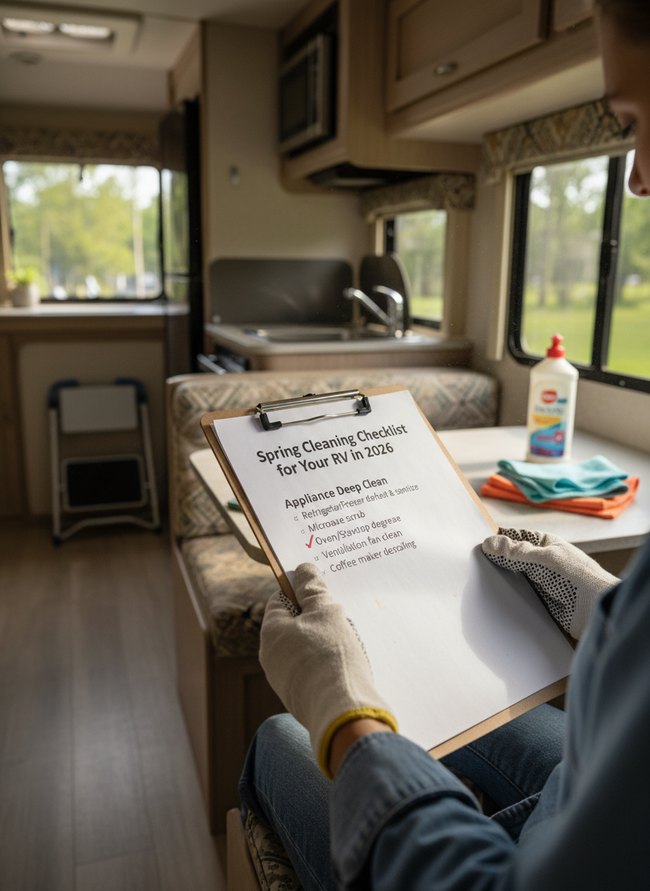
A handwritten checkmark on a white paper RV spring cleaning checklist provides a clear visual example of task completion. The simple mark shows immediate progress on your appliance deep clean, offering a sense of accomplishment. A white cleaning bottle and two folded microfiber cloths rest on a light gray table. Use a physical checklist to track your RV tasks.
4. Fresh Water System Flush
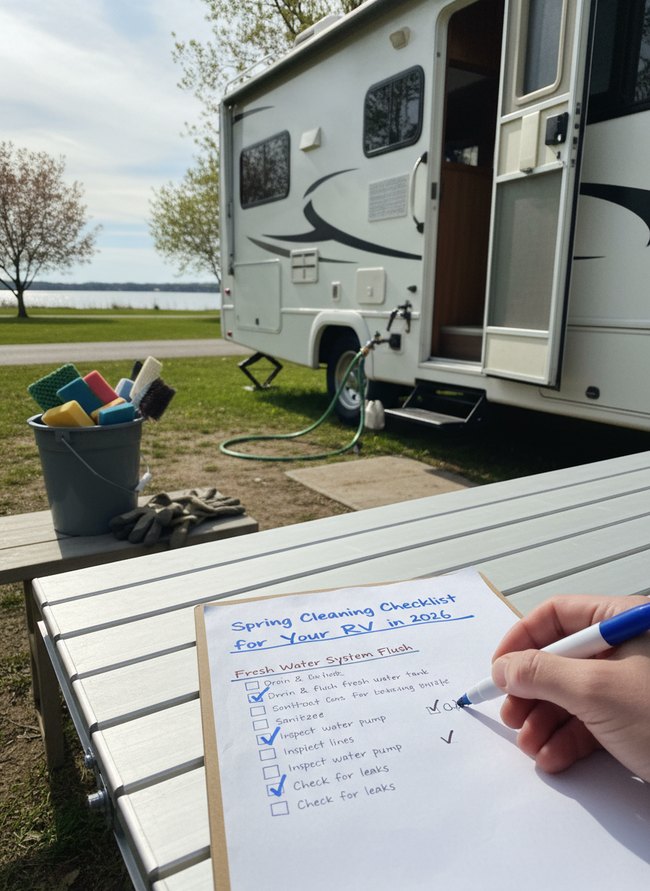
A blue marker checking off a paper list clearly shows progress on RV maintenance tasks. The visual representation gives a tangible sense of accomplishment, inspiring readers to tackle their own spring cleaning checklist. Colorful sponges in a gray plastic bucket and a white recreational vehicle with an open door provide helpful context. Make your own cleaning steps visible for motivation.
5. Black Tank Sanitation
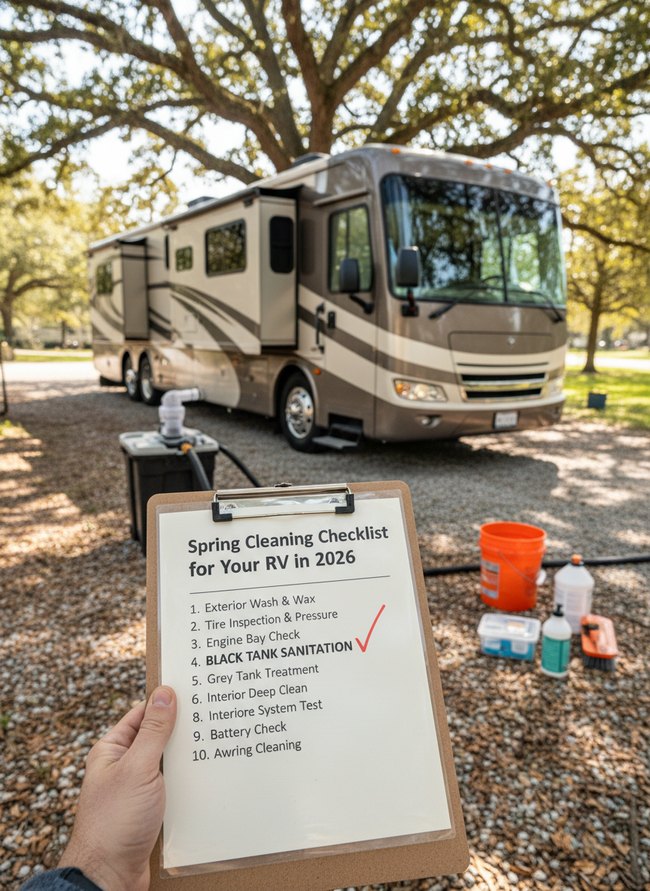
A clear checklist on a brown clipboard immediately organizes spring cleaning tasks. A large red checkmark beside “Black Tank Sanitation” highlights completion for this crucial item. Various cleaning supplies, including an orange bucket and white bottles, sit on the gray gravel, ready for the next task. The bold checkmark offers clear task tracking.
6. Tire Inspection Checklist
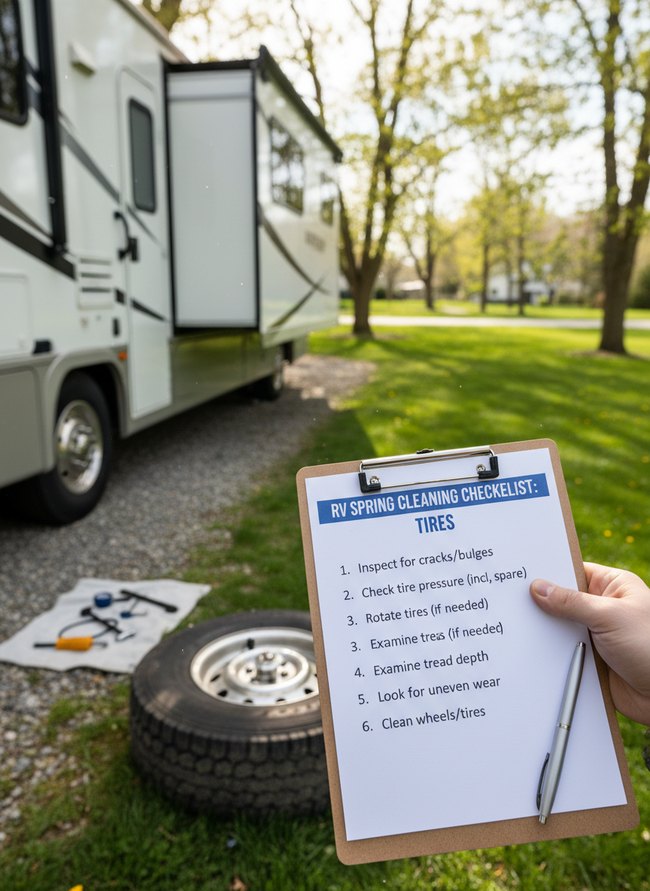
The clear, handheld clipboard with its printed RV spring cleaning checklist immediately draws the eye, providing practical guidance for tire inspection. The direct presentation works well by offering actionable steps right in front of the camper van, making the task feel manageable. A spare tire rests nearby on the green grass, and small tools lie on a white cloth, suggesting active preparation. Steal the idea of a physical, ready-to-use checklist to simplify your own RV maintenance.
7. Awning Care Regimen
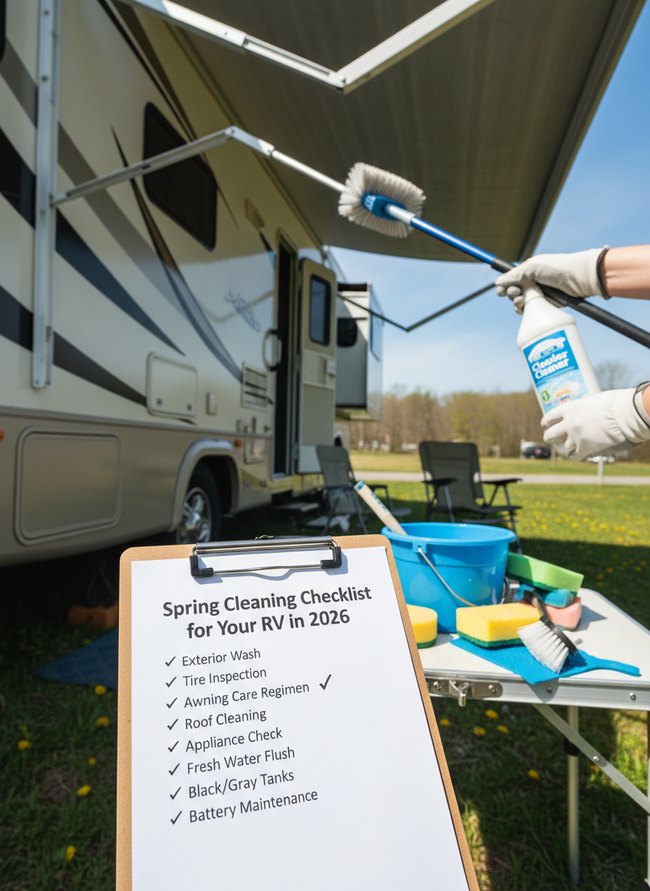
The clipboard’s angled placement directly in the foreground immediately draws the eye to the RV spring cleaning checklist. The composition grounds the image in its purpose, showing the checklist items clearly. A person in white gloves holds a blue scrub brush and a white cleaner bottle, ready to tackle the beige RV awning. Designers can steal the direct presentation of the subject matter by placing a clear list front and center.
8. Battery Health Checkup
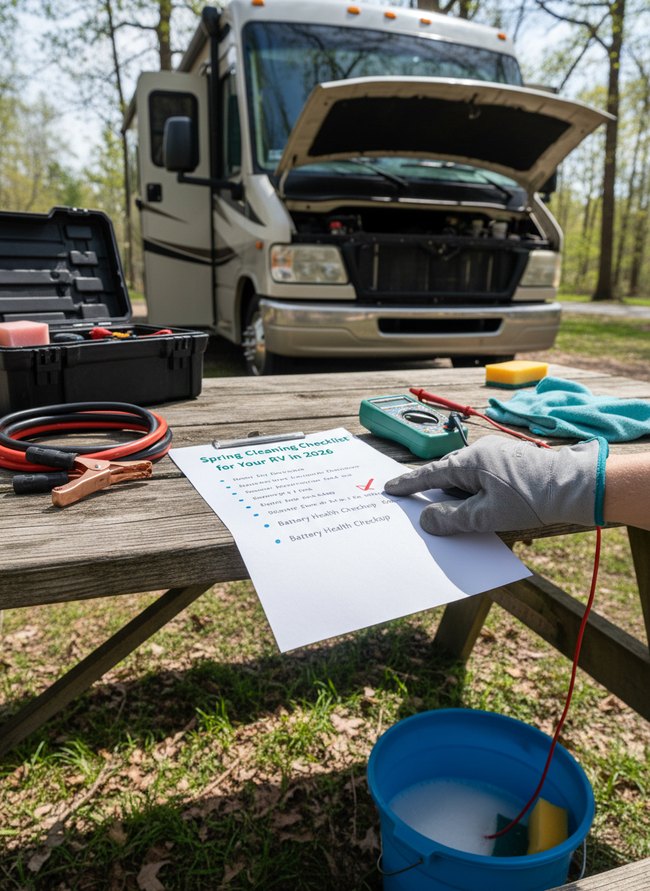
A weathered wooden picnic table holds a white paper checklist for RV spring cleaning. The visual element clearly grounds the image in its practical purpose, showing a direct action for the “Battery Health Checkup” task. A gloved hand points to this section on the checklist, reinforcing the instructional nature of the image. The open hood of a large white RV in the background provides context for the task at hand. The clear, task-oriented checklist is a great idea.
9. Roof Seal Inspection
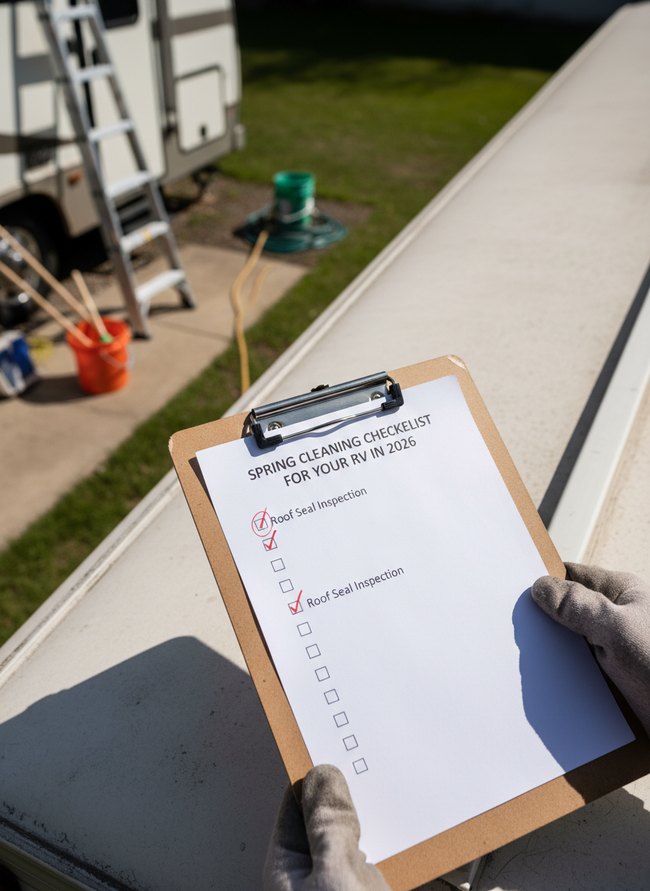
A person holds a brown clipboard with a white checklist sheet, clearly showing the importance of an RV spring cleaning checklist. The paper lists “Roof Seal Inspection” with two red checkmarks, demonstrating progress on this task. A silver ladder leans against a cream recreational vehicle in the soft background, ready for more maintenance. A physical checklist helps track maintenance tasks.
10. HVAC Filter Replacement
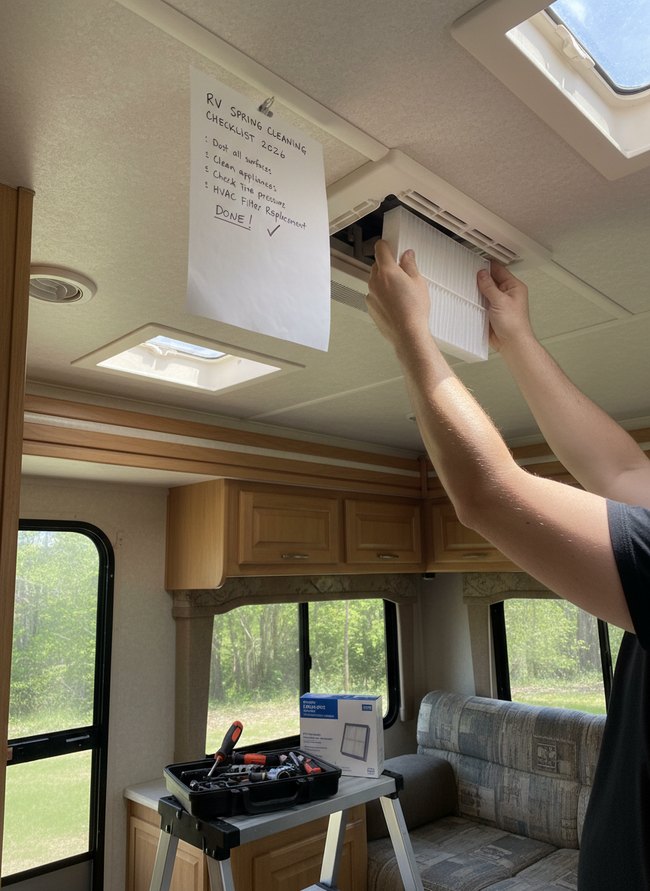
A white paper checklist, attached to the cream ceiling with a metal clip, provides a clear visual guide for your RV spring cleaning. Hands perform an HVAC filter replacement, demonstrating a key task. An open toolbox on the silver step stool shows the tools needed. The physical checklist offers a simple, actionable reminder.
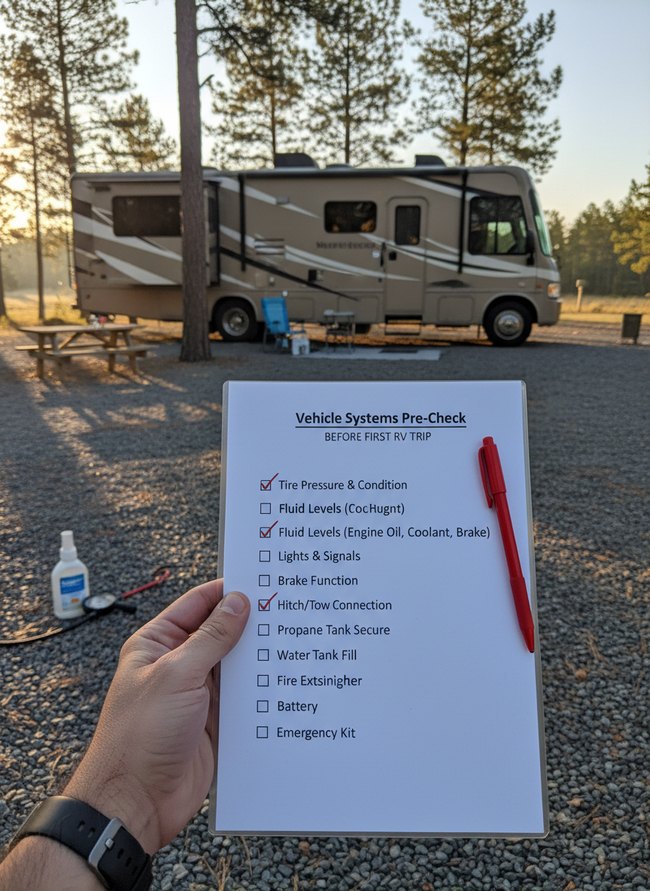
11. Safety Device Audit
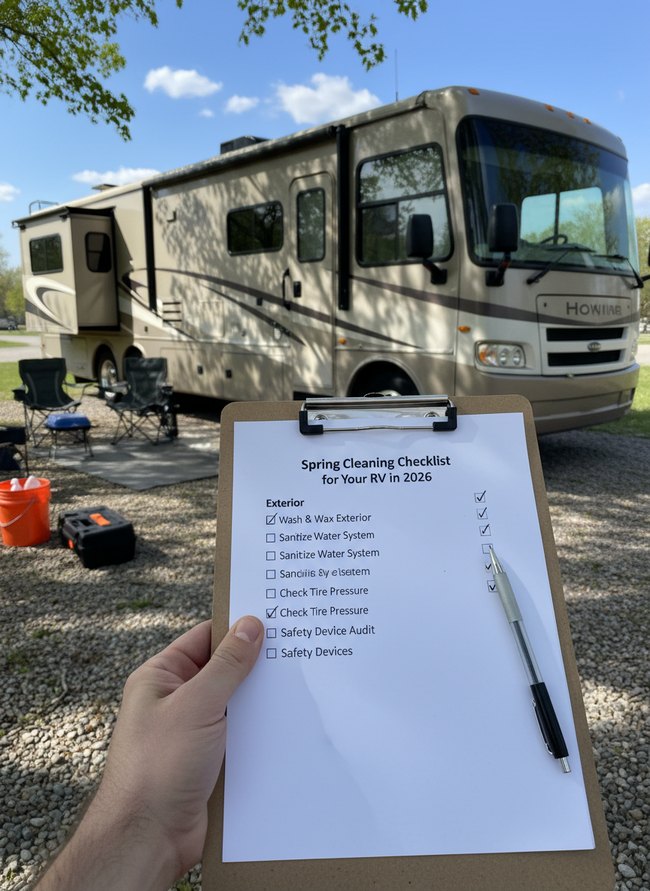
A brown clipboard with a white paper checklist presents a practical visual for an RV spring cleaning checklist. The printed list details essential tasks like “Check Tire Pressure” and “Safety Device Audit,” making the process clear. A silver pen rests on the paper, ready for your checkmarks. The clear, actionable list format is a great move to steal.
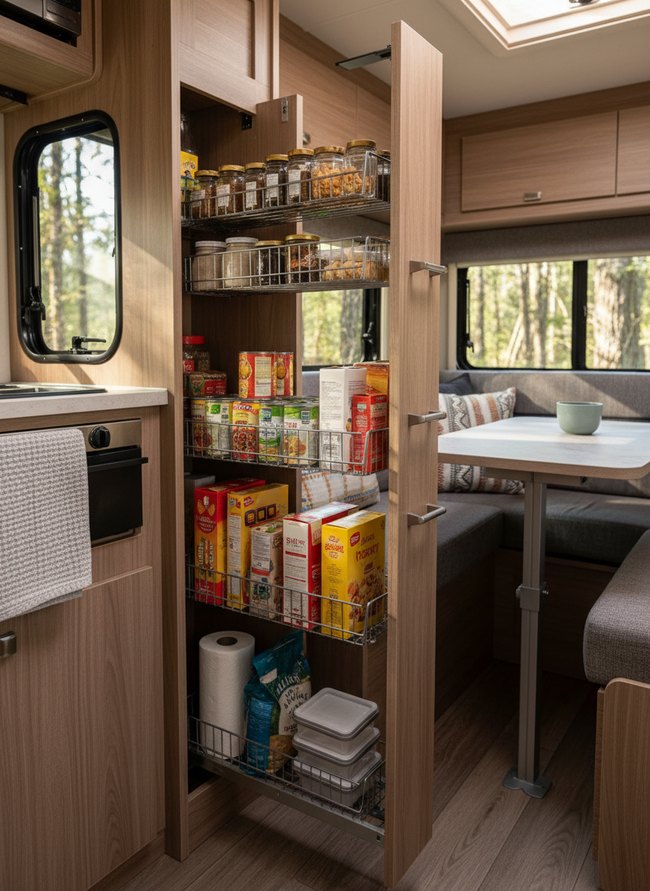
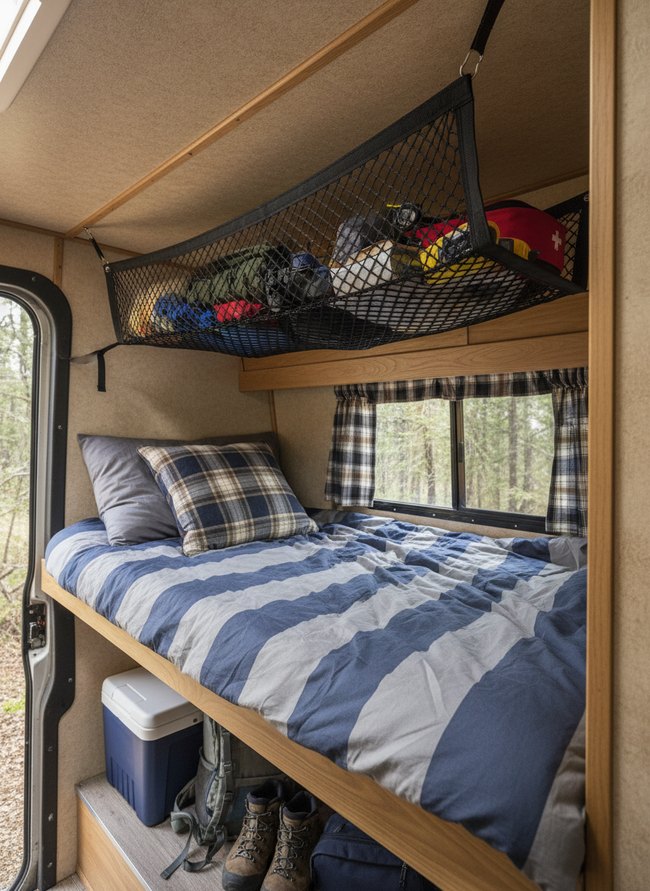
12. Storage Compartment Purge
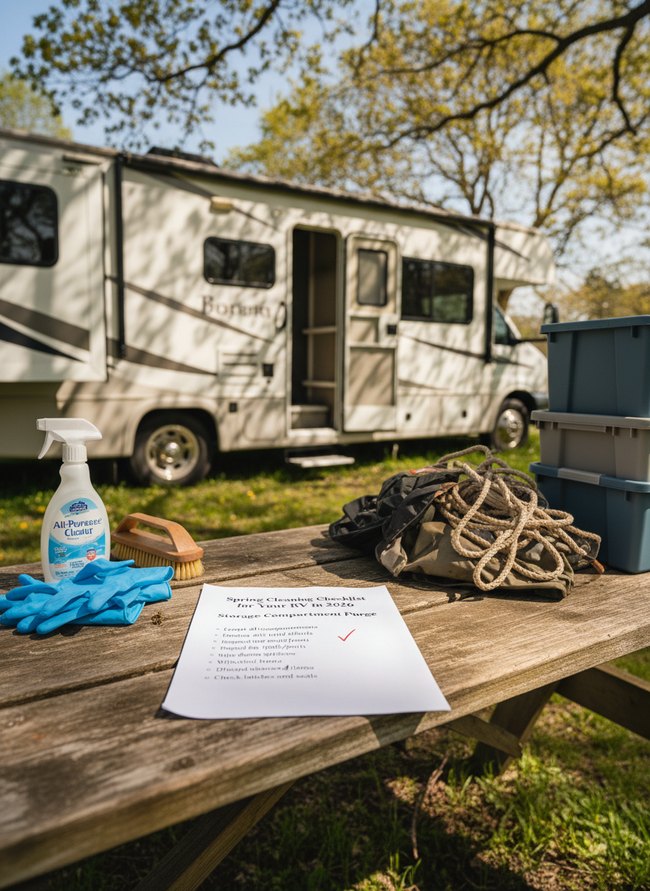
The wood picnic table holds a printed RV spring cleaning checklist, giving you a clear plan for seasonal tasks. The simple paper document provides an easy-to-follow guide, helping you tackle each step with organized purpose. Blue rubber gloves and a natural wood brush sit nearby, ready for cleaning, alongside a white plastic spray bottle for all-purpose cleaning. Print a checklist for clear task management.
The Efficacy of pH-Neutral vs. Alkaline Detergents in RV Exterior Sealant Longevity
Alkaline cleaning solutions erode the soft polymeric bonds in RV exterior sealants. Many RV owners favor strong cleaners for their quick dirt removal. You might notice those powerful detergents leave a dull film on your fiberglass shell over time. That chalky residue signals early sealant degradation, compromising your rig’s waterproof integrity. Gentle, pH-neutral cleaners, in contrast, preserve the flexible acrylic compounds. These mild solutions lift grime without stripping away the protective clear coat. A white silicone caulk line, for instance, maintains its pliable texture for years with consistent pH-balanced washing. Harsh soaps accelerate drying and cracking, leading to costly water damage inside your recreational vehicle. Choosing appropriate cleaning products extends the lifespan of your RV spring cleaning, safeguarding your investment against premature wear.
Microbial Load Reduction Strategies: Beyond Surface Wipes in RV Wastewater Systems
Your RV wastewater tanks demand careful attention. Many RV owners simply pour bleach down the toilet, hoping for a clean black tank. Bleach, a strong chlorine compound, corrodes rubber seals over time, leading to costly leaks around the toilet flange. Instead, you should focus on enzymatic digestion for long-term microbial load reduction. These biological solutions contain specialized enzymes, tiny protein molecules, that break down organic waste into smaller, water-soluble particles. This process helps prevent sludge buildup, a common cause of foul odors and sensor malfunctions in both gray and black water tanks. A small, measured dose of an enzyme-based tank treatment added after each dump cycle works wonders. Furthermore, white vinegar, a mild acetic acid, offers another effective, non-corrosive method for spring cleaning checklist tasks within the gray water system. Pour a gallon of white vinegar down your shower drain, allowing the colorless liquid to sit in the tank for several hours. That mild acid helps dissolve soap scum and greasy residue clinging to the tank walls, preparing the system for fresh water.
Which Idea Will You Try First?
That’s 12 different takes on rv spring cleaning checklist. The best ideas above are usually the smallest moves — one material, one layout shift, one piece of furniture in the right place. Pick whichever room feels closest to your space and start there before tackling the rest.
Found an idea worth keeping? Save this post to your Pinterest board so it’s waiting for you when you’re ready to start your own project.